#PlayForUkraine — Initiative
An independent music-solidarity initiative for war victims.
An independent music-solidarity initiative for war victims.
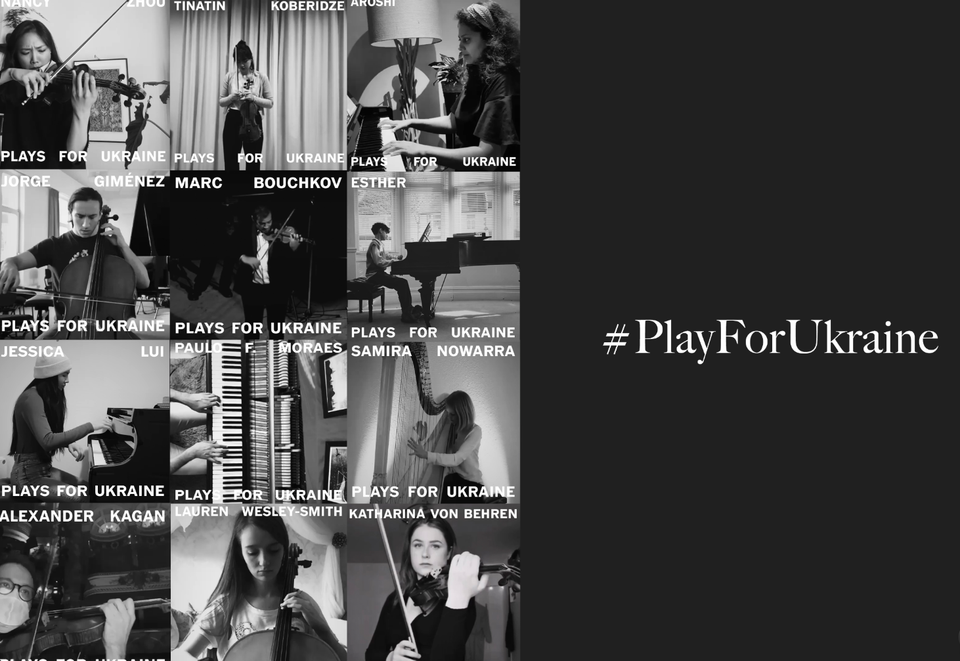
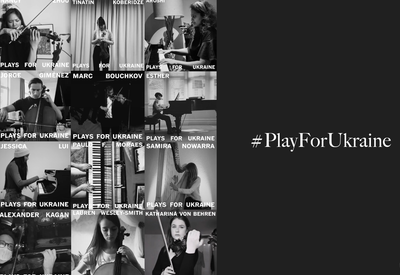
In 2022, after the escalation of the Russo–Ukrainian War, I created #PlayforUkraine, an online initiative that brought together musicians from around the world to share short performances in solidarity with Ukrainians and war victims.
The project began from a simple question:
Could I replace the sound of war with music, and bring meaning back to people?
Back in 2021, I was trying to escape the long COVID-19 quarantine restrictions in Barcelona, Catalonia, when I discovered a valley in the Siurana region. I ended up staying there on my own for over a year, and it became an exploratory hub for my identity.
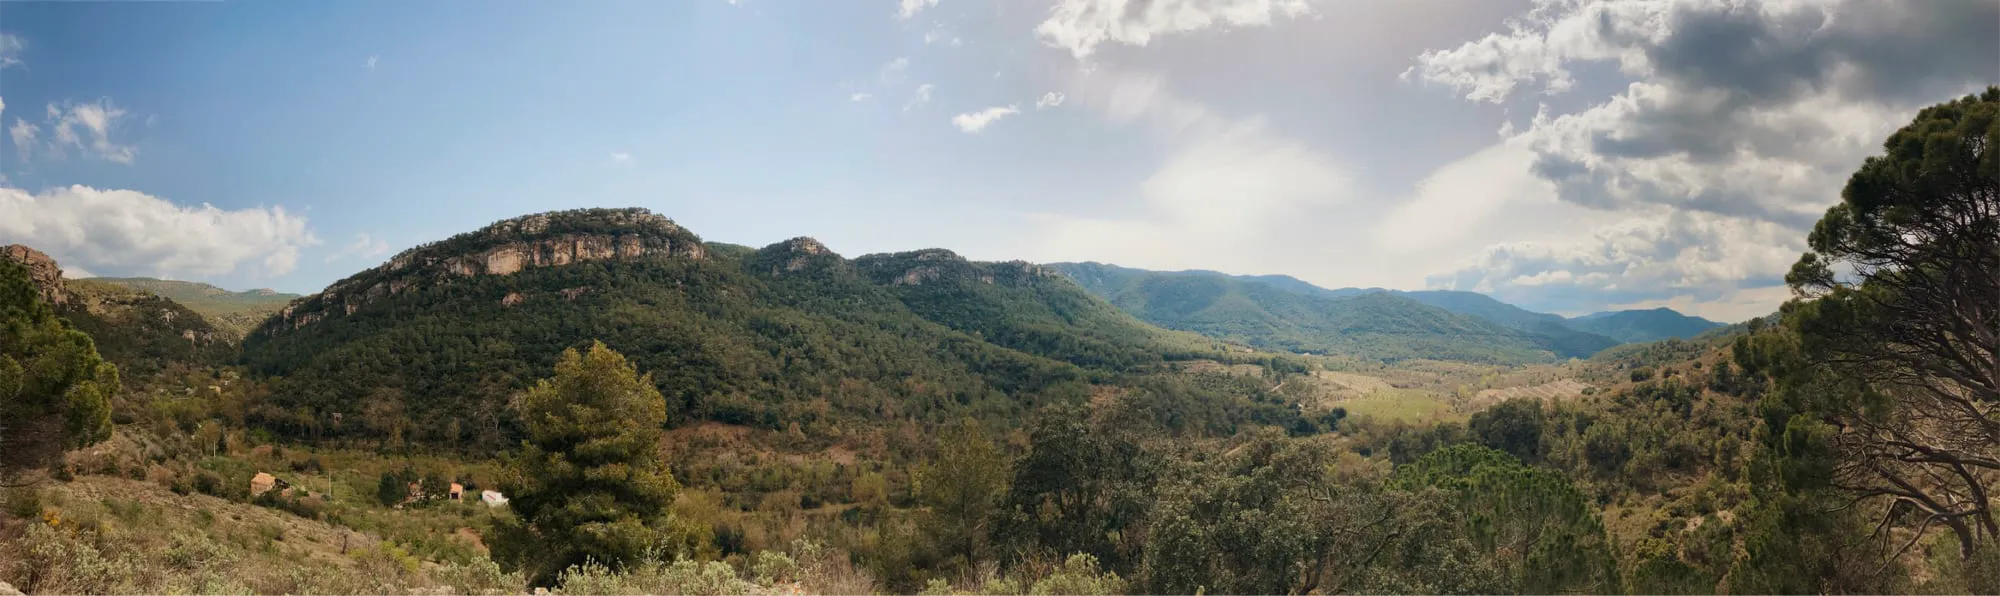
I spent a lot of time listening to classical music, particularly Vivaldi’s The Four Seasons, recomposed by Max Richter, while surrounded by nature.
On 24 February 2022, when the Russo–Ukrainian War began to escalate, I remember watching the news on my computer screen. It was loud. I could hear sirens and the sound of bombing. So I turned off the volume and replaced the sound of war with Vivaldi.
The contrast was immediate. Suddenly, the bombing became manageable. The suffering was still there, but it had transformed into something I could bear.
It had become… beautiful?
That question stayed with me.
I had once heard the primatologist and neurobiologist Robert Sapolsky speak about a disturbing story from Indonesia in the 1960s, in which death squads would sometimes bring traditional gamelan orchestras with them during massacres. They considered it a "beautiful act".
Music being used alongside violence.
I began to wonder whether the structure could be reversed.
Could I recreate an online orchestra like the one those war veterans had brought with them — but reverse its purpose? Could I replace the sound of war with music, and bring meaning back to people?
I wrote a quick statement and shared it:
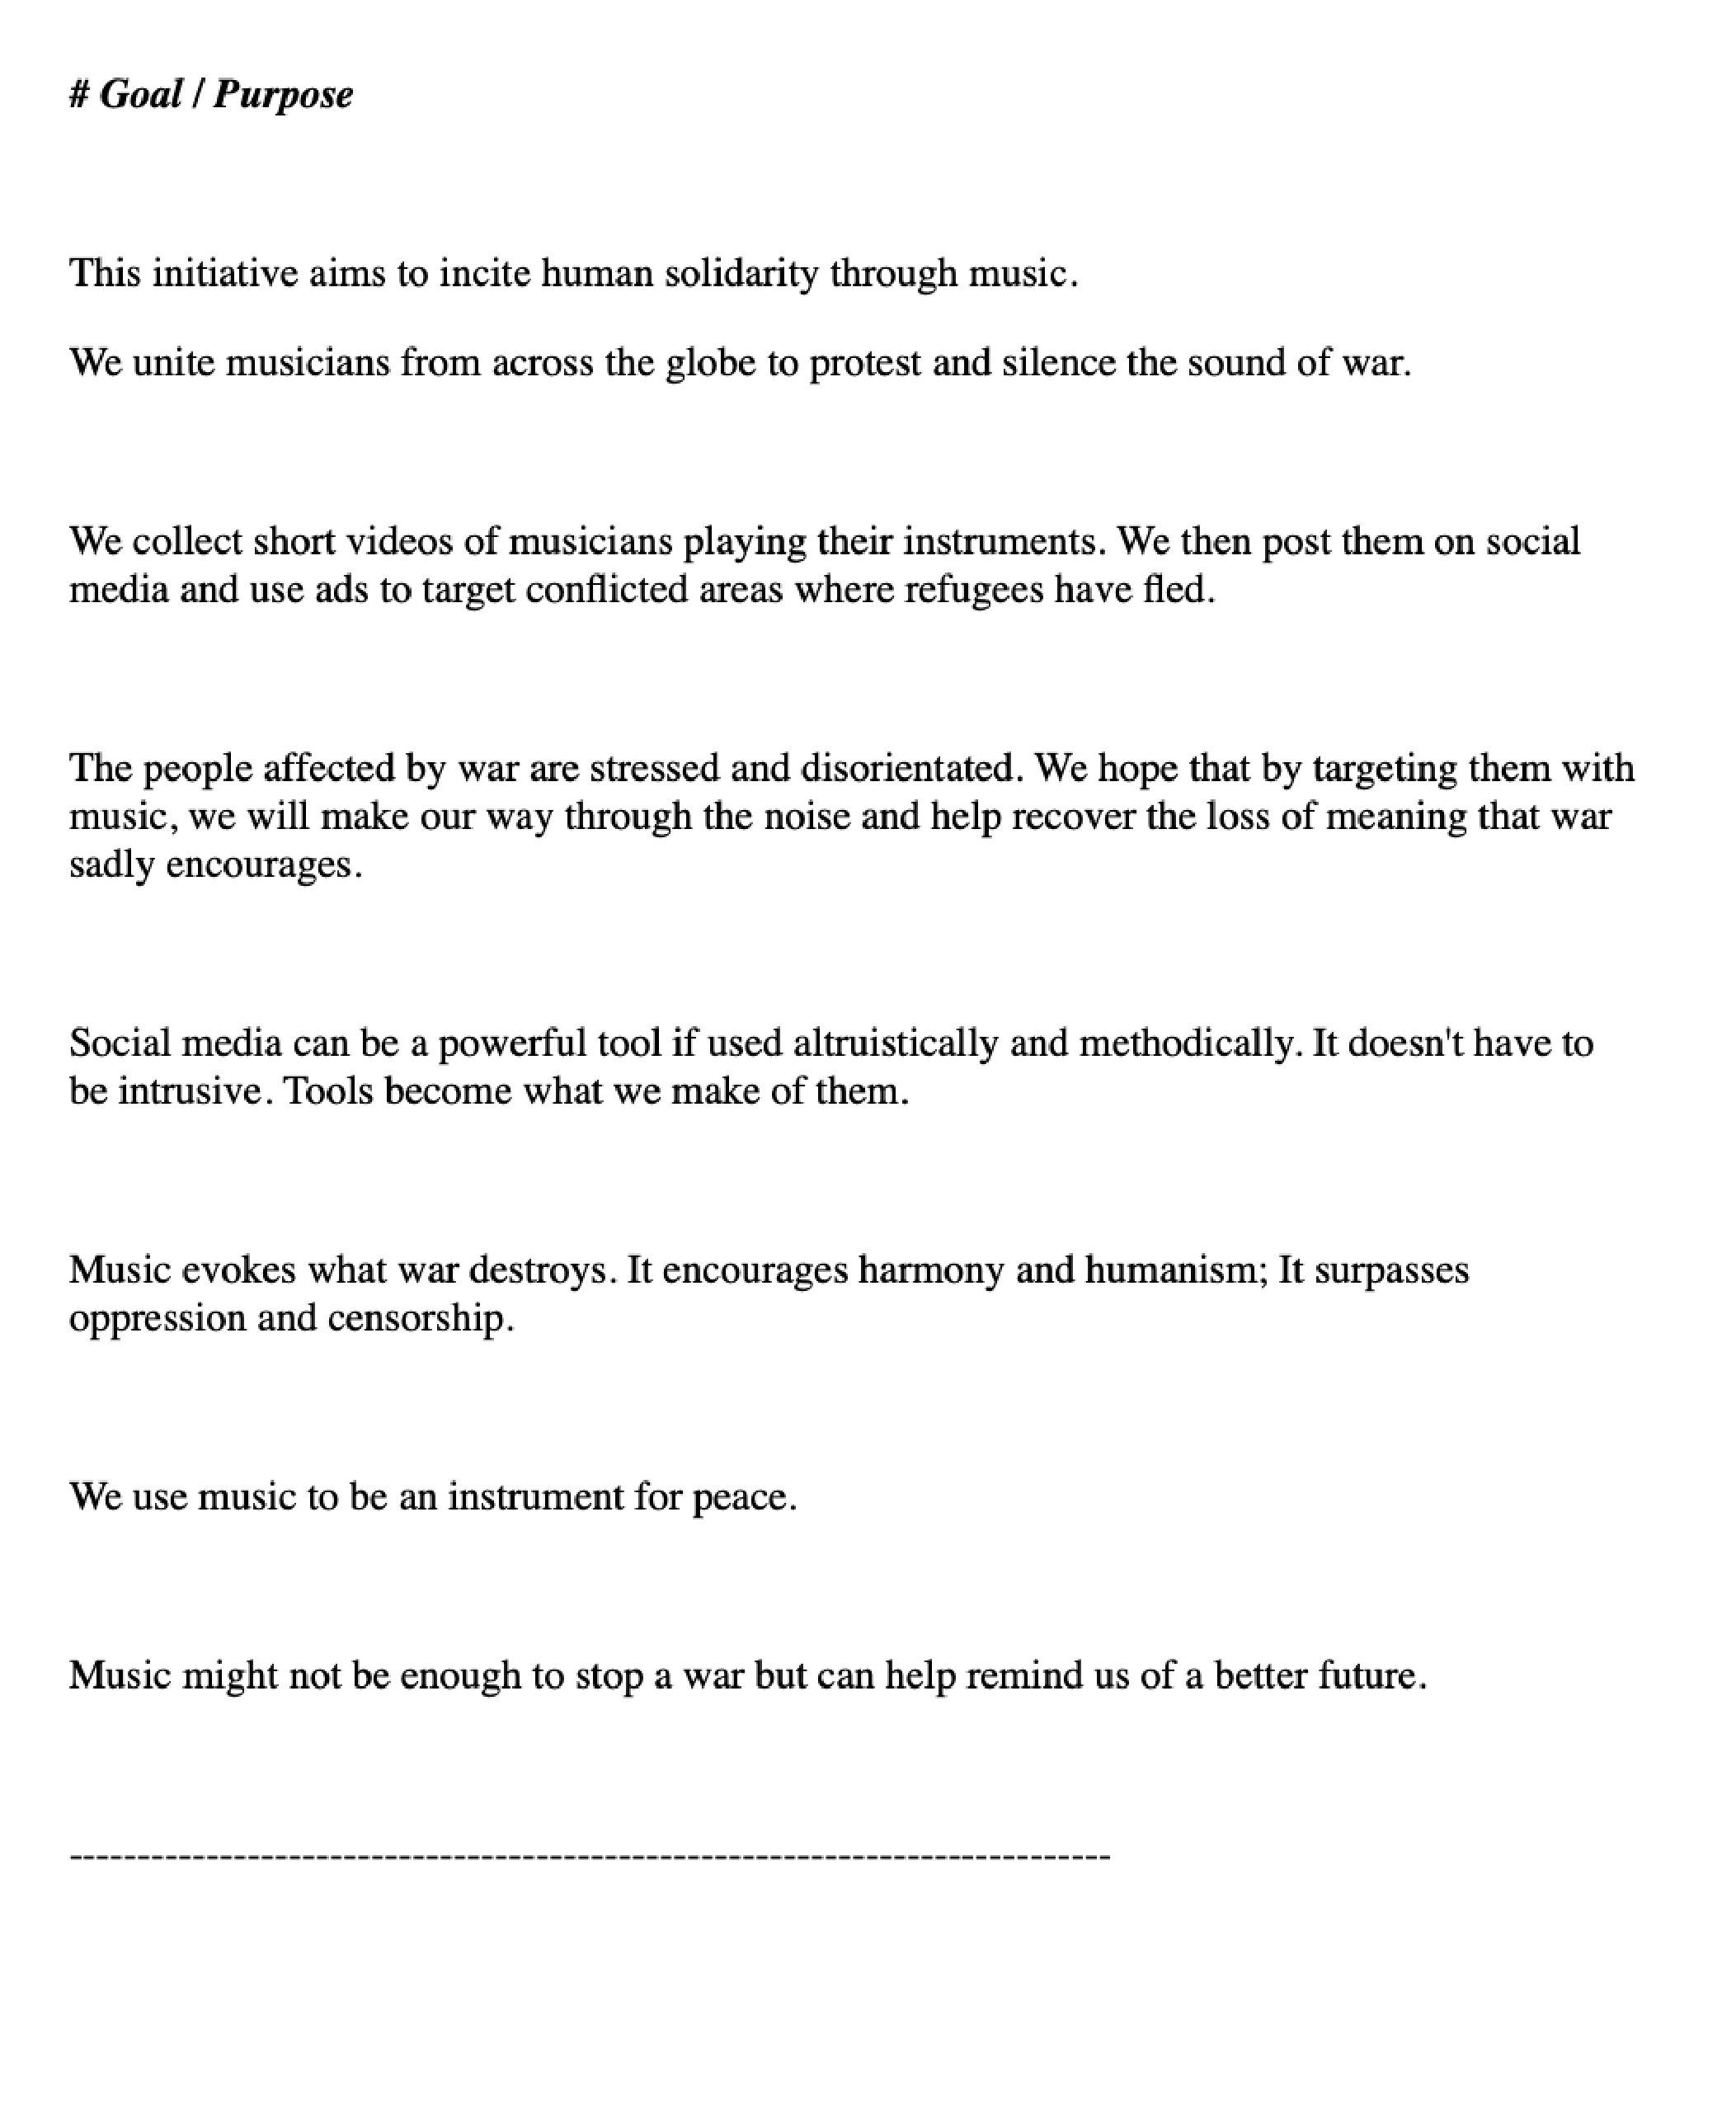
We used music as an instrument for peace.
I had been following the social media hashtag #100daysofpractice, started by violinist Hilary Hahn. I became fascinated by musicians practicing and sharing their process in real time.
By breaking their practice down into one-minute videos, they made the learning process feel much more accessible and digestible.
So when the war started, my instinct was to contact musicians who were already engaging in this kind of practice. I thought it would not take much of their time to share a short performance in solidarity.
I created a quick profile photo and wrote a statement in my stories, asking violinists to play supporting war victims.
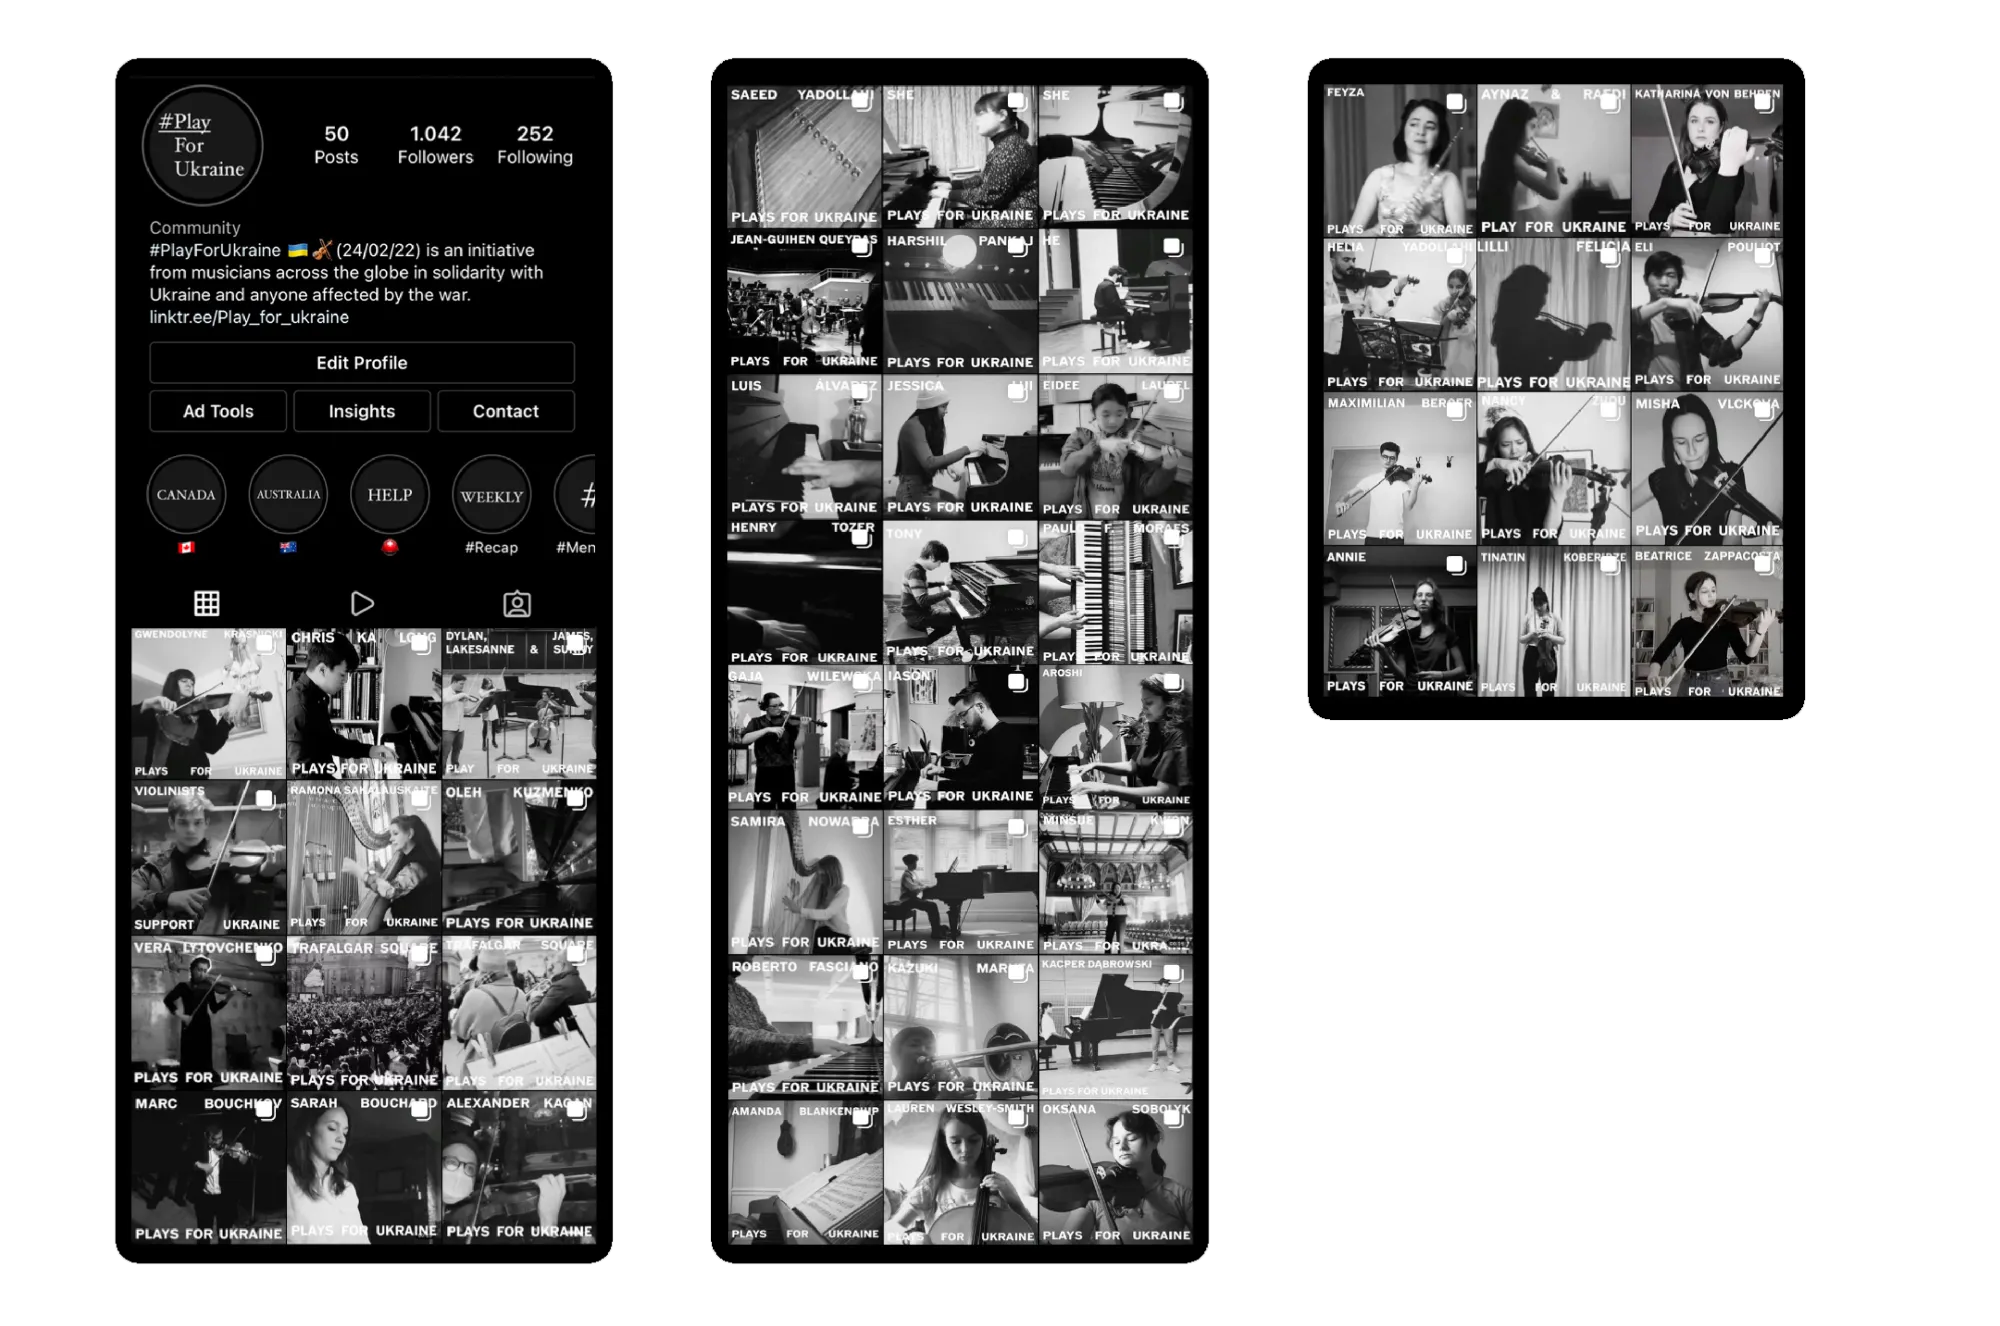
The next step was to contact violinists I was already familiar with. To my surprise, many replied instantly, excited and willing to contribute.
After one month, we had around 60 participants.
Nancy Zhou playing Tchaikovsky’s “Meditation.”
We managed to reach the official M6 channel in France, as well as Polish national radio. I only realised this after a sudden spike in French followers.
Although I was happy about the coverage, my goal was not to reach a French audience specifically — it was to reach Ukrainians.
That was when I realised that the most direct way to reach them was through Instagram ads, targeting specific locations where refugees had fled.
And it worked instantly:
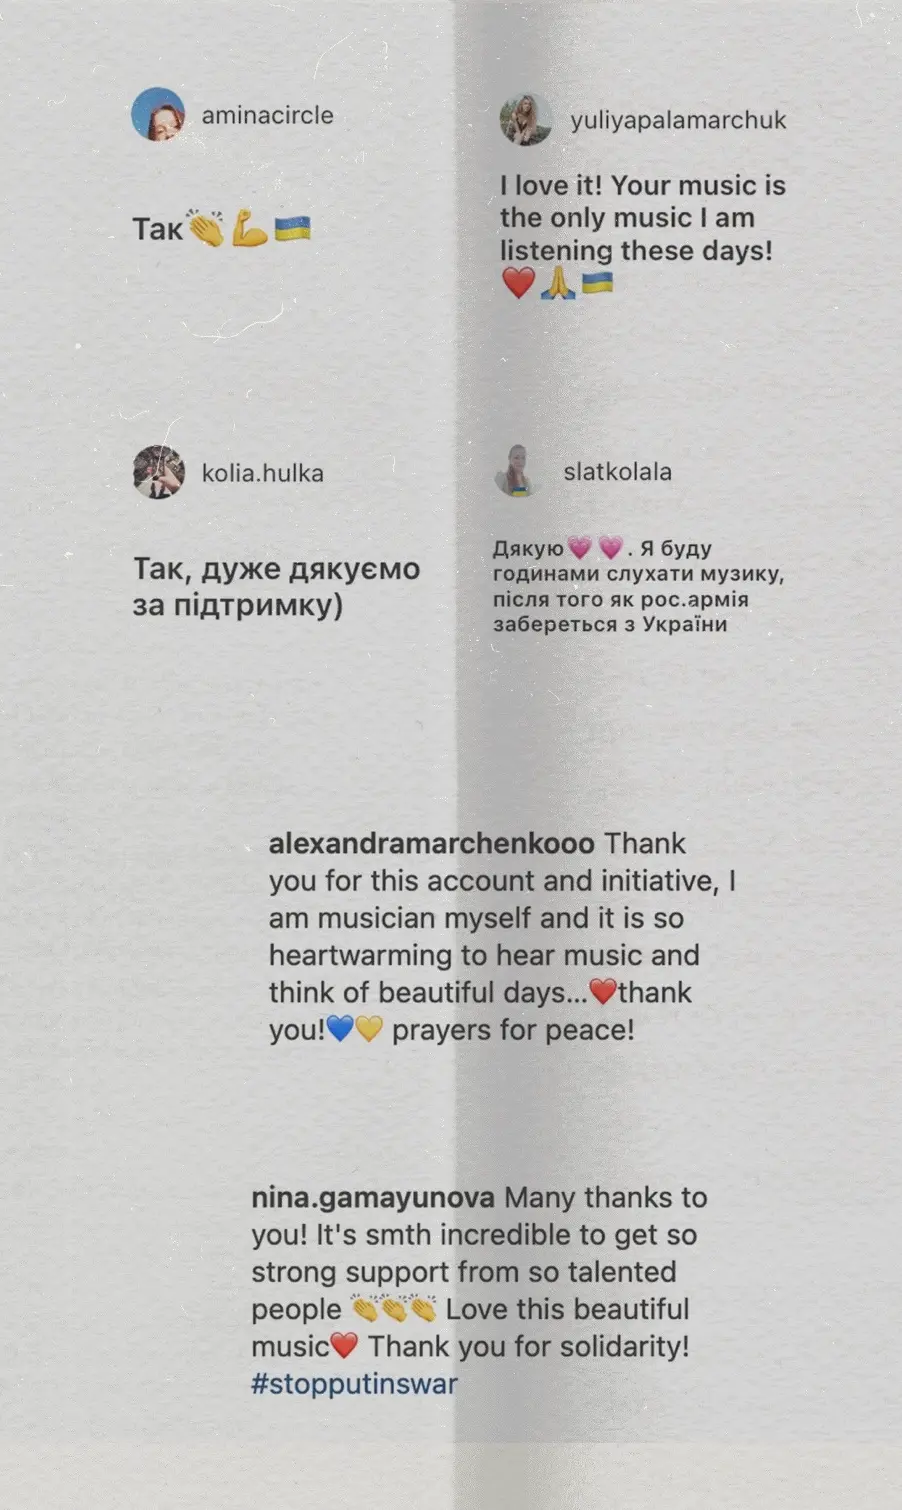
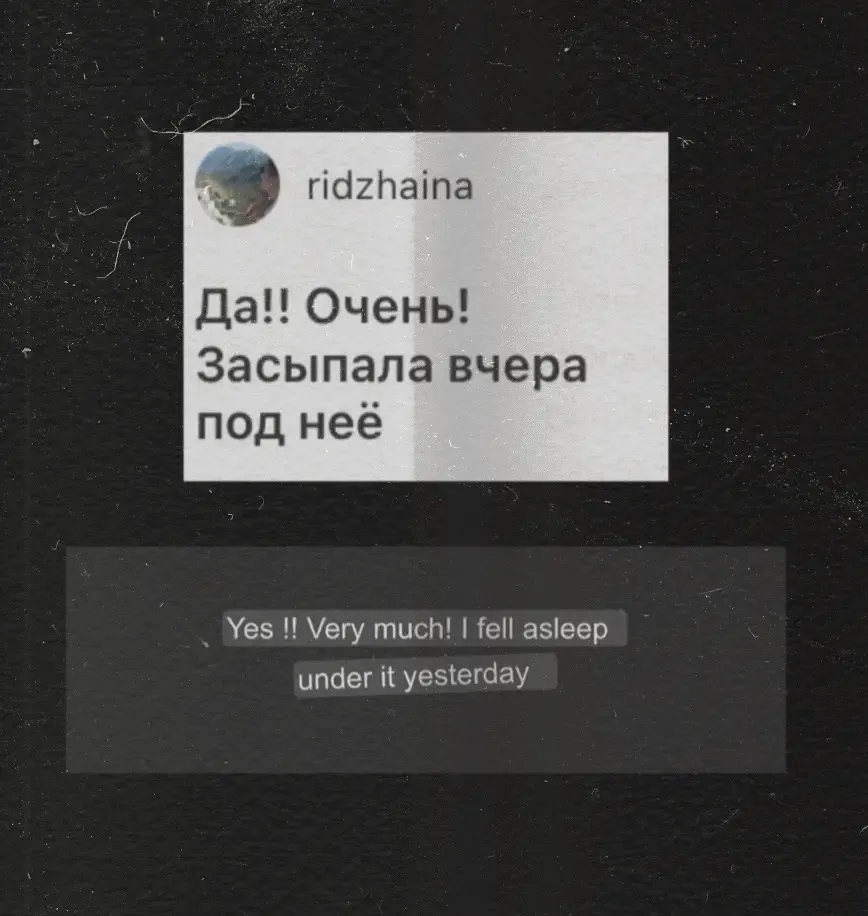
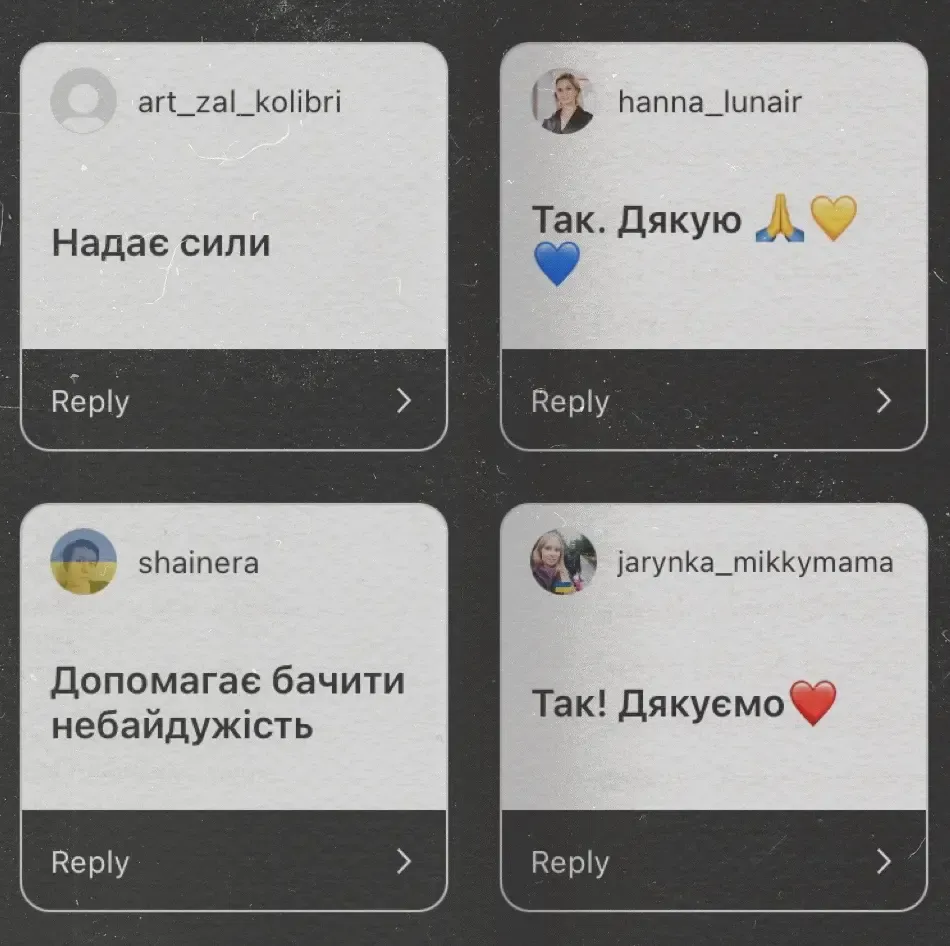
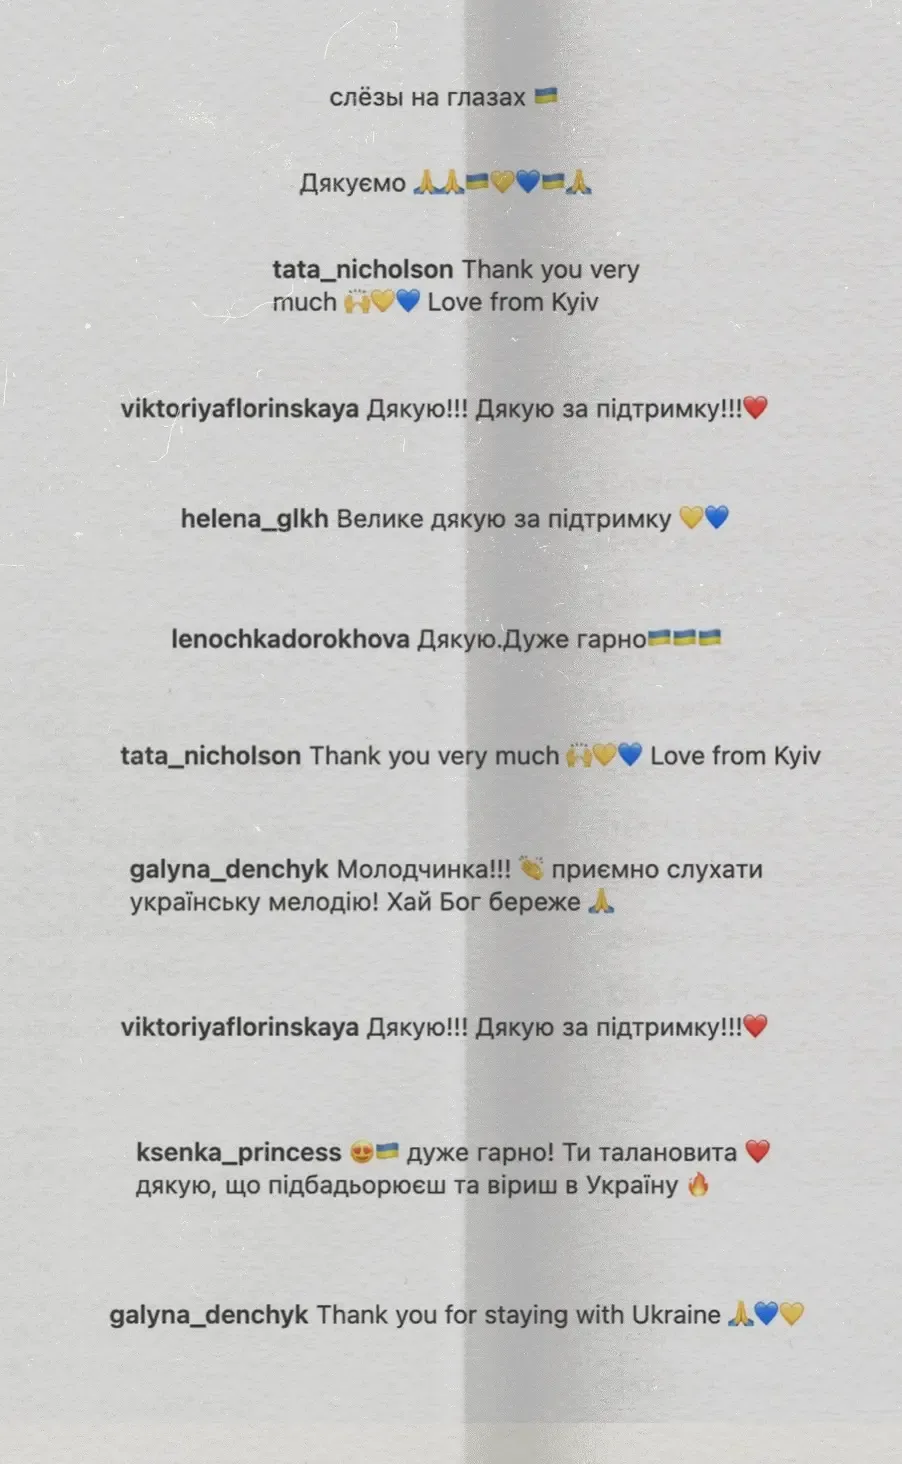
Some reviews from Ukrainian refugees. Tawatha T. Elguero
I stayed in close contact with Ukrainian refugees. Some were sheltering in bunkers, while others allowed me to follow their journeys from Kyiv to Poland and other neighbouring countries.
One of the most meaningful responses came from someone distressed who managed to fall asleep while listening to our music.
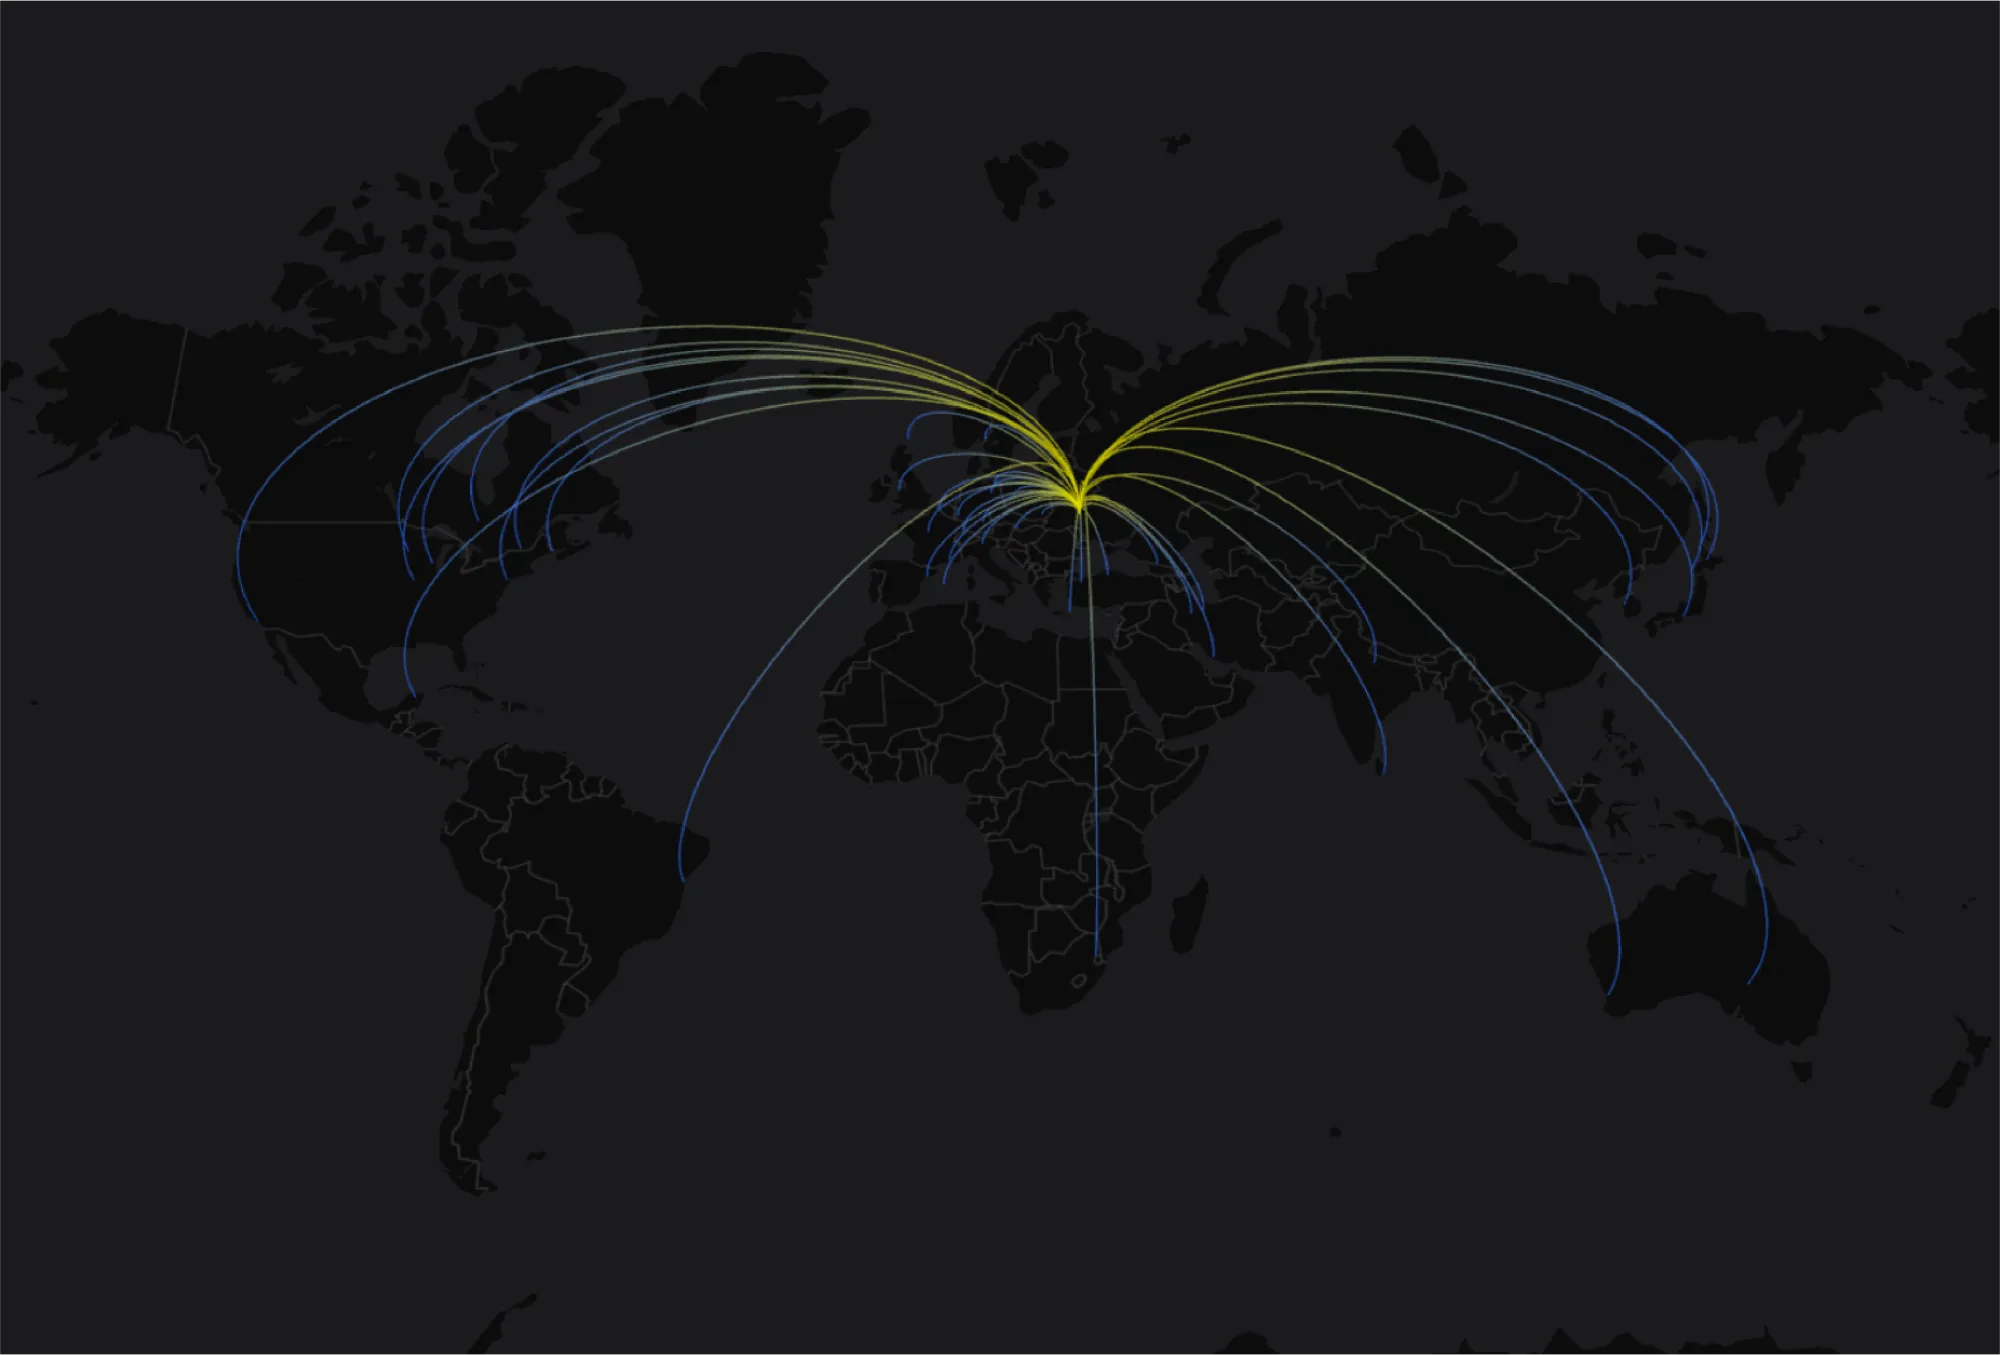
I created a symbolic map showing participants around the world directing their music towards Ukraine. I used the blue and yellow colours of the Ukrainian flag to represent the country.
The Dnieper River became a guiding analogy for the initiative: rising in Russia, passing through Belarus, and flowing through Ukraine before reaching the Black Sea.
It crosses territories divided by history, war, and power, yet the river itself remains continuous.
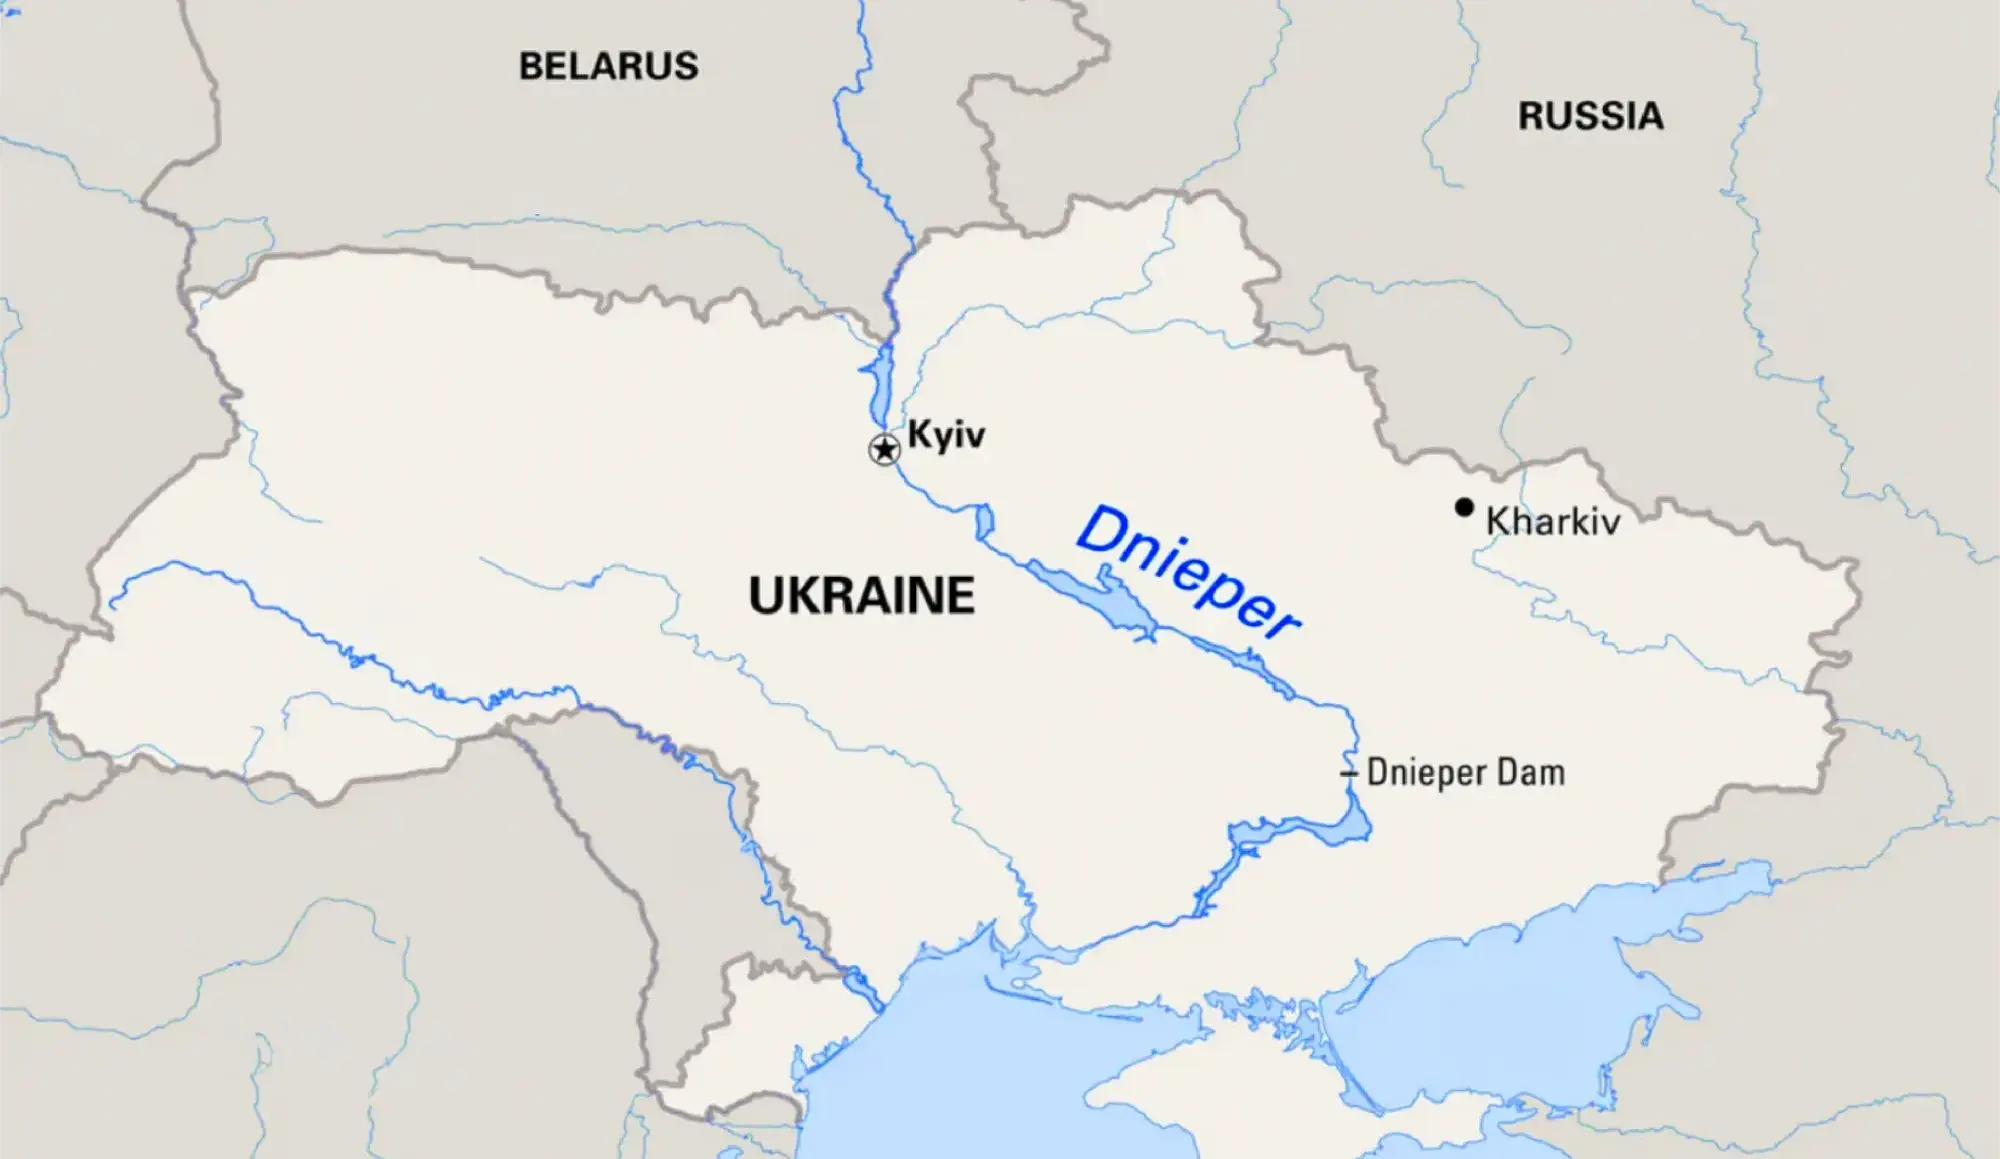
Music can be like that — not a denial of borders, but a reminder that beneath them, life continues to move: through memory, grief, beauty, and shared humanity.
This was my first initiative, completely led by me.
I created the concept, contacted musicians, wrote the statement, collected performances, managed the Instagram profile, posted the videos, created visual material, ran targeted ads, and followed the response from war victims.
It required a lot of trial and error. I felt a whole spectrum of emotions. It was a lot of work, but the satisfaction of knowing that someone distressed managed to fall asleep to our music was priceless.
This project taught me that social media can be a powerful tool if used altruistically and methodically. It does not have to be intrusive. Tools become what we make of them.
For me, #PlayForUkraine became a way to transform helplessness into action, memory into empathy, and music into a shared gesture of care.
The initiative was removed from Instagram in 2025 after having completed its purpose.
Thank you to all the wonderful participants.
I do not own the rights to the video performances presented here. These videos were kindly sent to me by the artists, or shared with their permission, as part of this initiative. They are presented here for archival purposes.
If you are one of the musicians featured and would like your video removed, please contact me.
#tutorial #freelance #commission
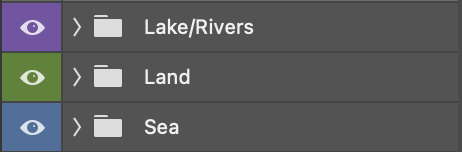
I started by creating a new folder named Sea and nested the new layer named Sea_color within it. I then placed the Sea folder under Land folder:
I went on to Edit -> Fill -> Color and chose a blue color from the color palette reference layer I had previously created. I then set Sea_color to Multiply to see through the water in future layers.
At this point I only had Land_base and Sea_color visibility on to see where I was. Looking like this:
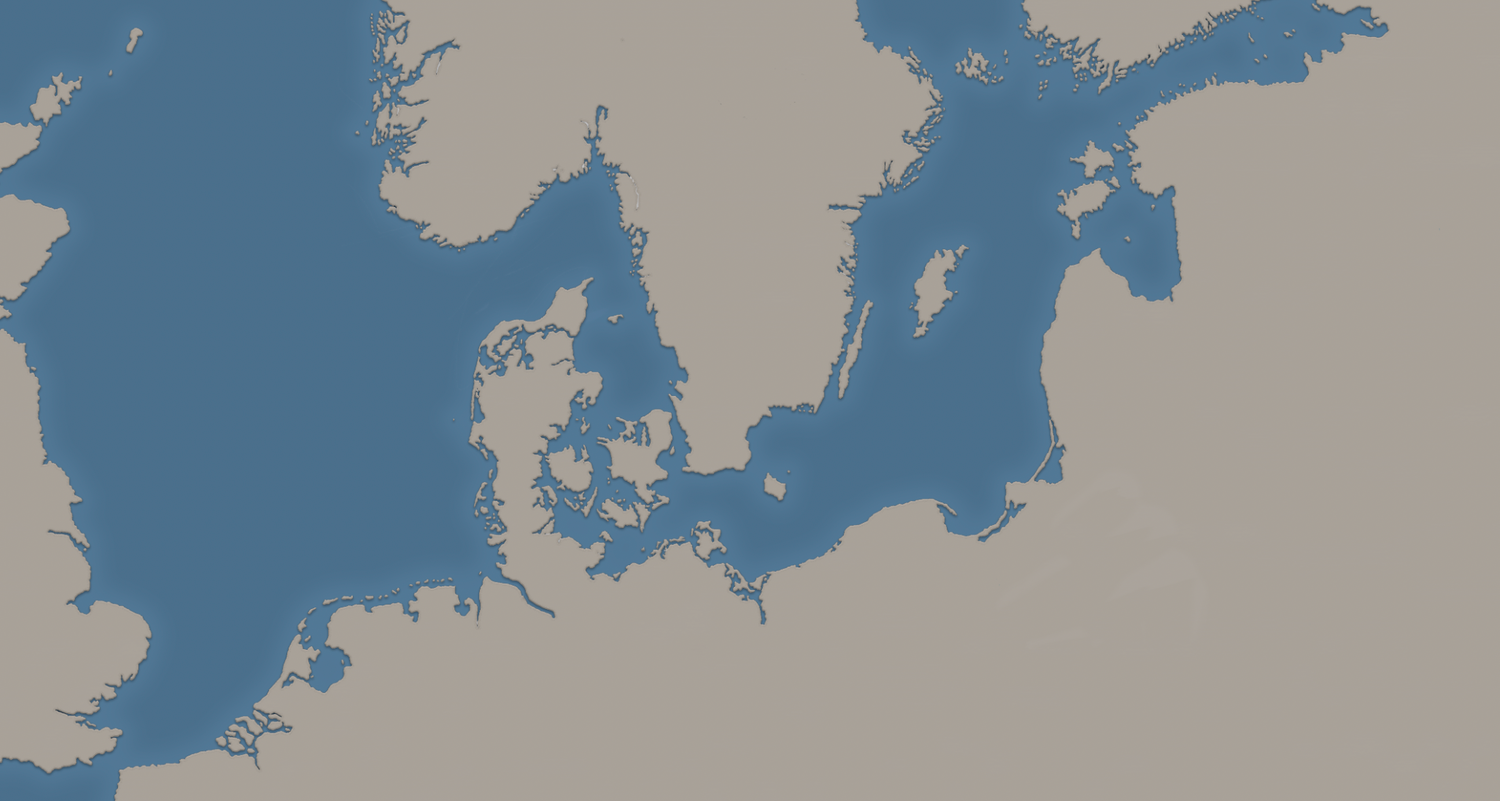
The outer glow you see around the land's margin comes from the effect applied to Land_base layer early on. Its purpose is to create a Continental shelf effect:
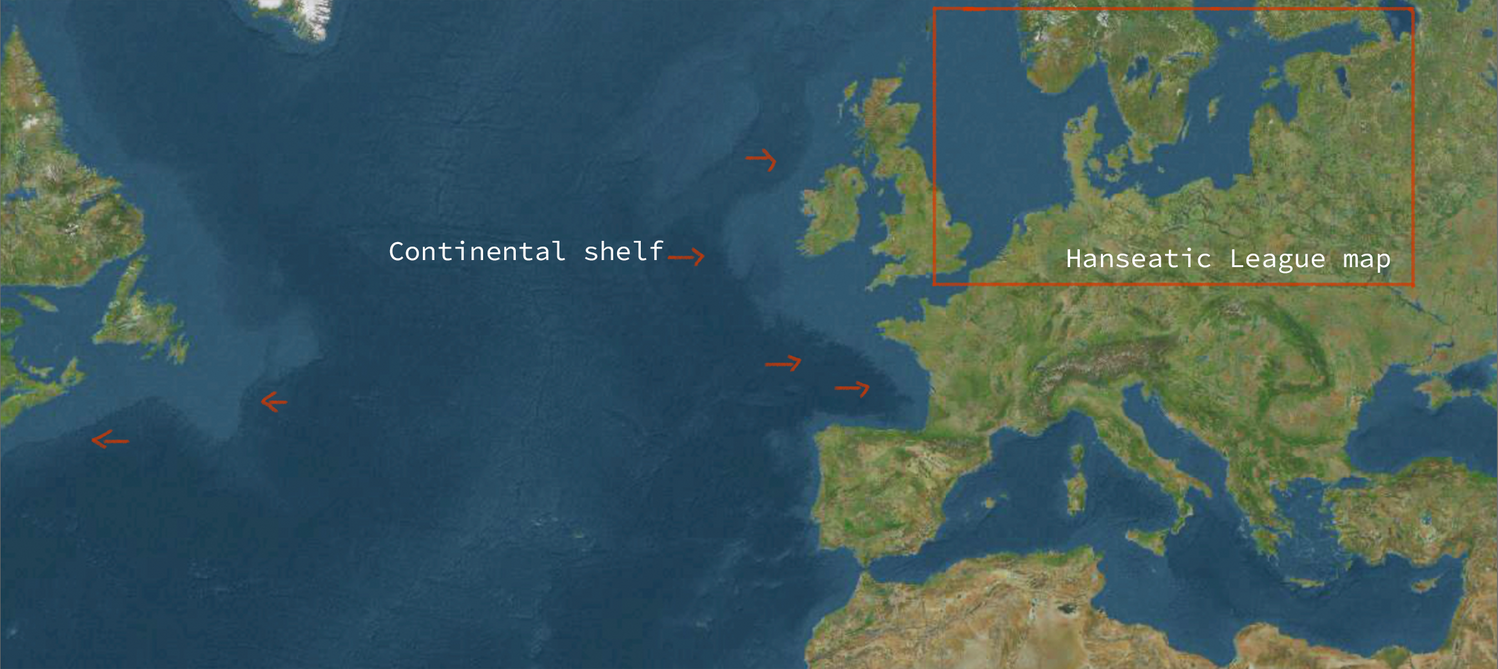
Cross-section view:
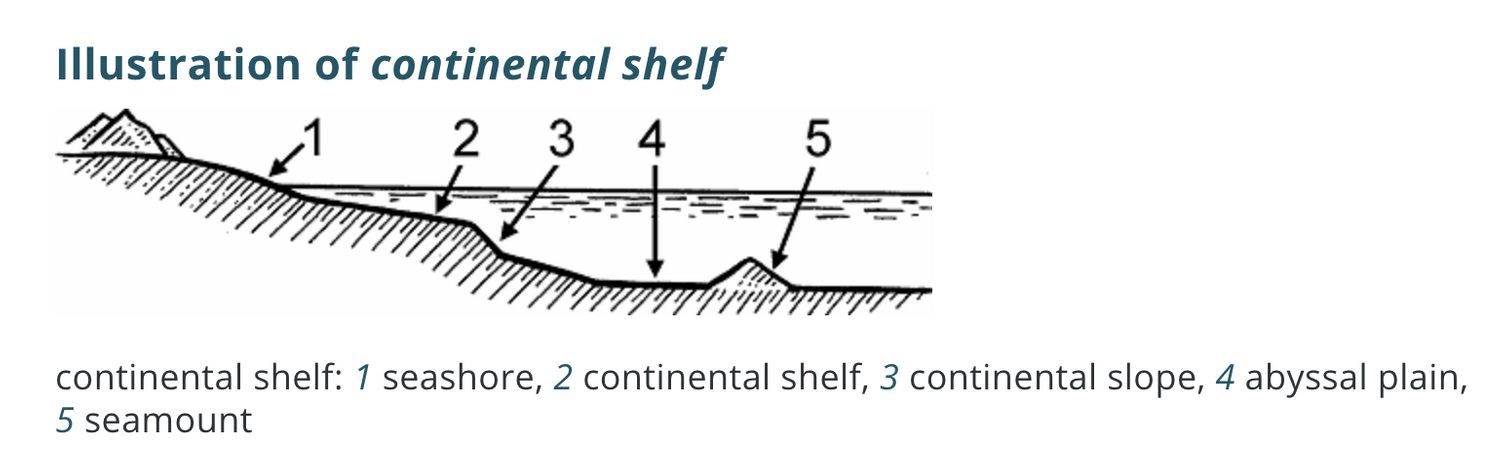
So working in this order:
01- New layer Continental_background
02- Edit -> Fill.. -> Grey background
03- A new layer named Continental_shelf above Continental_background
04- Specs:
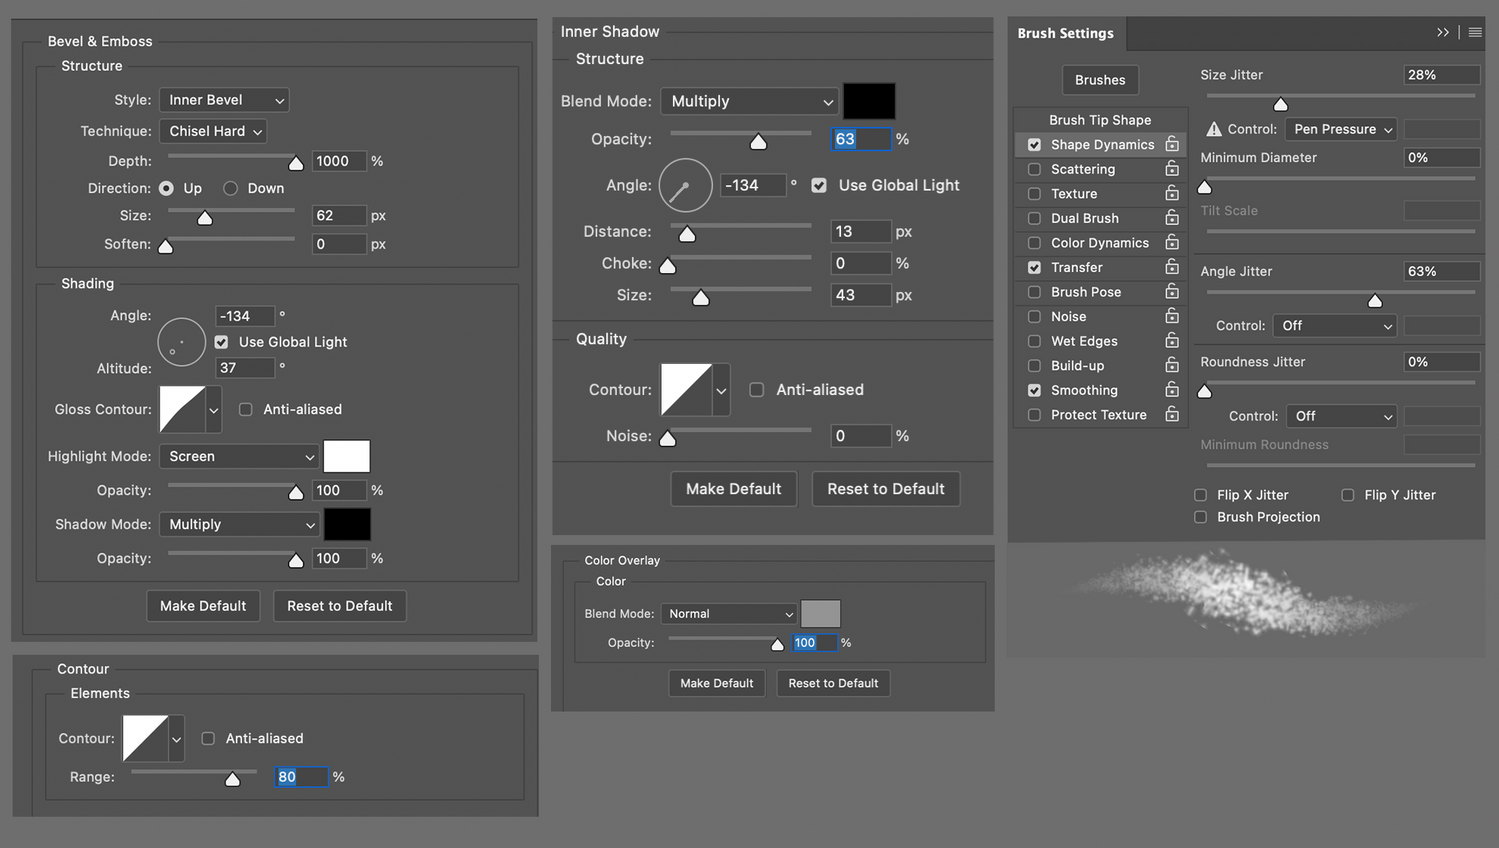
The brush settings are the same as the ones used for the Terrain layer in Part I:
01- Splatter brush
02- Brush tip shape -> Spacing: 30%
03- Brush color to white or same color as background.
I played around with the brush opacity until satisfied:
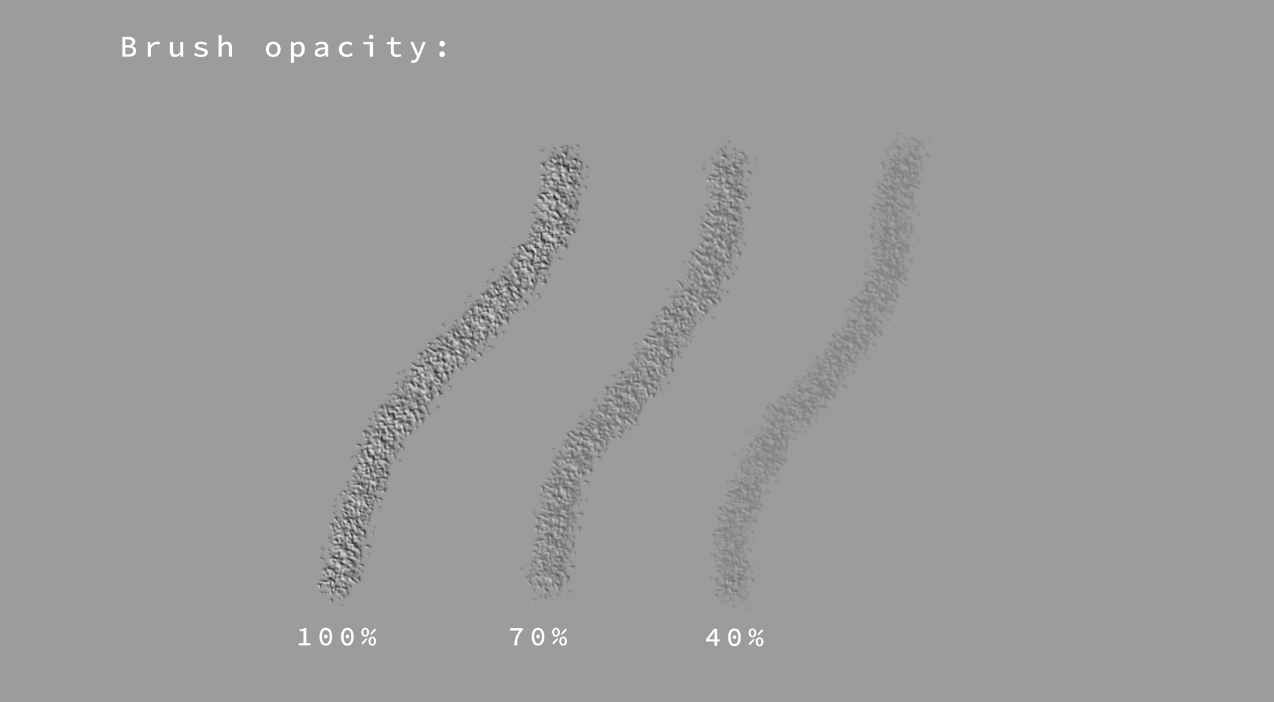
Results:
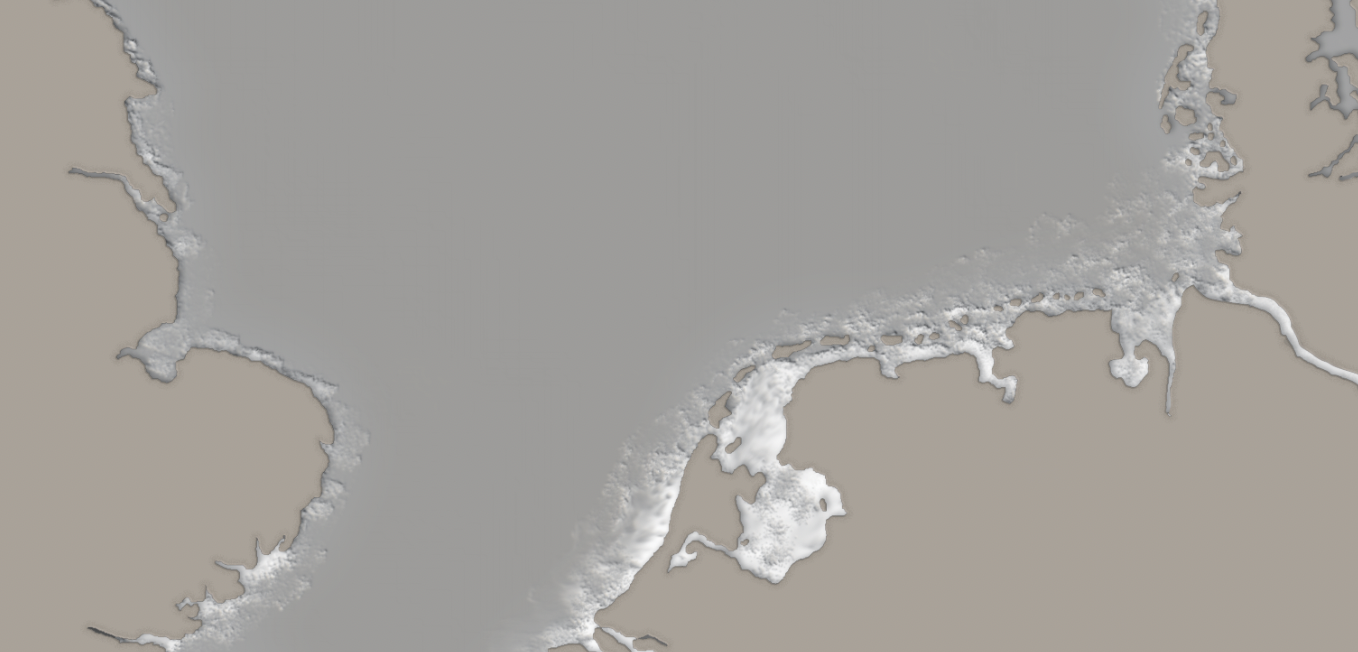
I then turned visibility on for sea_color and lowered sea_color opacity to 90% to see through the water, with these results:
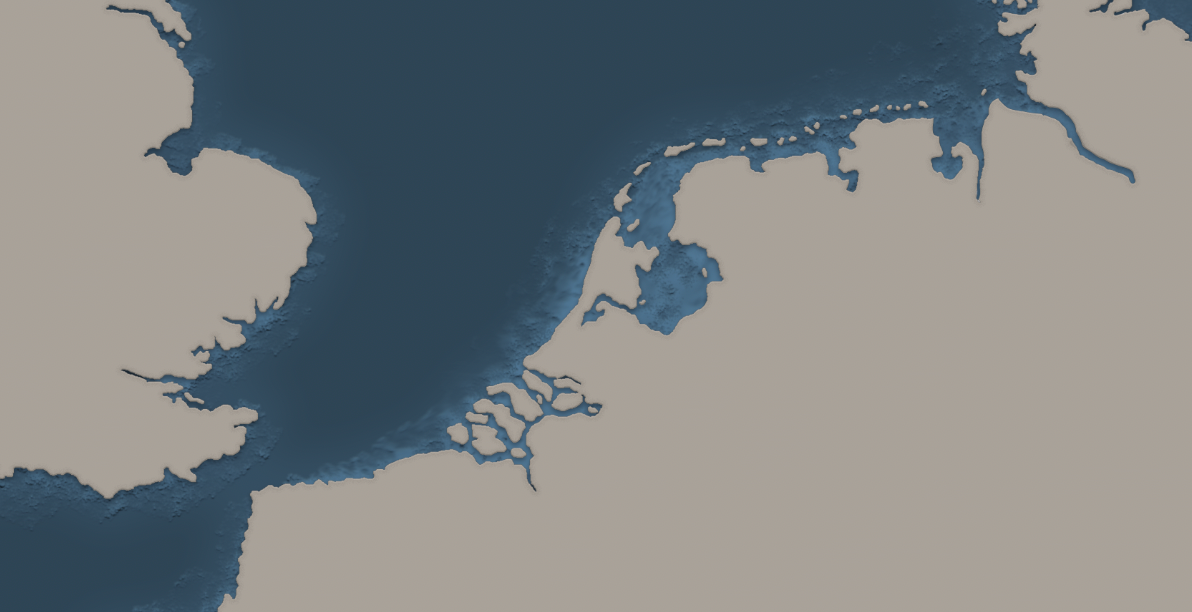
Next, I added some wave texture by following these steps:
01- New layer Sea_texture
02- Filter -> Render -> Clouds
03- Filter -> Render -> Different clouds
04- Filter -> Noise -> Add Noise
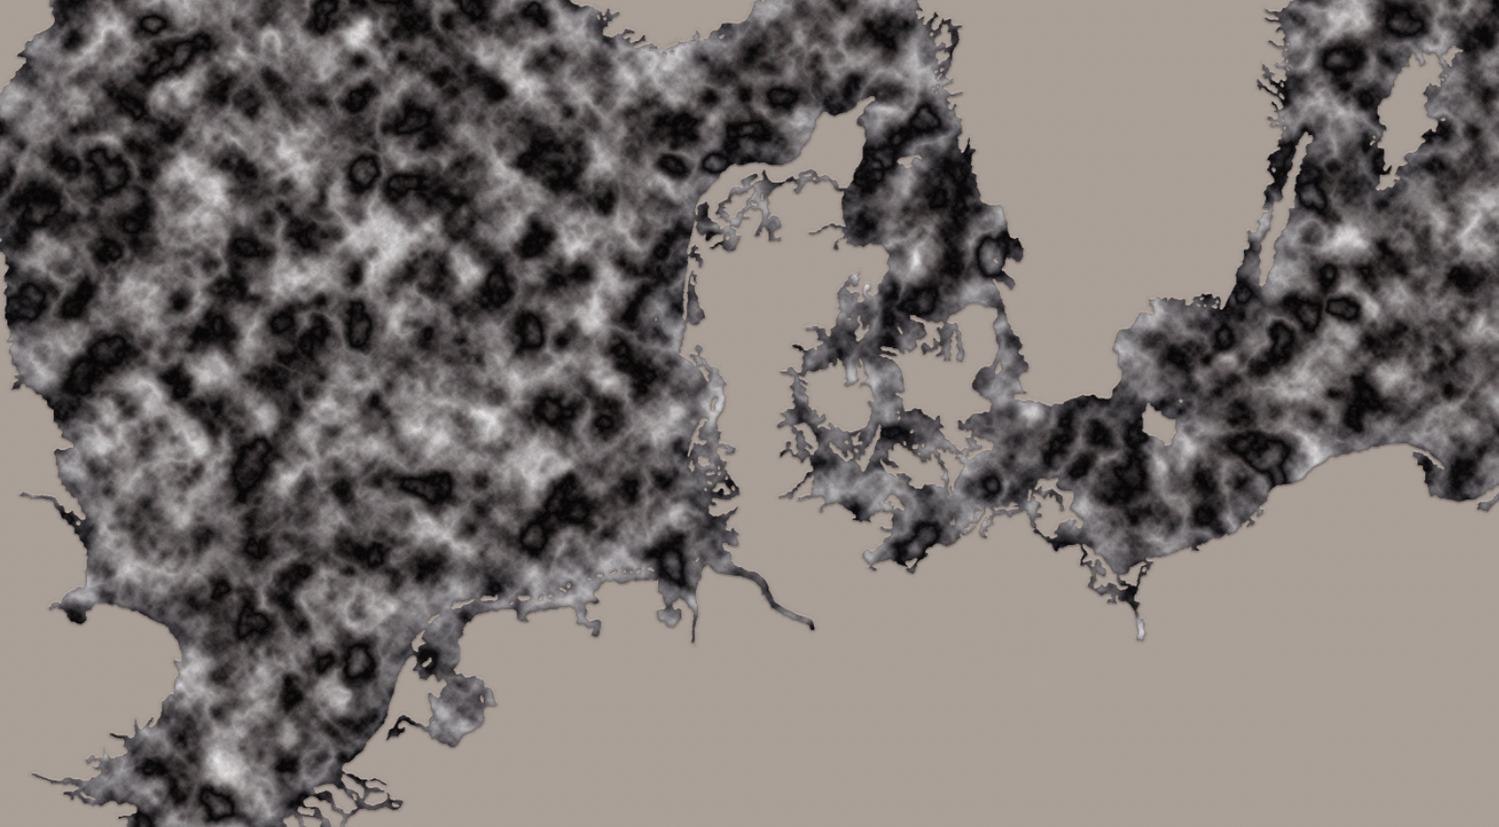
05- Filter -> Filter Gallery -> Glowing Edges
06- Lowering the layer’s opacity to 70%
07- Placing Sea_texture layer under Sea_color
Then getting a texture similar to this:
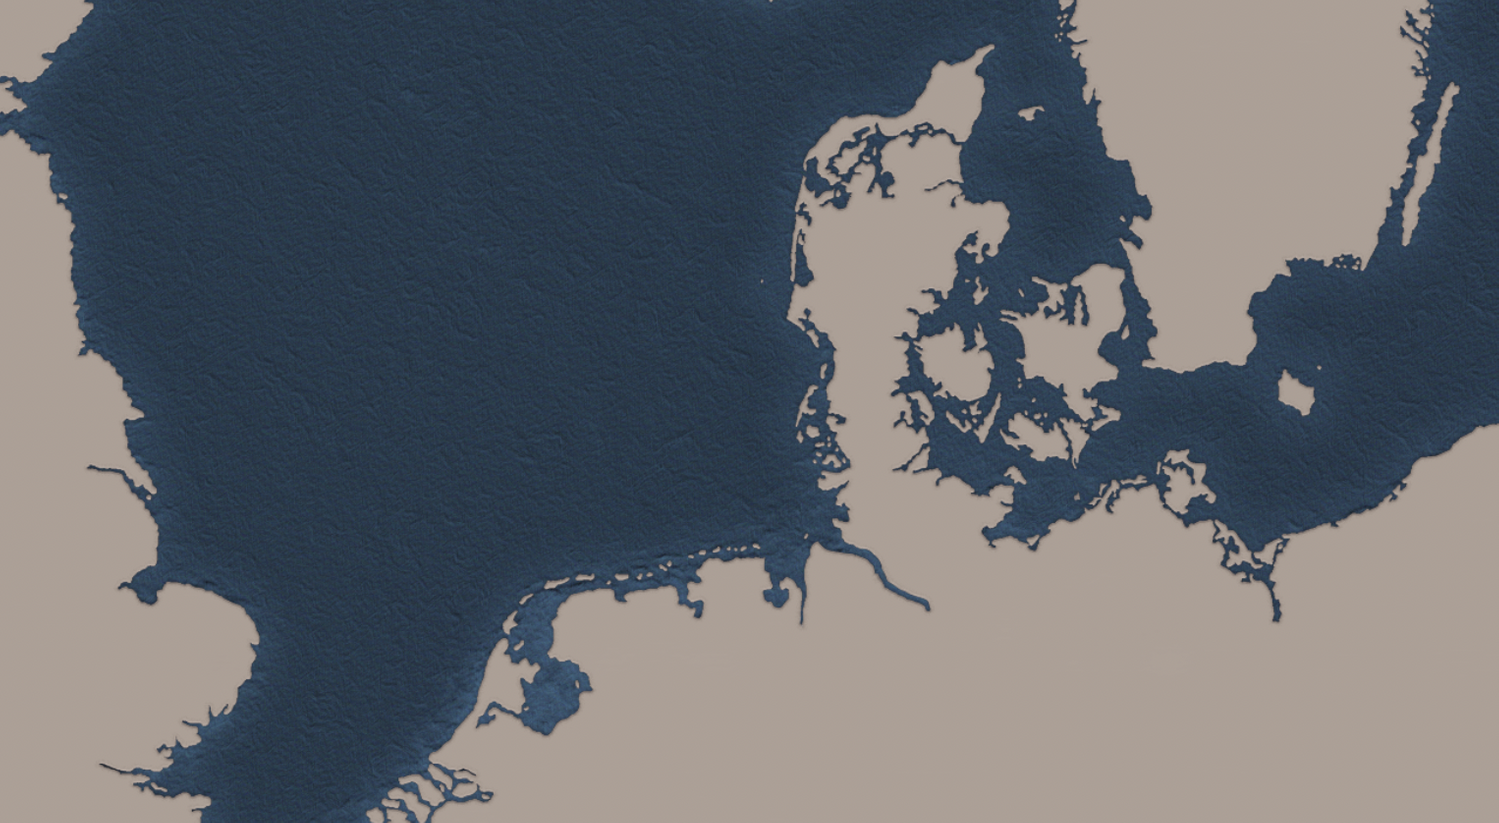
And for final touches I added a foam effect to the sea to achieve a more realistic look.
So in this order:
01- New layer named Sea_foam above Sea_color
02- Specs:
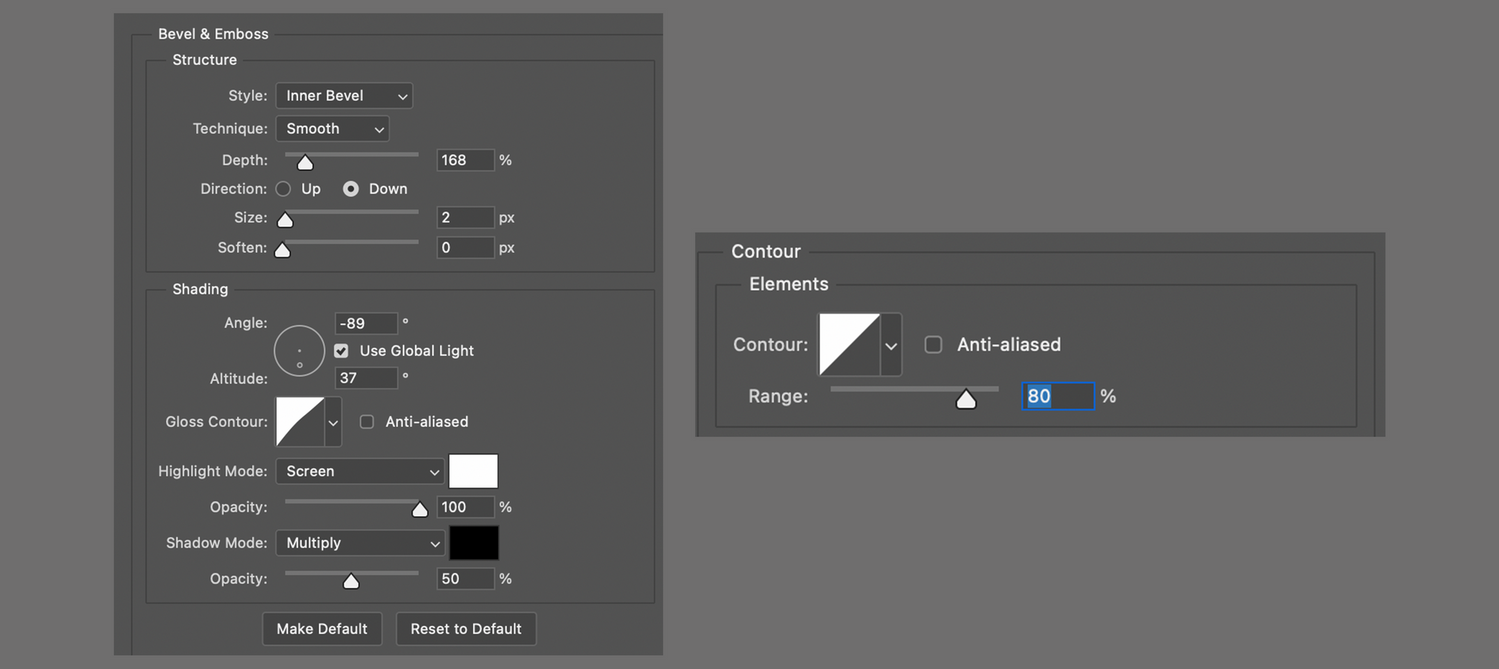
03- And with Splatter Brush to 80% Opacity -> Color: White painting the coastal areas:
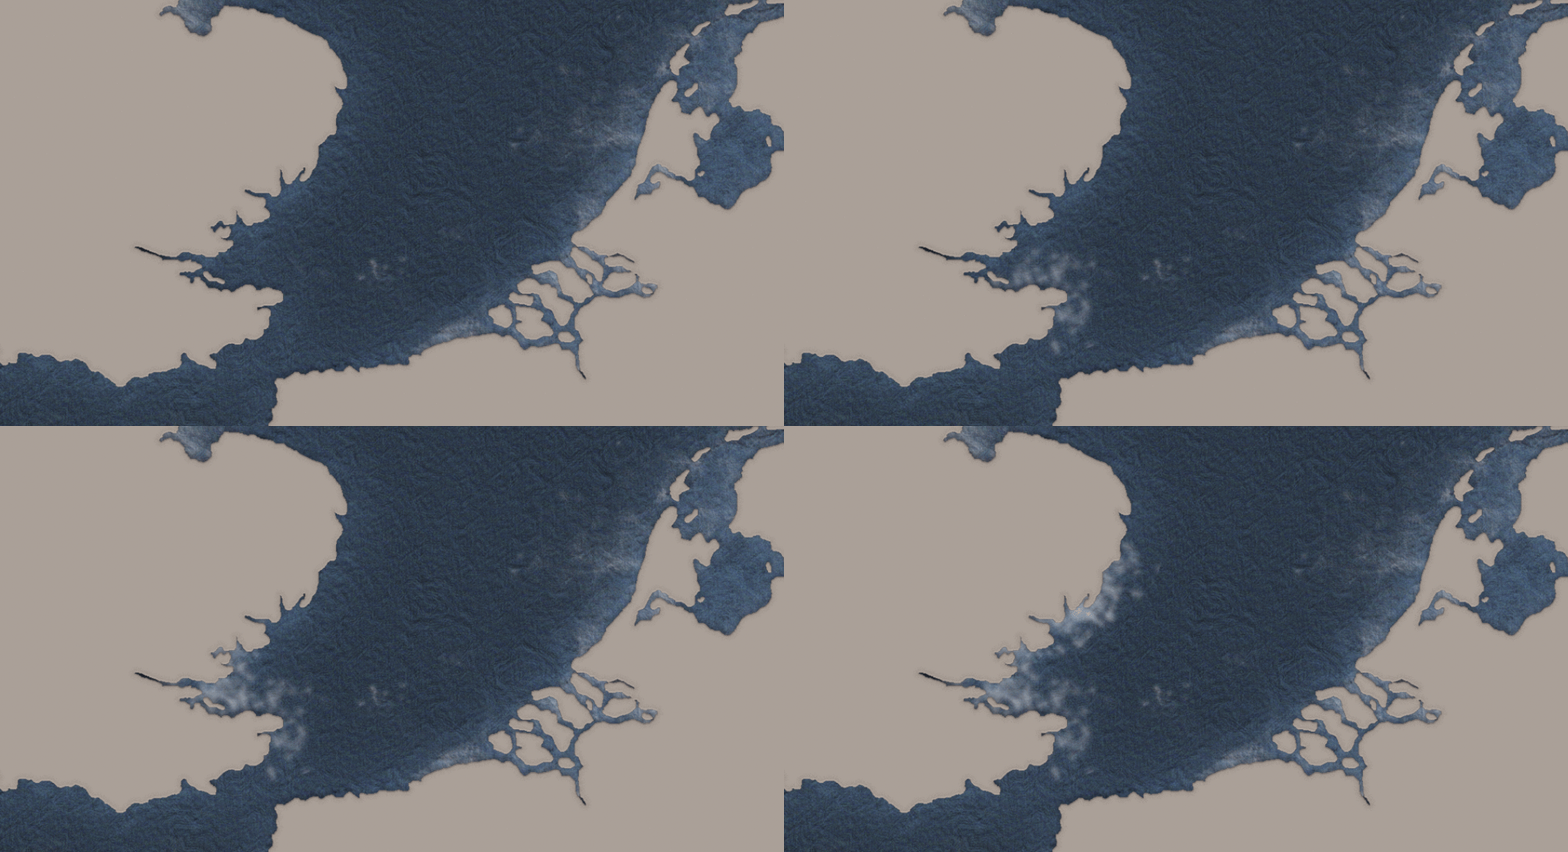
04- I then used an Eraser brush to sharpen the splatter strokes, to eventually make it 'pop' around the edges:
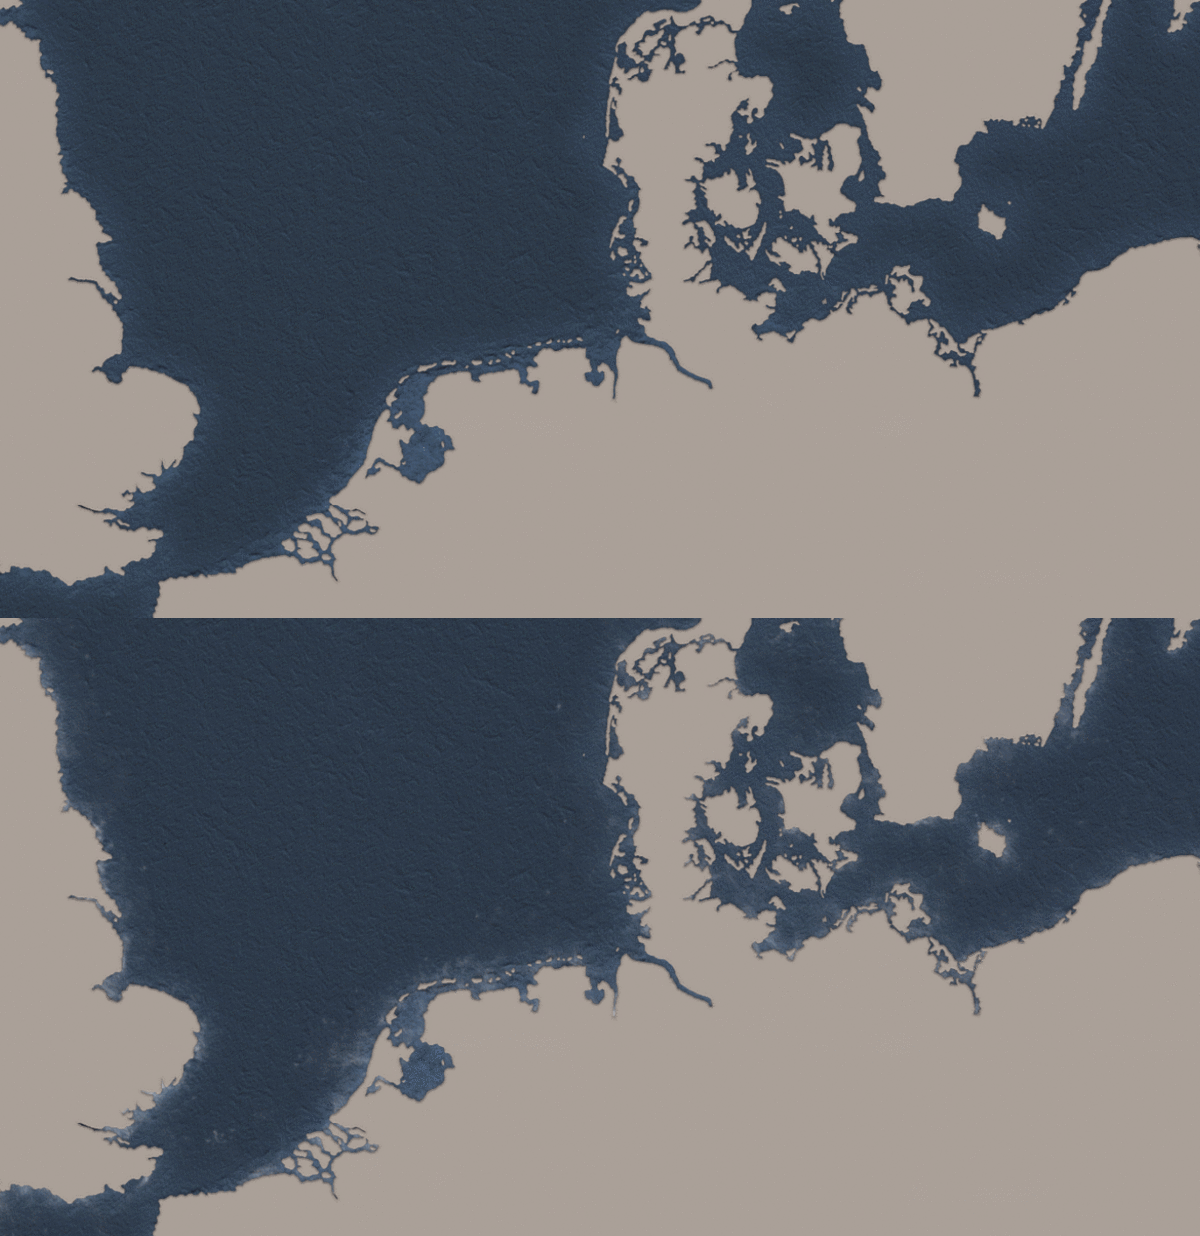
And when turning visibility on in all layers I got the final result:
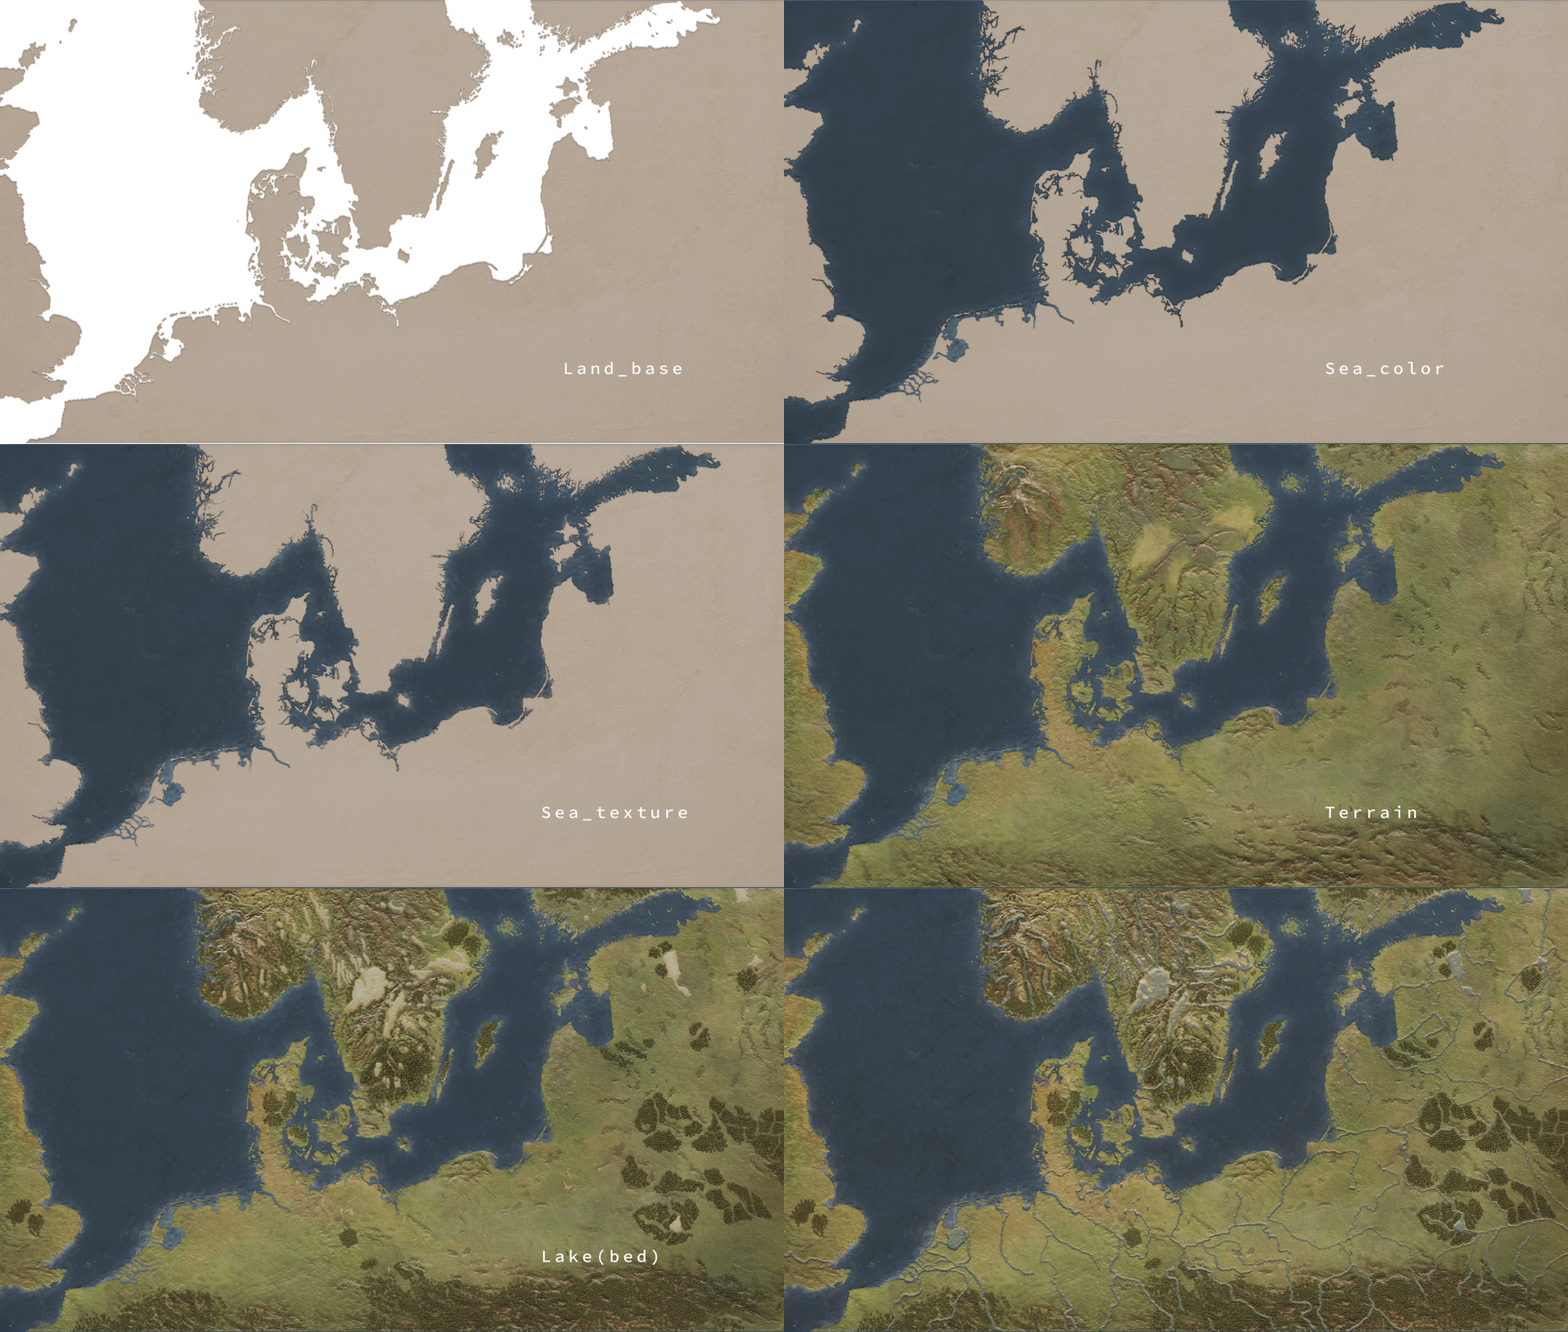
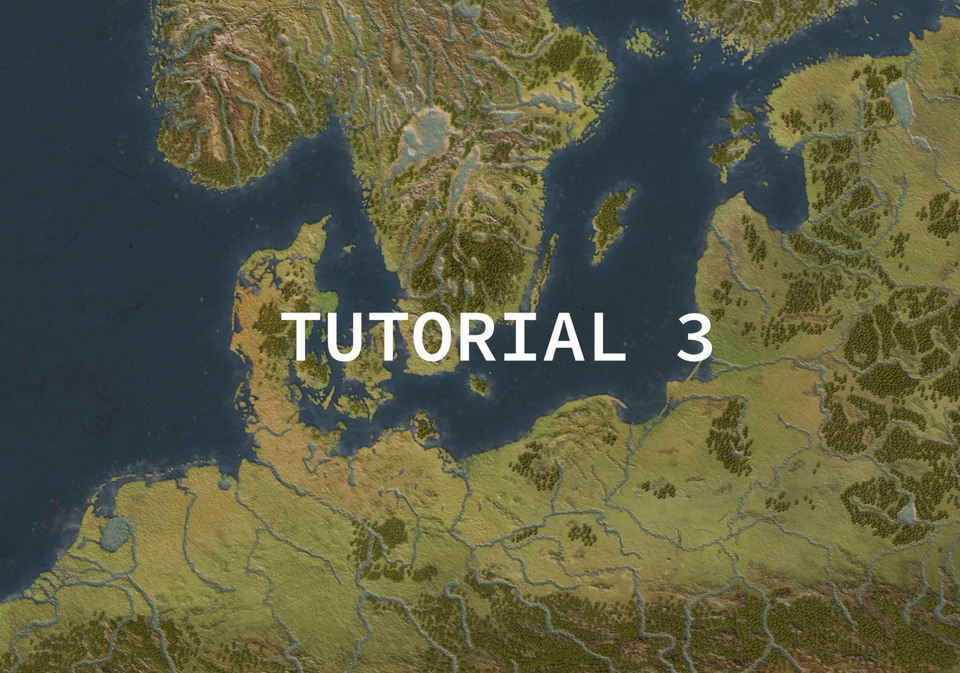
And that was it! After tweaking here and there, and applying different filters to it I ended up with something looking like this:
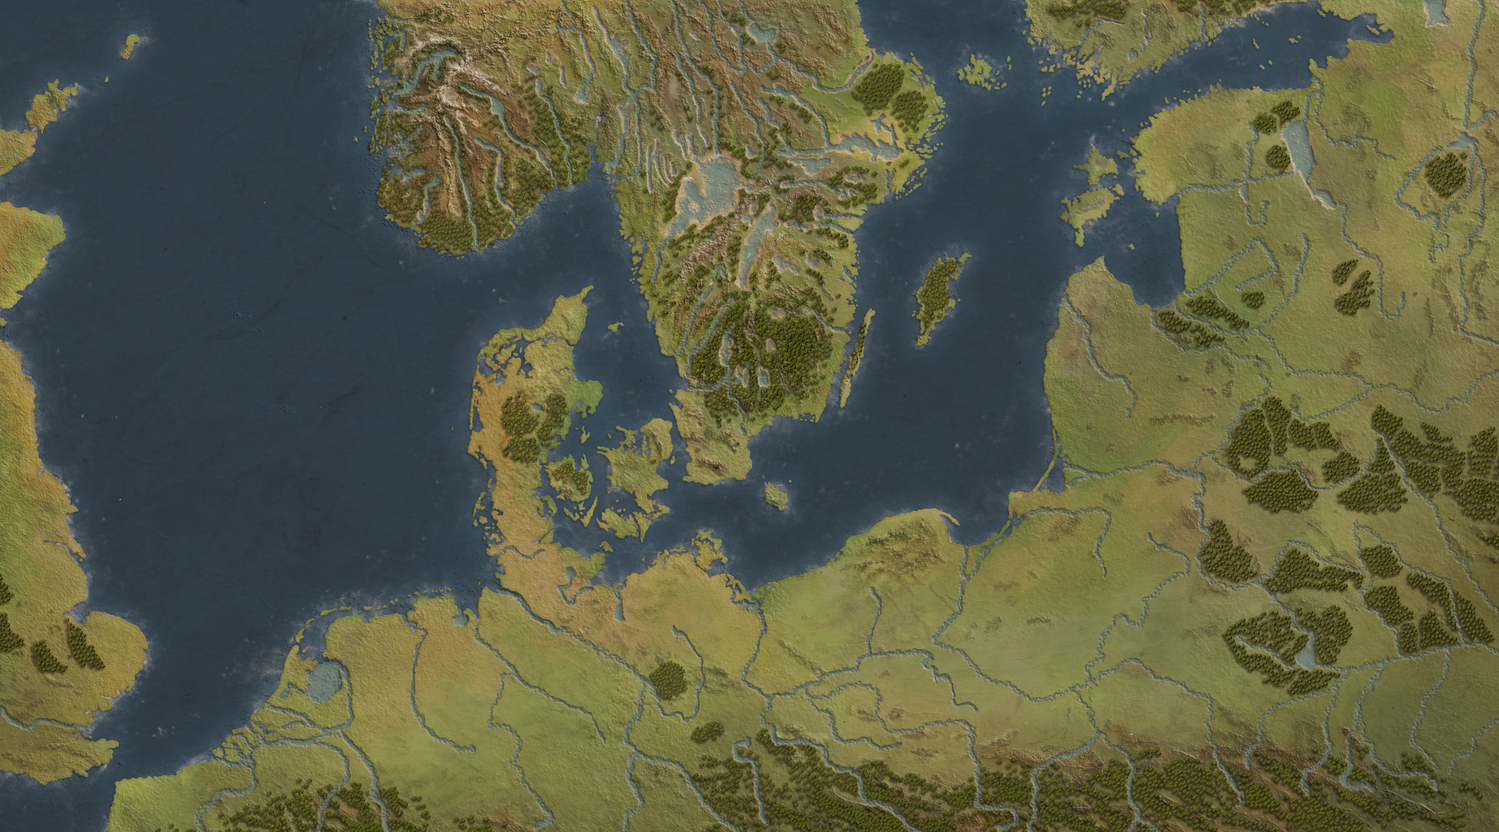
Am I content with the final result?
As a non-experienced cartographer, yes. As a perfectionist, no.
Things I would change today?
More forests! Happier shapes, happier trees.
Are there more practical ways of applying effects and using tools?
Definitely, I just don't know about them. Most of the results here are just a combination of mistakes, and making Photoshop crash. But as the great late Bob Ross used to say:
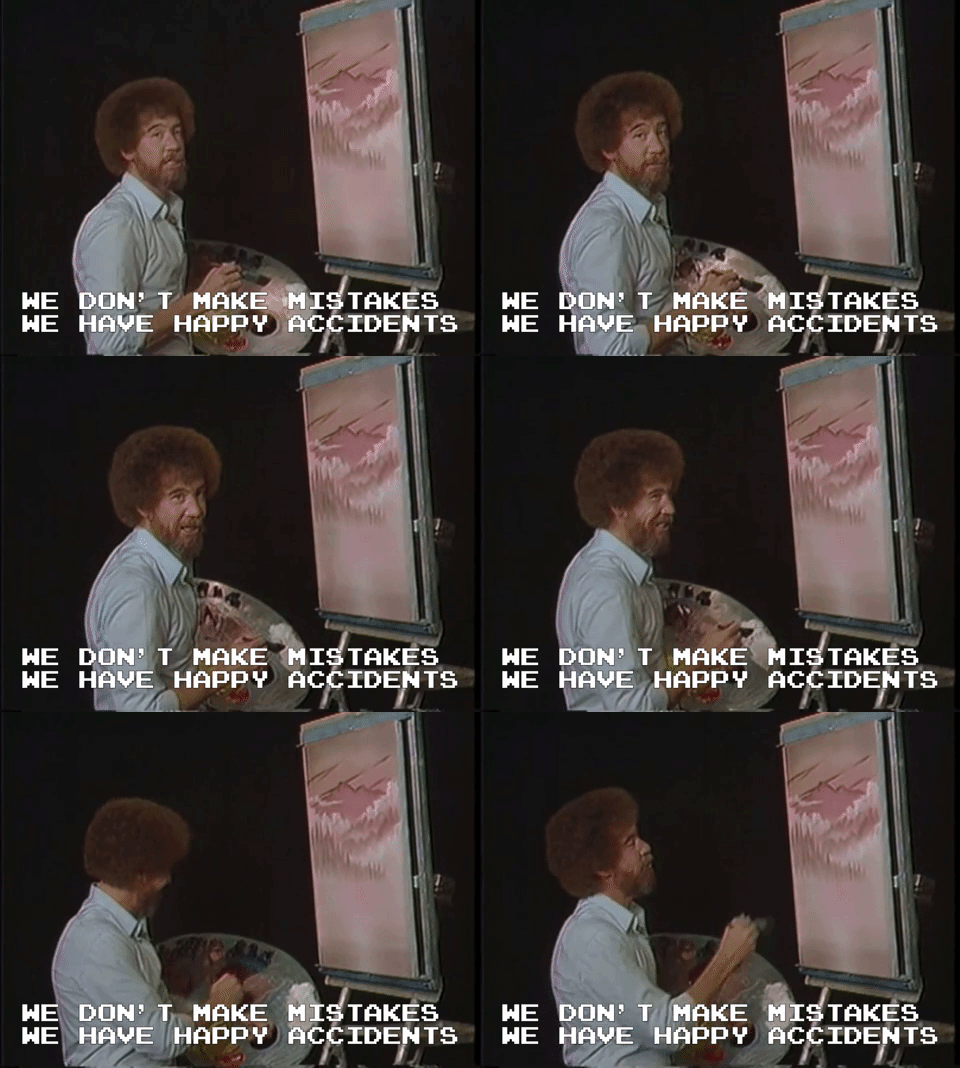
I wish you many happy accidents!
- Tawatha
#tutorial #freelance #commission
I started by using the Mixer Brush Tool. Continuing with:
01. New layer named Forest
02. Applied these effects:
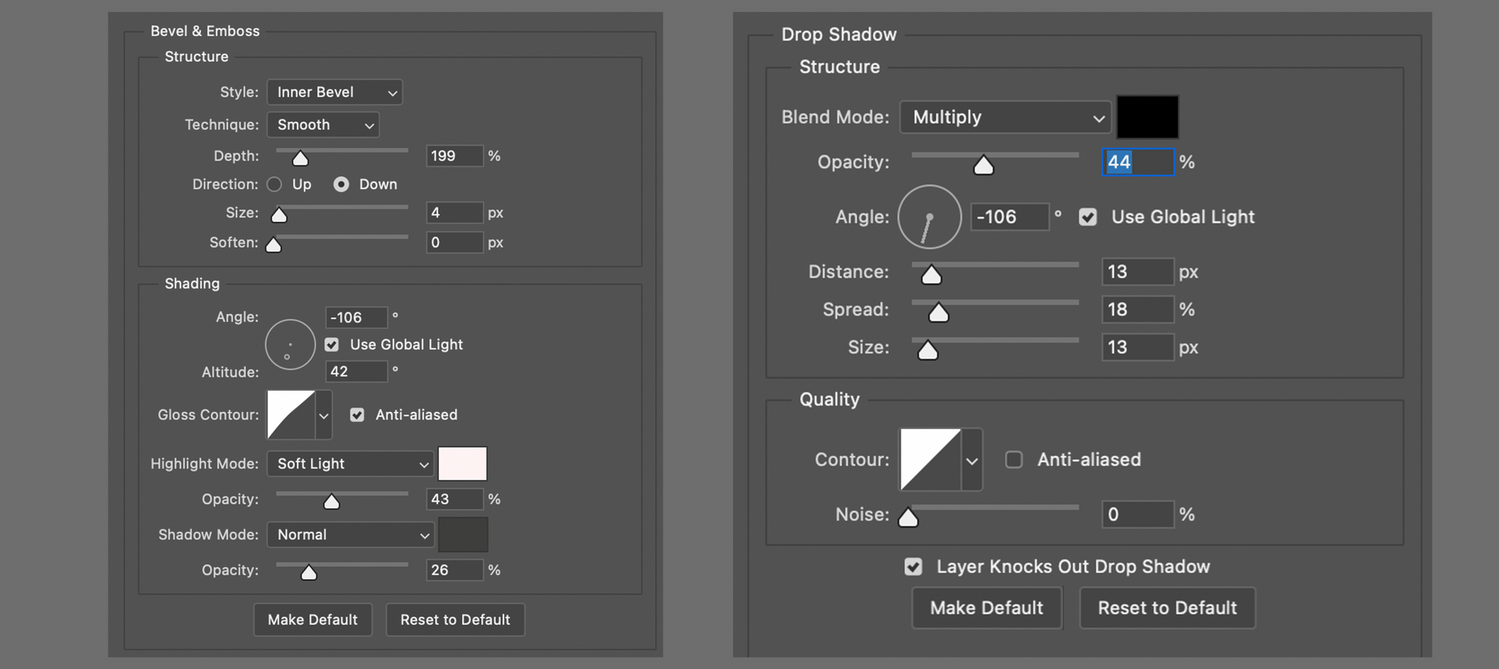
Looking like:
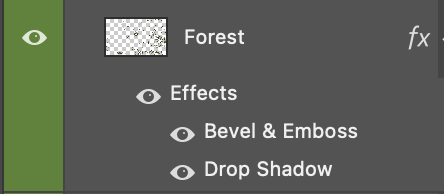
I then looked online for the easiest way to recreate a forest, which was to create a brush with a tree-top view .png file and therefore accelerating the process.
So in this order:
01. I created a separate New file named Tree_brush with specs Width: 29'7cm, Height: 21cm (A4)
02. Downloaded a free/paid tree-top view png file.
03. I then Place embedded.. the treetopview.png file of choice.
04. Then scaling the image transform -> scale or Command + T in a hit or miss style until I achieved the desired effect.
05. Selecting Mixer Brush Tool
06. Making sure the tip of the brush is round shaped. I used a General brush.
07. Changing the brush size to cover the entire tree.
08. Then hovering the mouse over a single tree to load the 'paint' (making sure there's no background visibility to avoid loading it as well.)
Specs looking like this:

If the tree has white boarders and hasn't been cleaned properly, then:
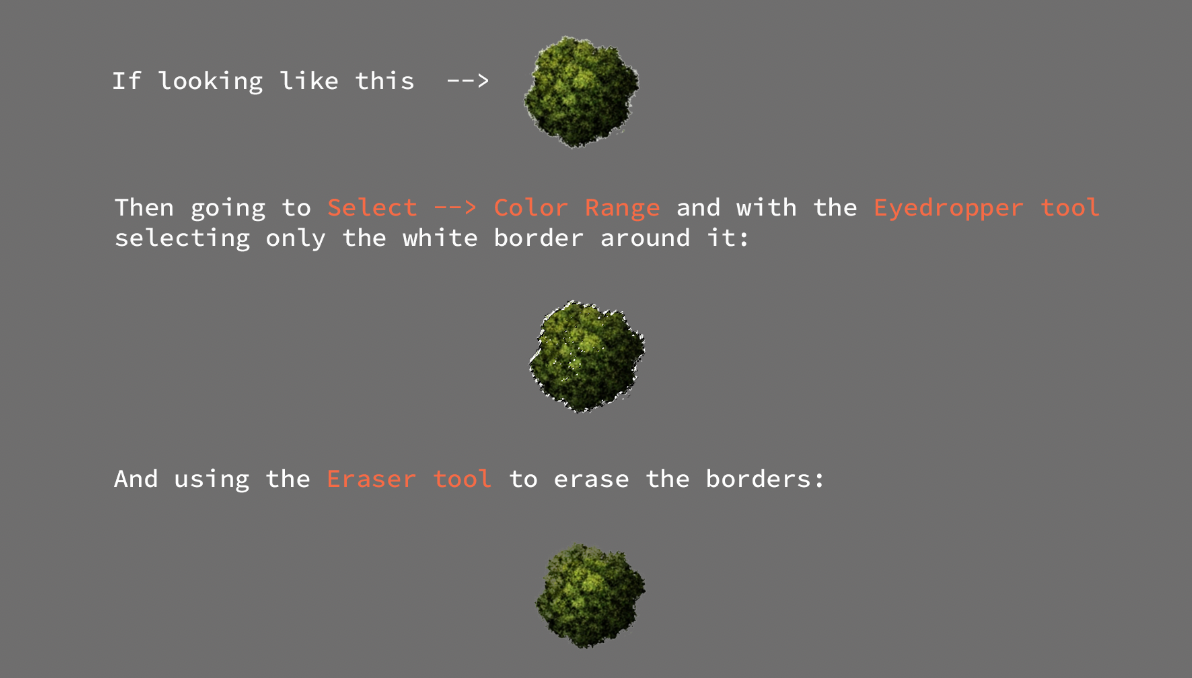
Next, I changed the Brush settings:
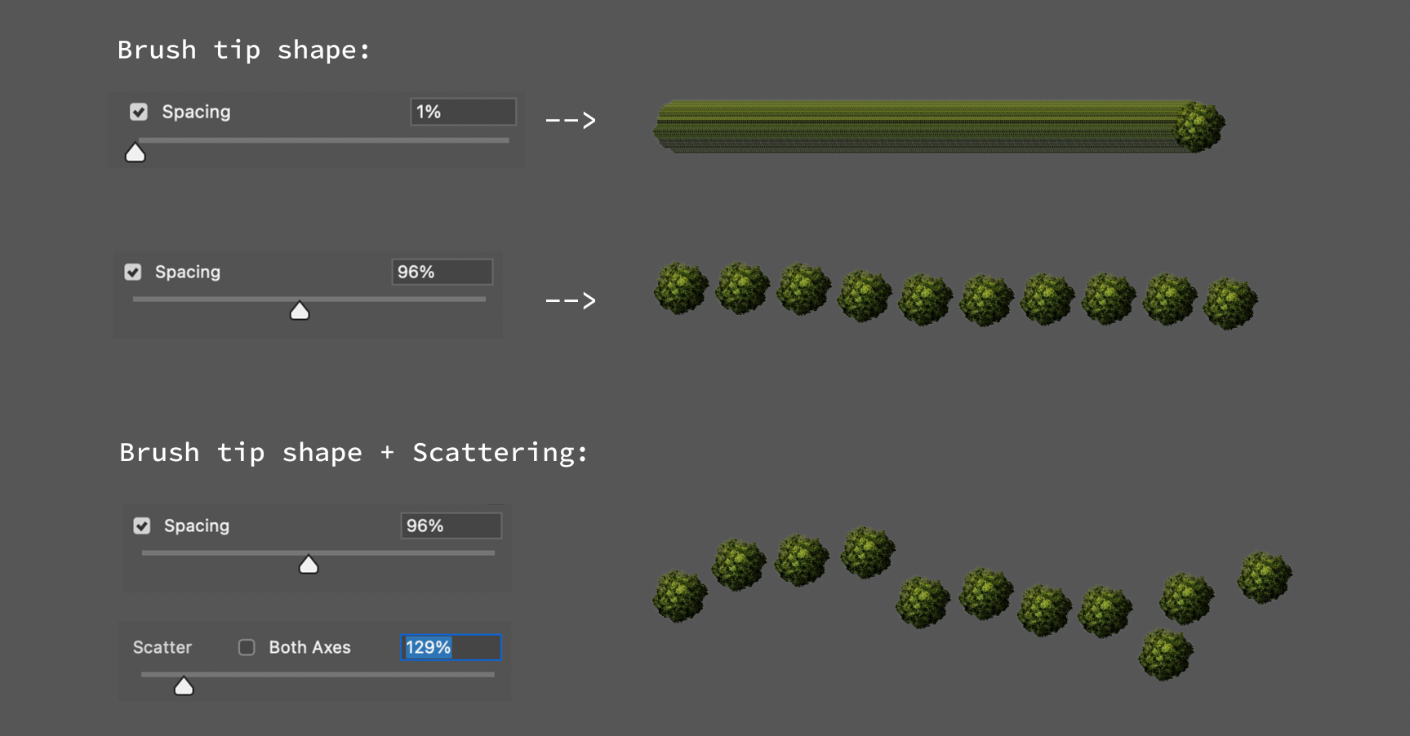
I went back to the main file and selected the forest layer and just played around with the new brush, changing sizes until it looked más o menos as intended.
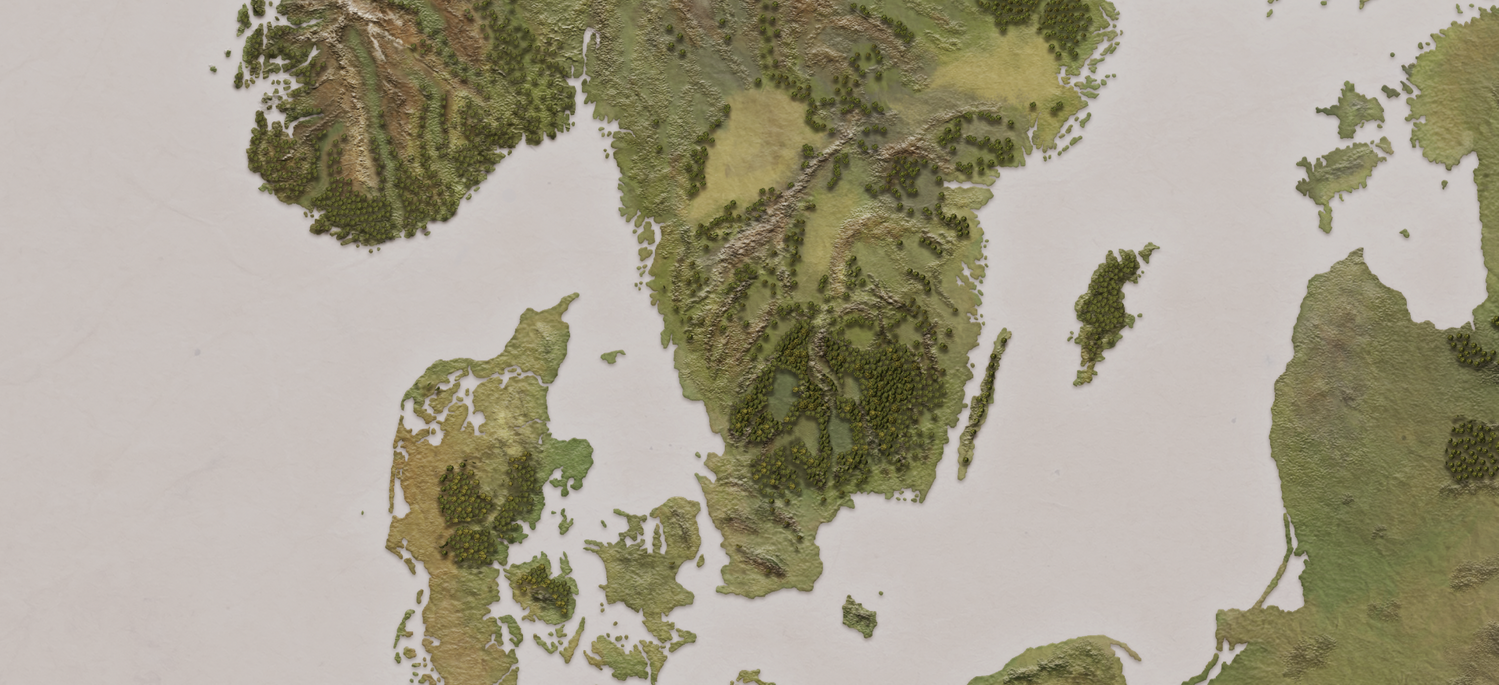
An important factor to remember is that the map is based in medieval times (1400s), meaning there were denser forests back then compared to the ones today.
In my case, I didn't use various trees because I didn't have the time to play around with details (I had already wasted a lot). Instead, I just changed the shape and color of the same tree to at least try to create a more interesting pattern.
So if you want to avoid monoculture plantations like I did, mix different trees.
I went back to my initial Outline layer, and traced all rivers and lakes of interest in a new layer named River_outline. This layer was used just for reference.
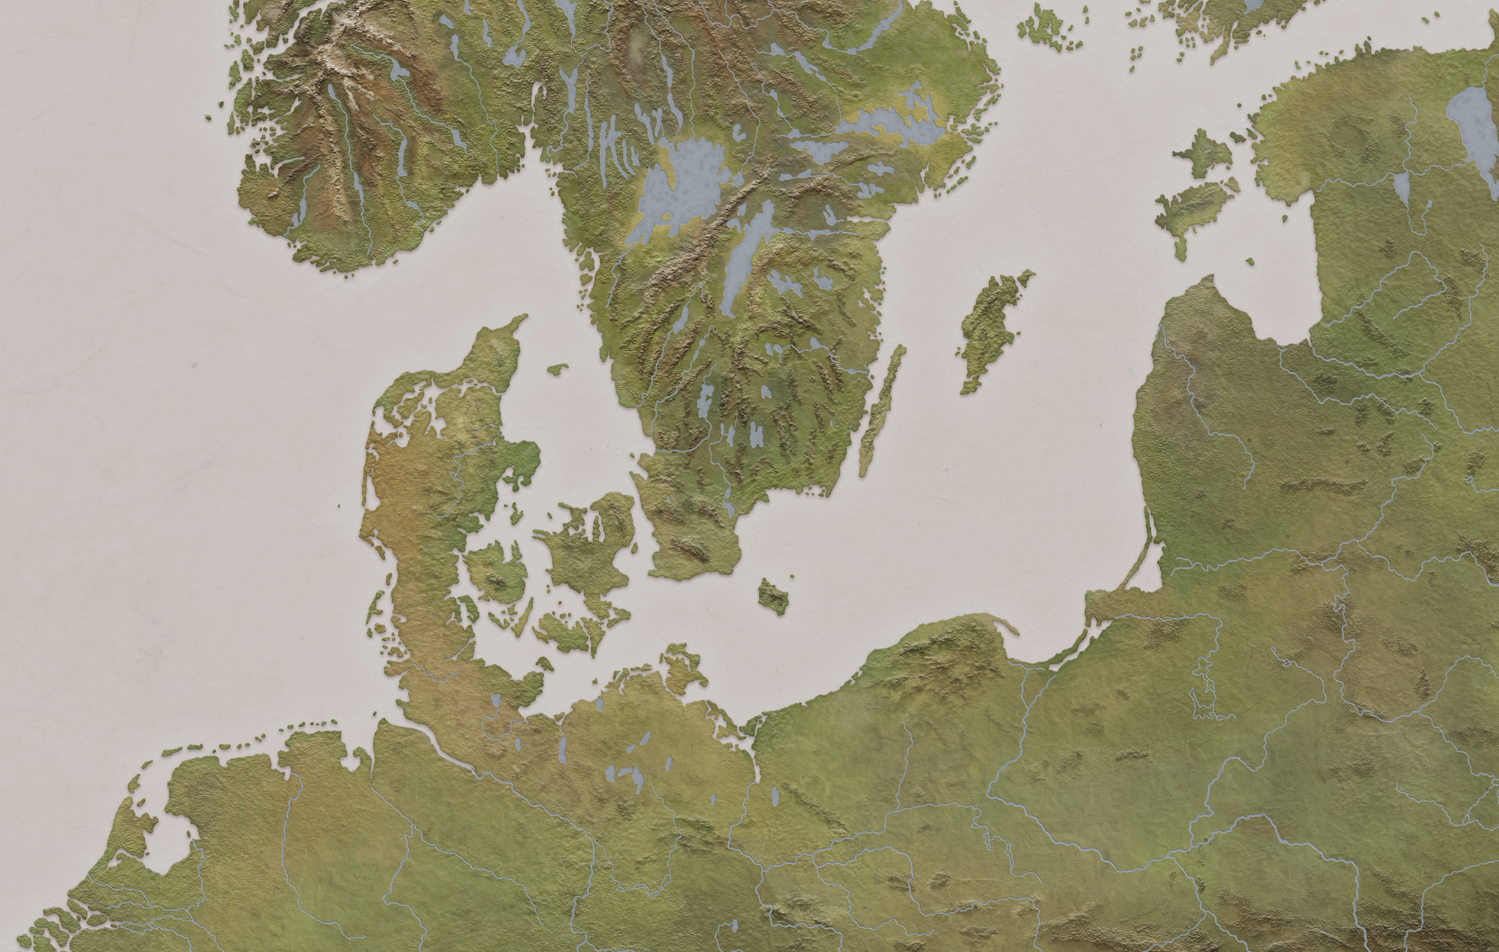
Next I moved on to draw the lake beds, creating a new layer lake(bed) and using these settings:
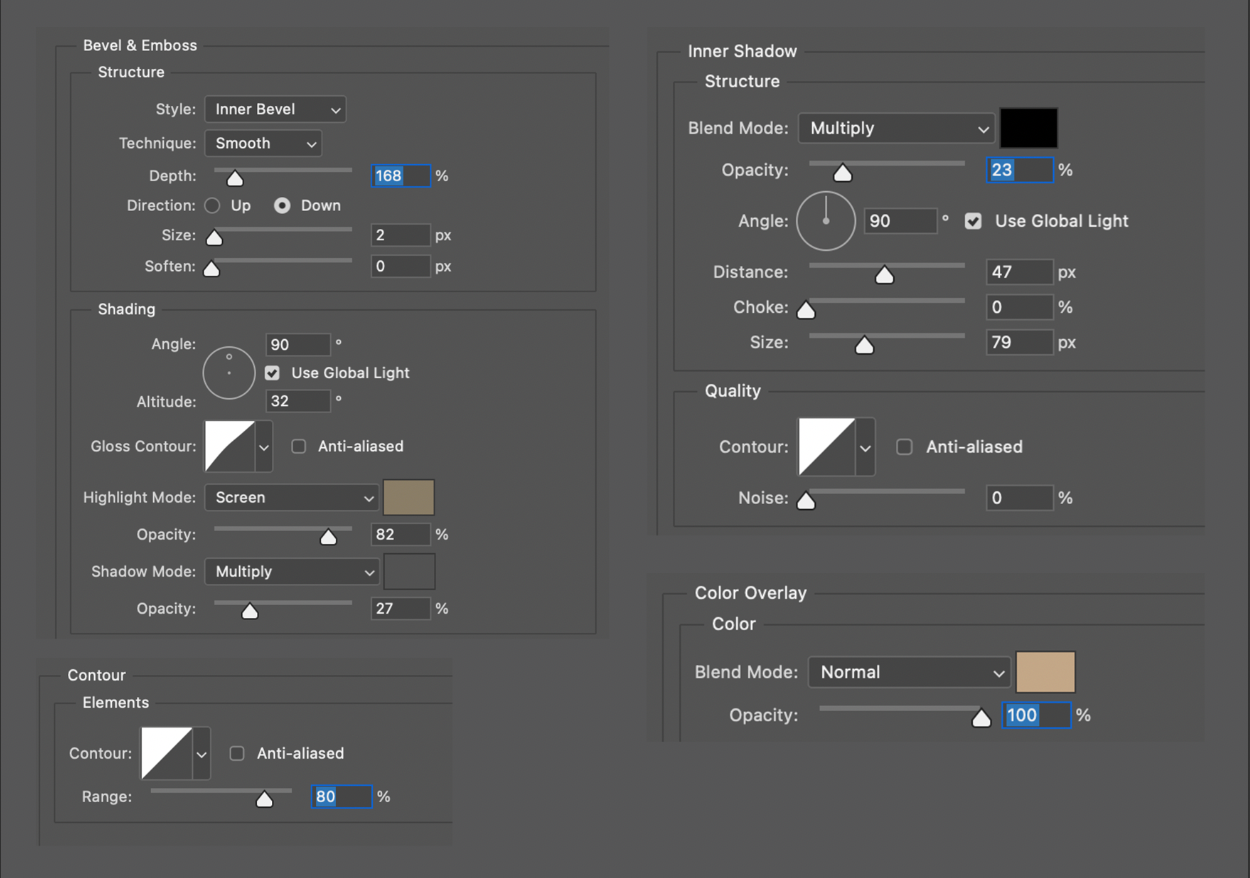
Looking like this:
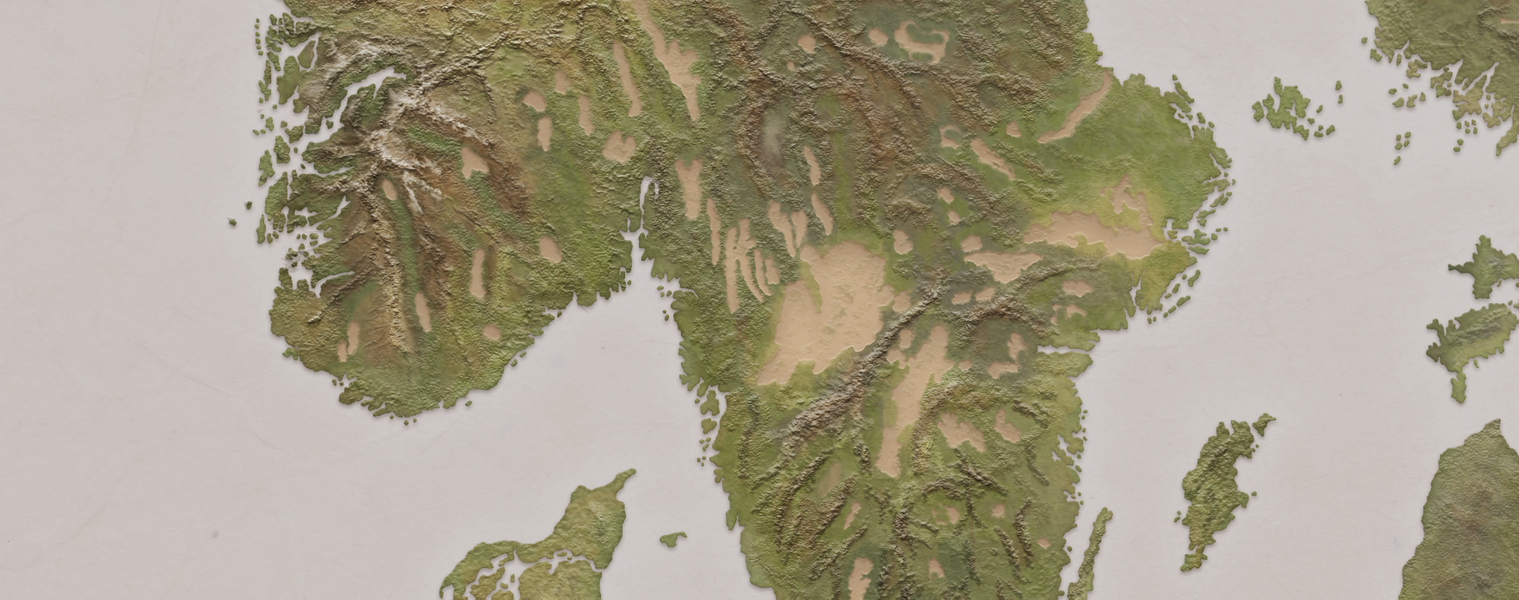
Next I created a new layer above lake(bed) named river/lake(water)with
specs looking:
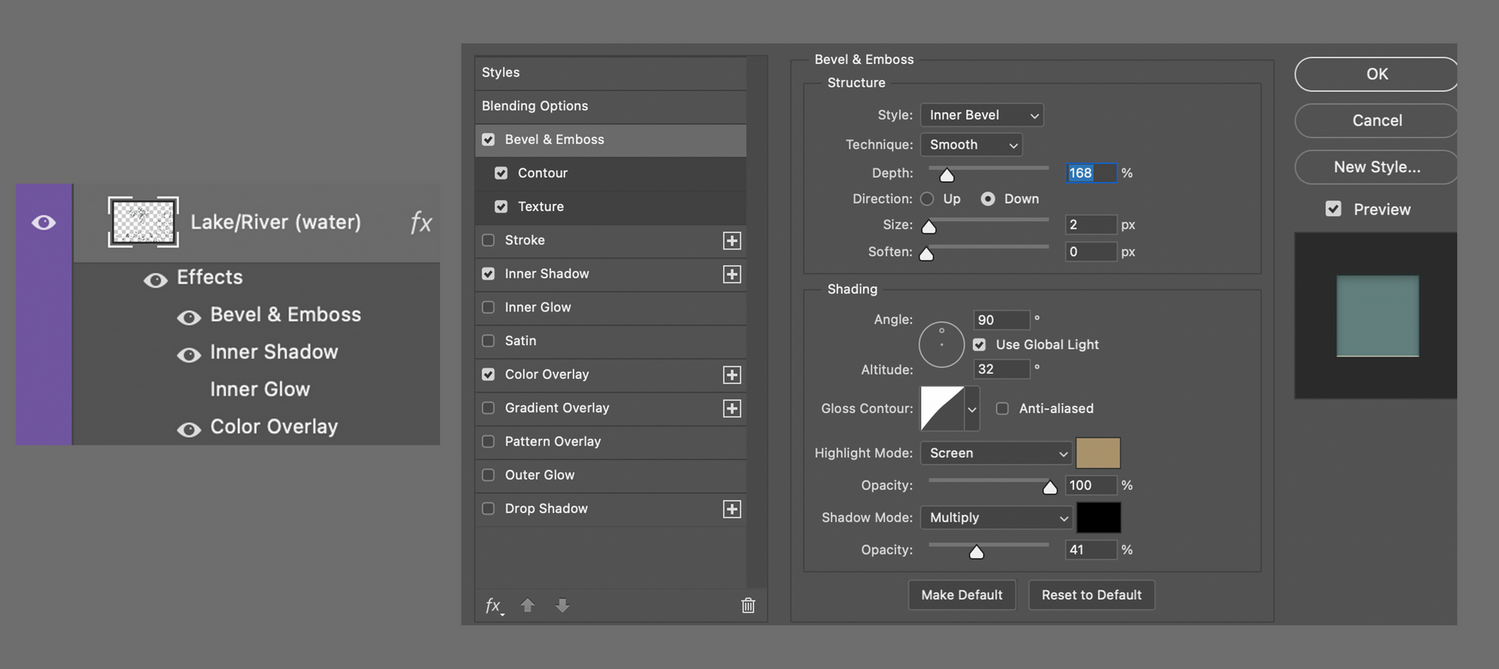
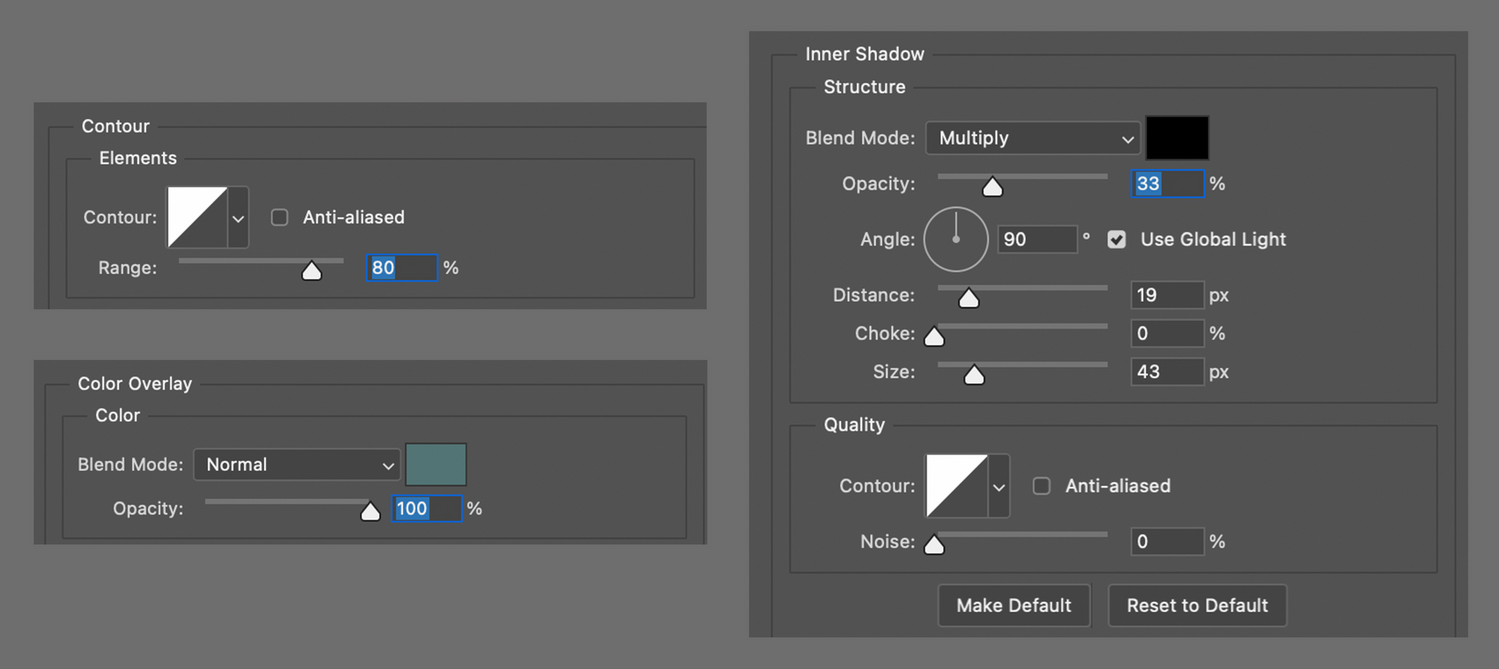
These settings will give the river the illusion of depth.
I then chose a brush of interest and started tracing the rivers following the river_outline layer placed under lake(bed):
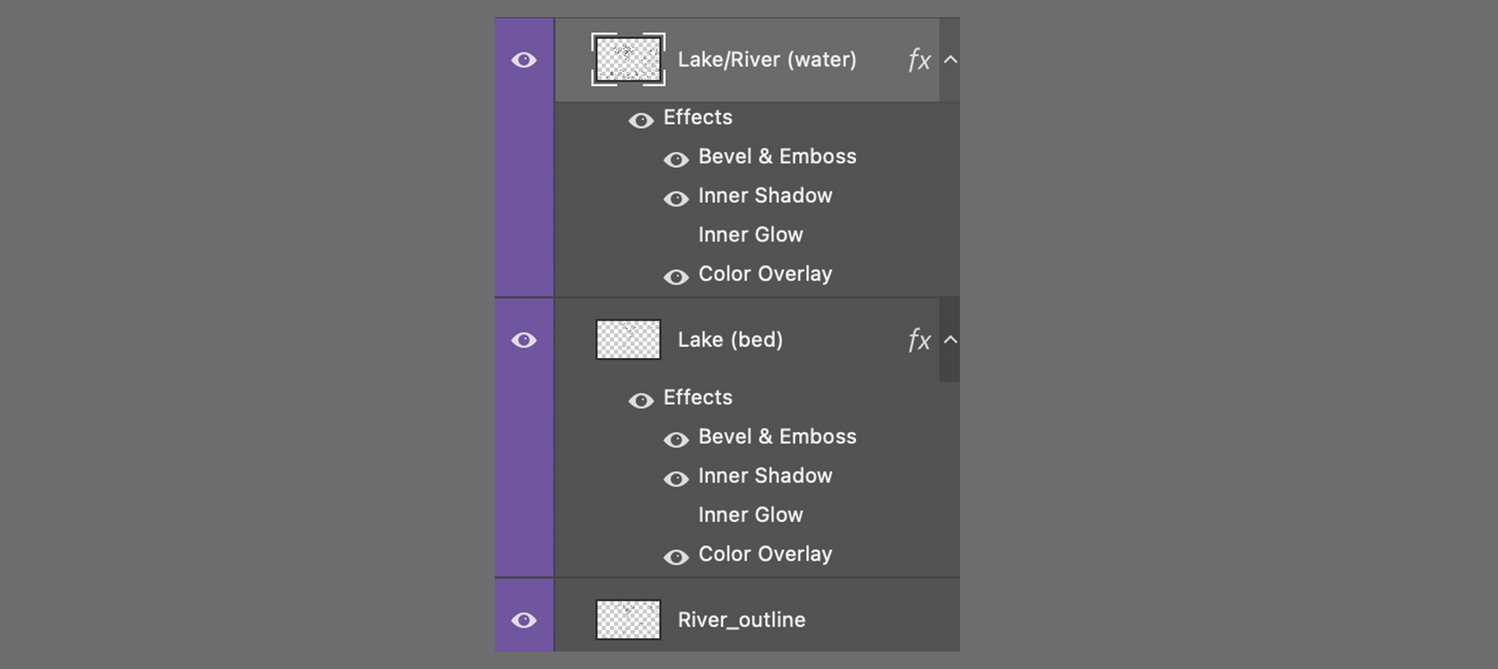
Result:
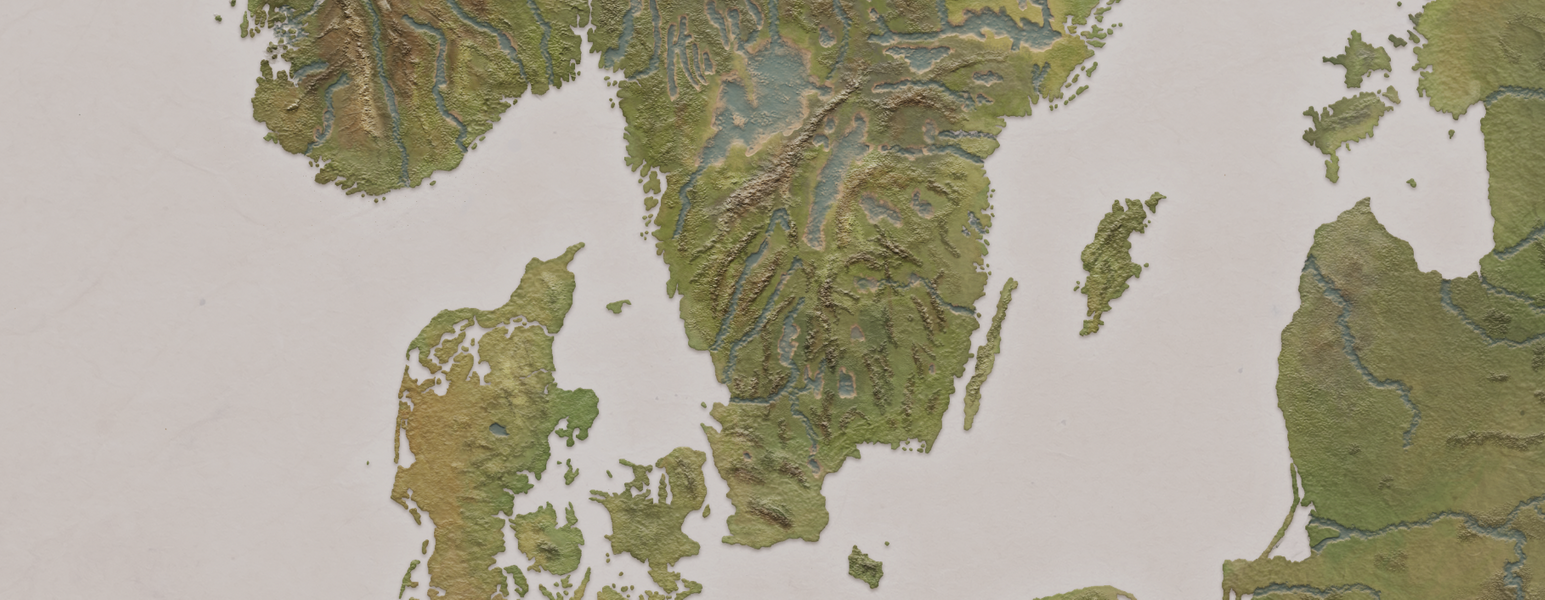
The rivers were made quite thick because later on in the game, assets like ships would have to sail through them.
And here you can see all layers so far with visibility on:
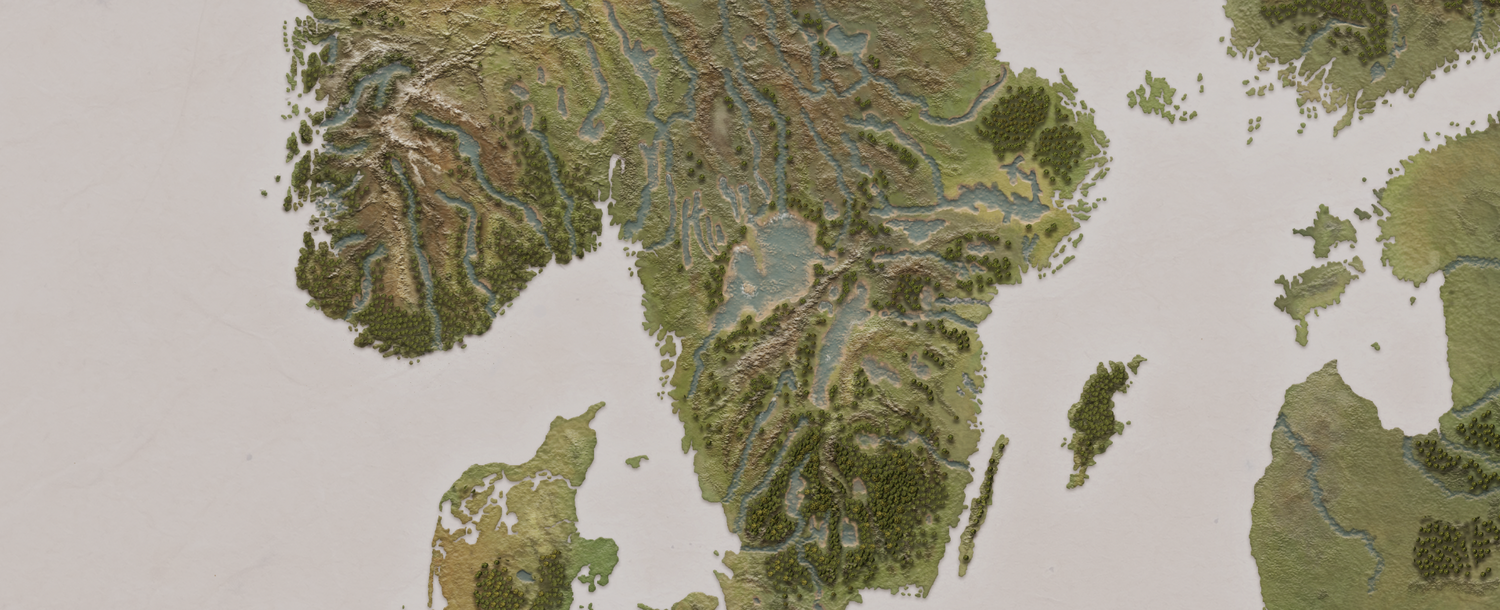
In Part III I'll finish off by making the sea and final touches.
Sep 15, 2021 · Commission · Freelance
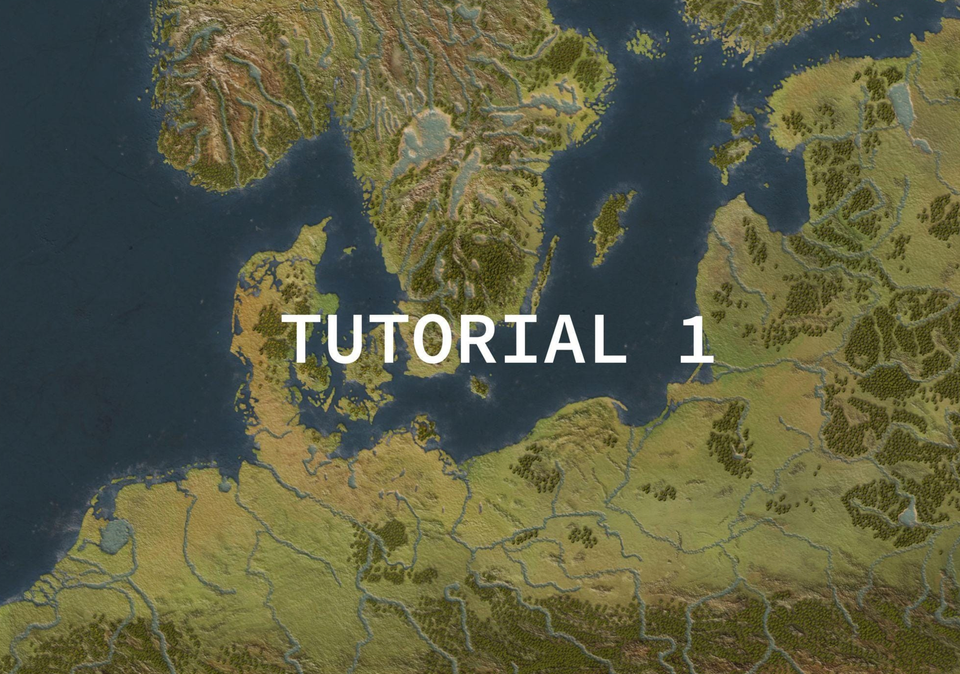
(Photoshop CC 2022)
In 2020, I was tasked to recreate a map for a medieval trading game based on the Hanseatic League in Central and Northern Europe.
I decided to give it a try and use the digital technique - what a quest!
I thought it'd be worth sharing the process and hope it will be of some use to someone struggling out there - as well as a self-reminder of my learning process.
I began by creating a new file in PS of 50 x 35 cm dimensions and 600 resolution.
Next, I looked online for a Northern European map and found a reference that served my purpose. I then uploaded the image to Photoshop and created a new layer named Outline to outline all land, rivers and lakes of interest.
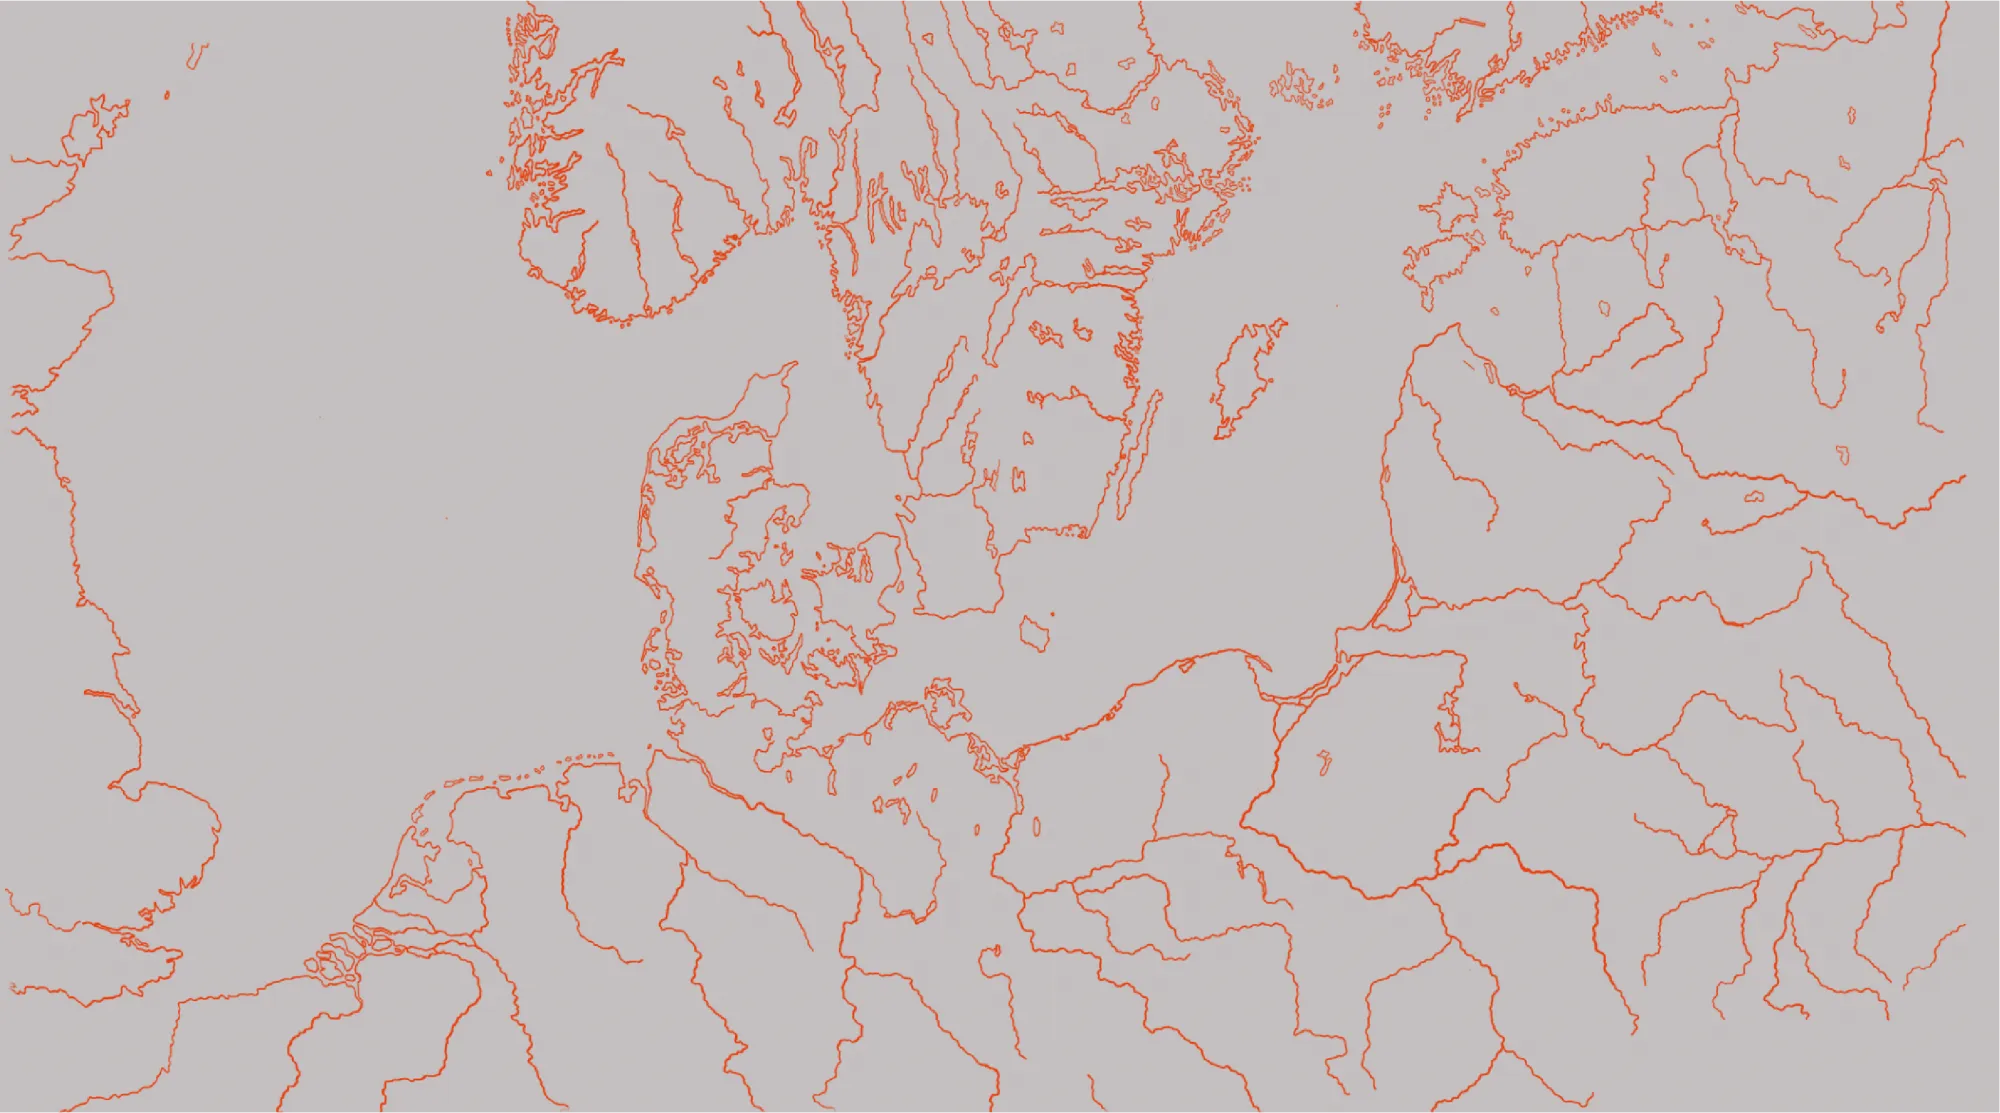
Next, I created a new layer and named it Land_base then placed it below the Outline layer. I then coloured in Land_base with the Paint Bucket Tool after making sure there were no gaps between the lines. Looking like this:
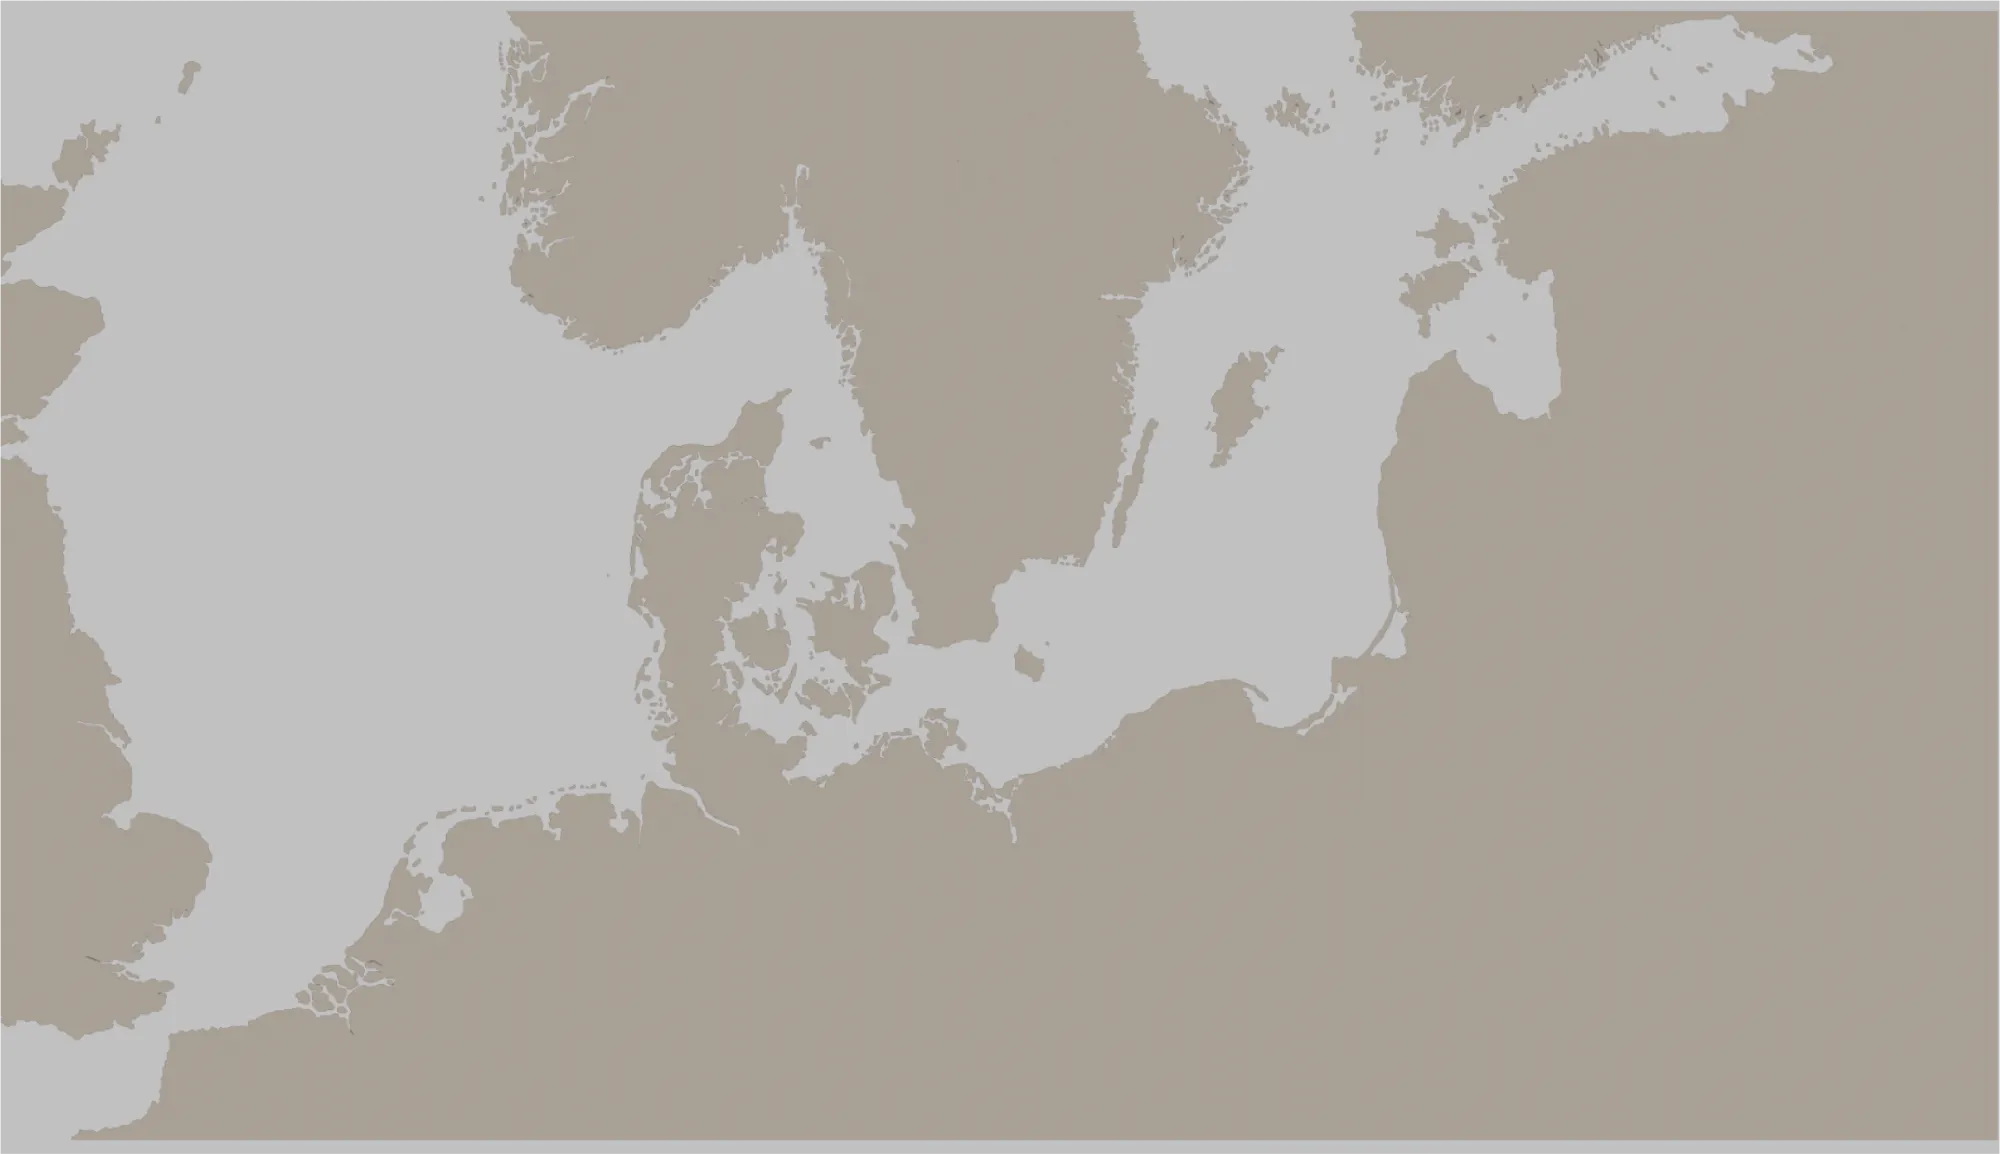
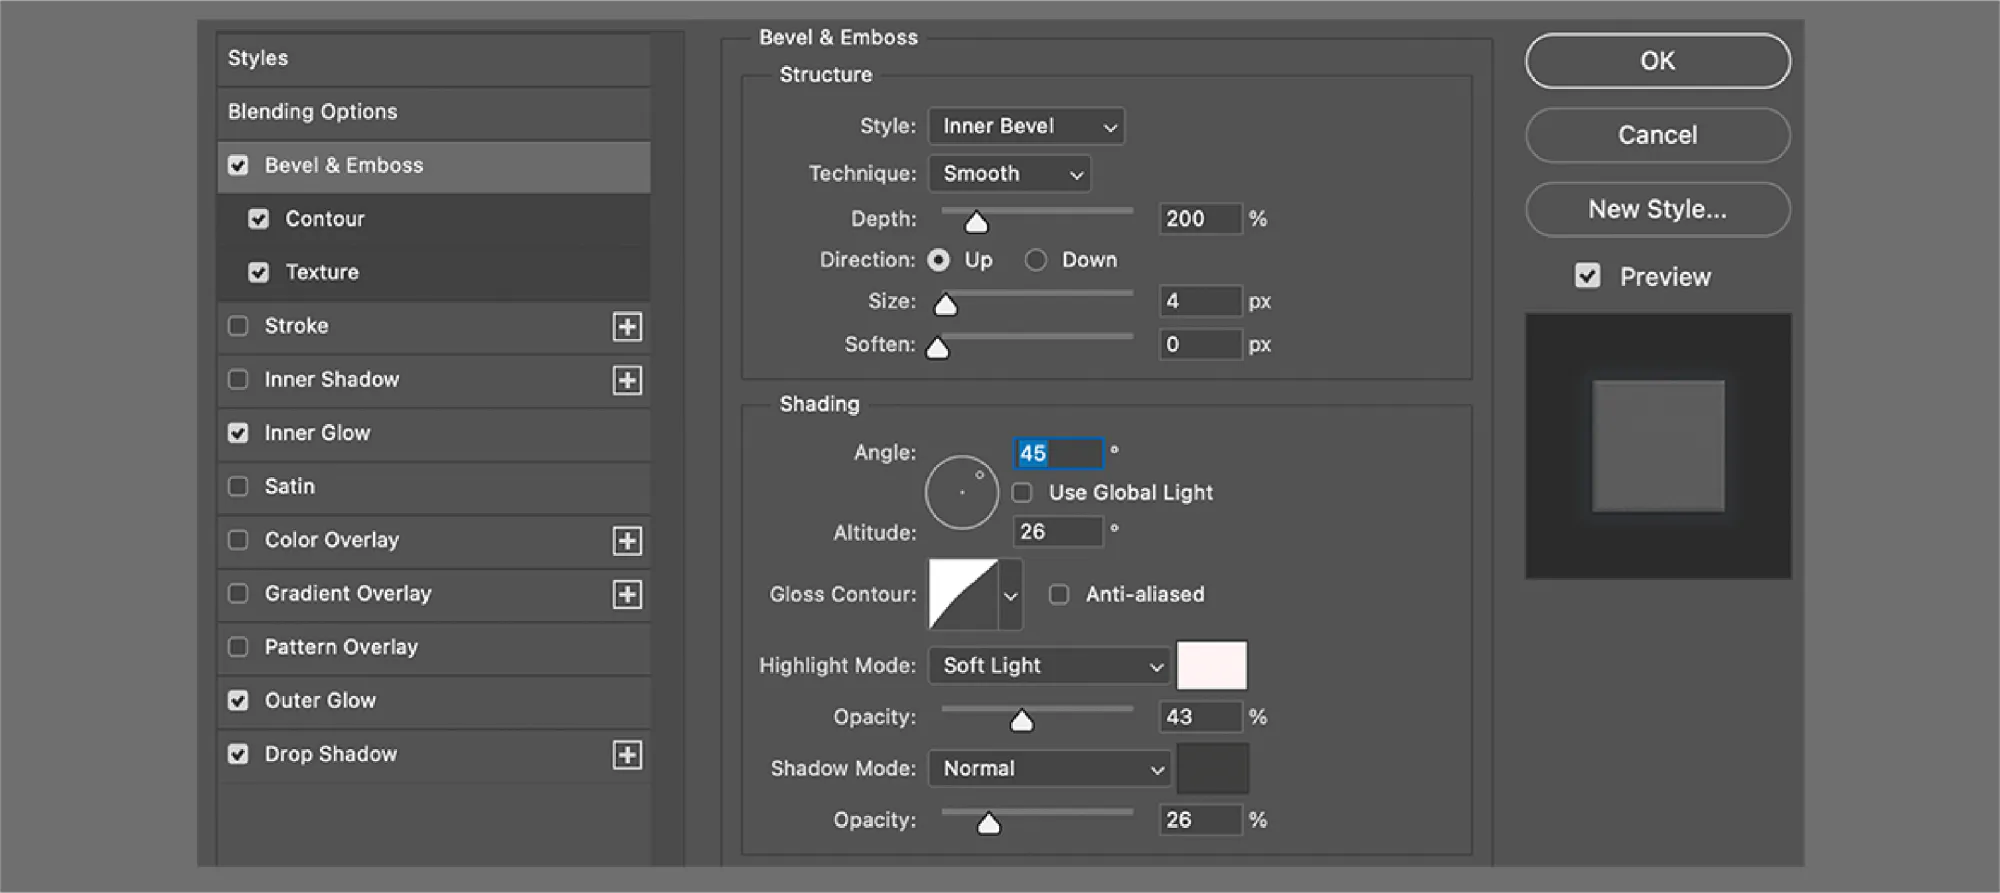
To create the illusion of depth (or relief) I selected Land_base and went to Add a layer style -> Blending options and started tweaking around with Bevel & Emboss first:
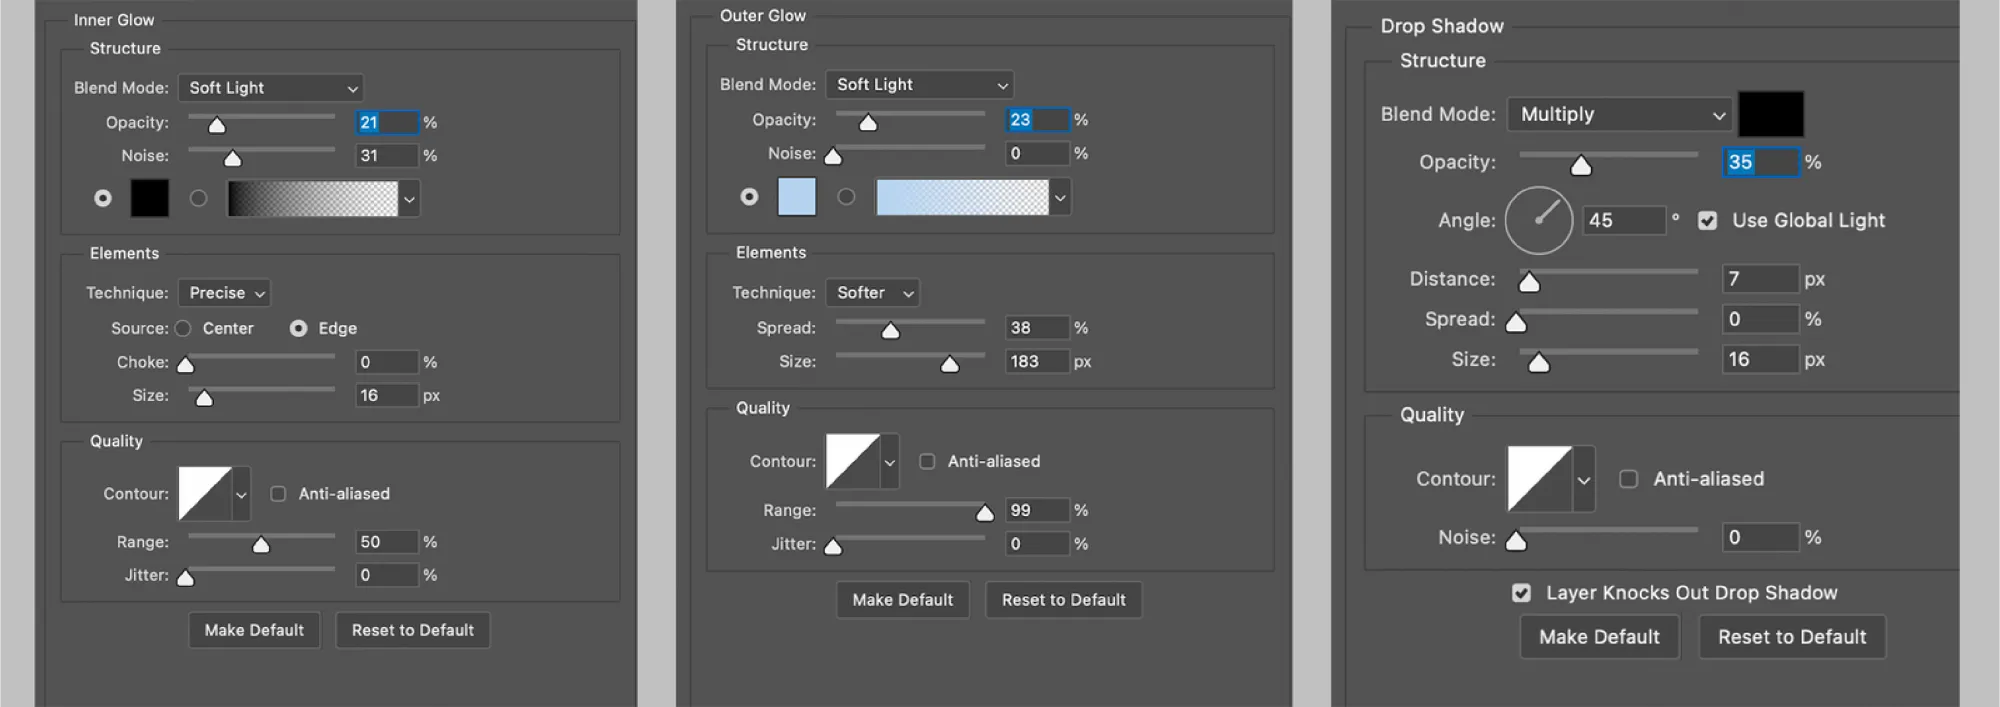
I moved on to adjust Inner Glow , Outer Glow and Drop Shadow :
I ended up with this result:
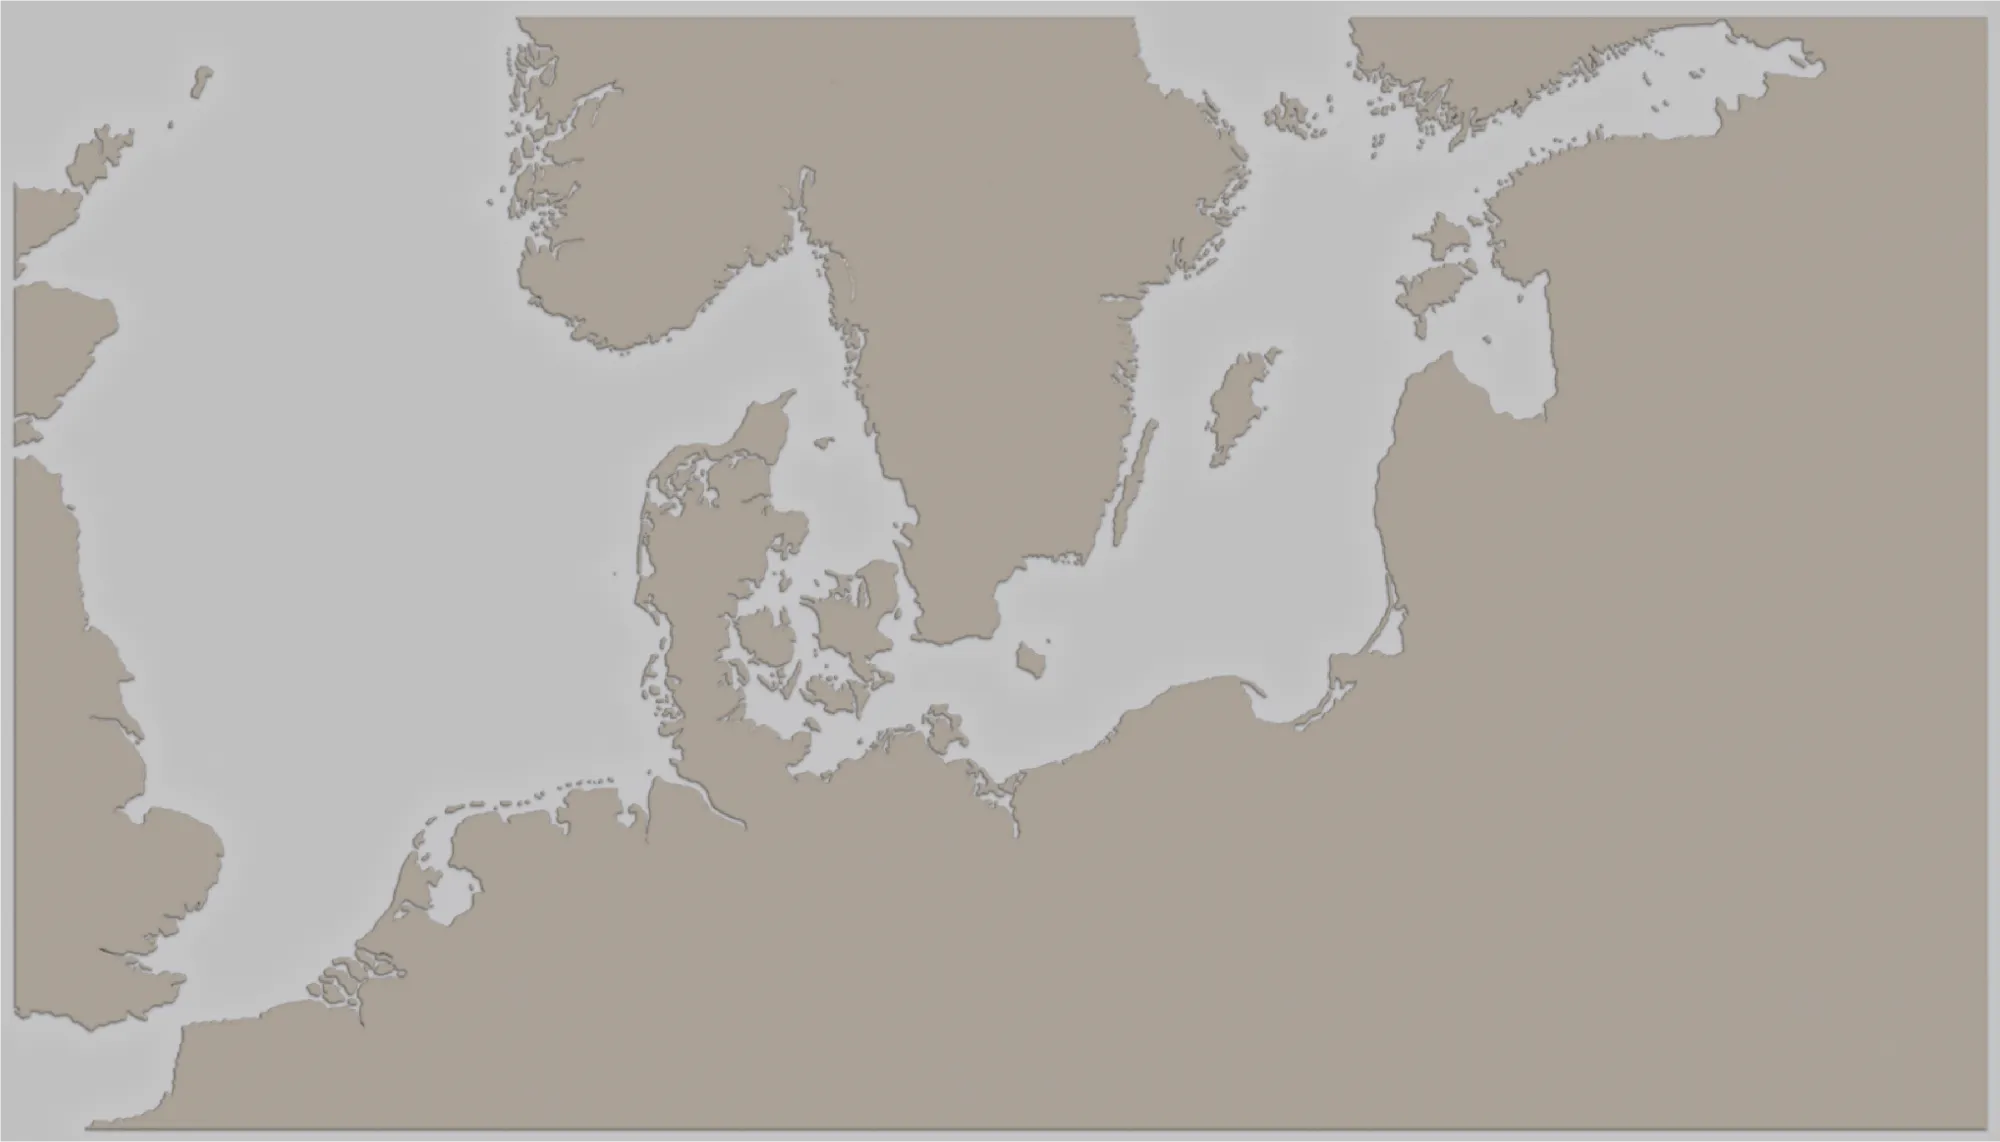
This was the tricky part—to create a terrain texture (or topographic look), I had to dig online until I found someone with the alias Online-Tabletop who had tested some adjustments that matched what I was looking for.
So in this order:
01. Creating a new layer above Land_base named Terrain.
02. Applying Land_base -> Clipping mask -> Terrain.
03. Going to Add a layer style -> Blending options.
04. Setting these adjustments:
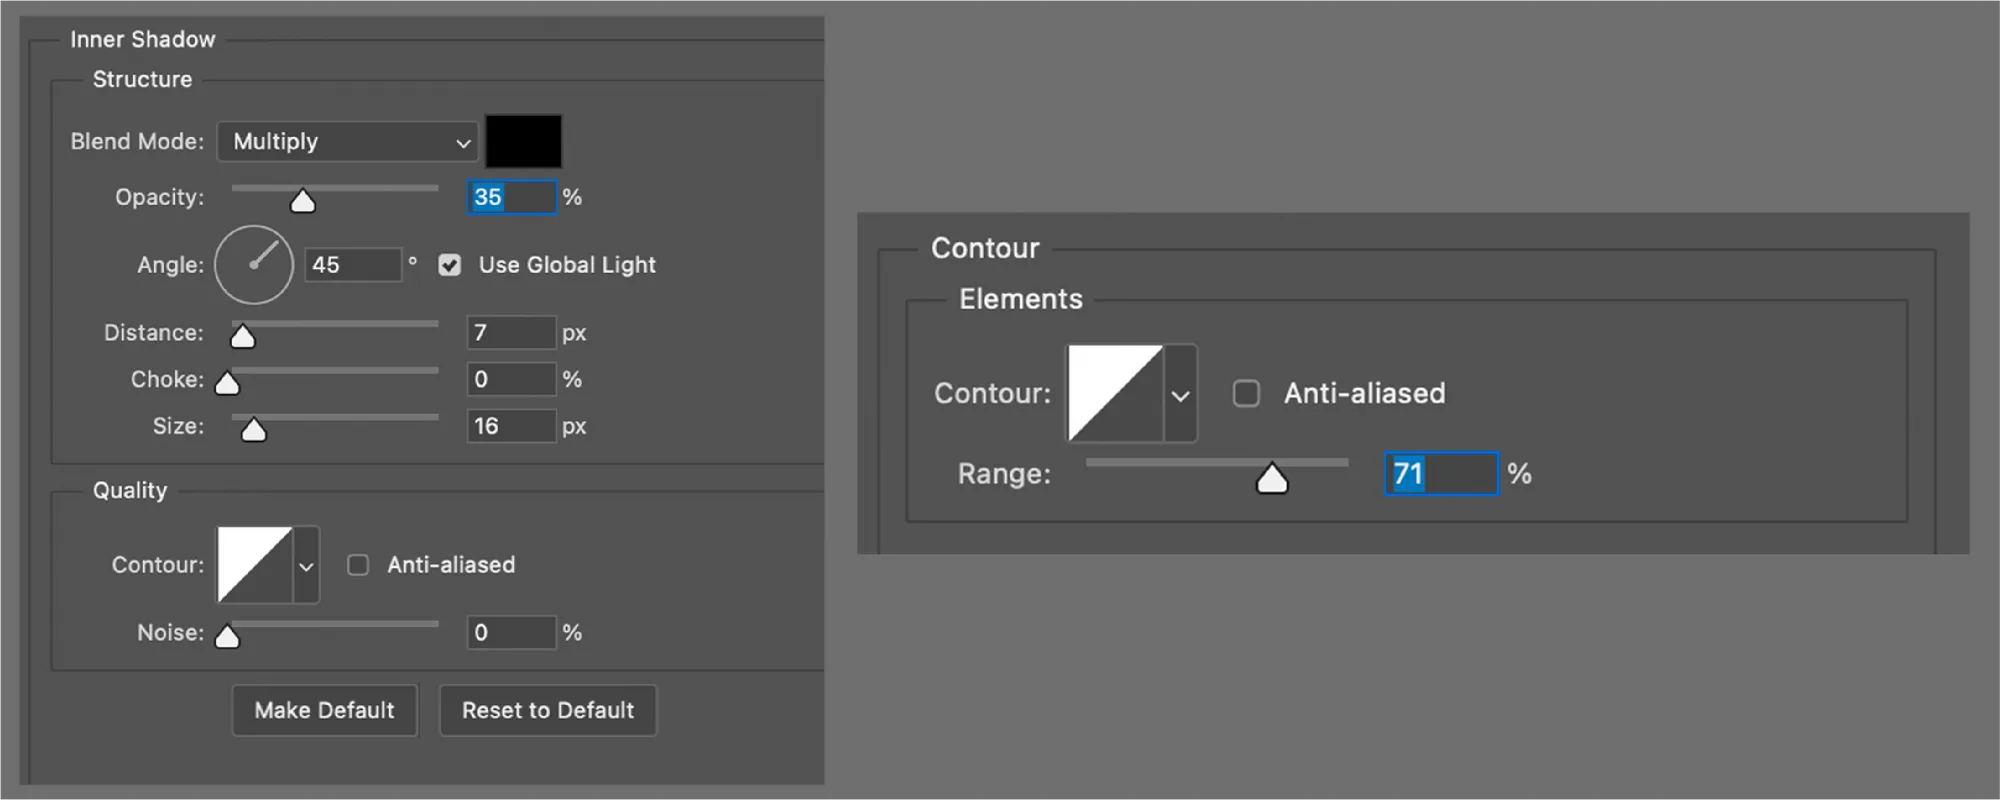
05. Next, go to Brush Preset and find 24px Splatter Brush.
If the brush isn't visible, going to Brush preset picker -> tool icon (upper right corner) -> Legacy brushes -> Default brushes will fix it.
06. Then applying new Brush Settings:
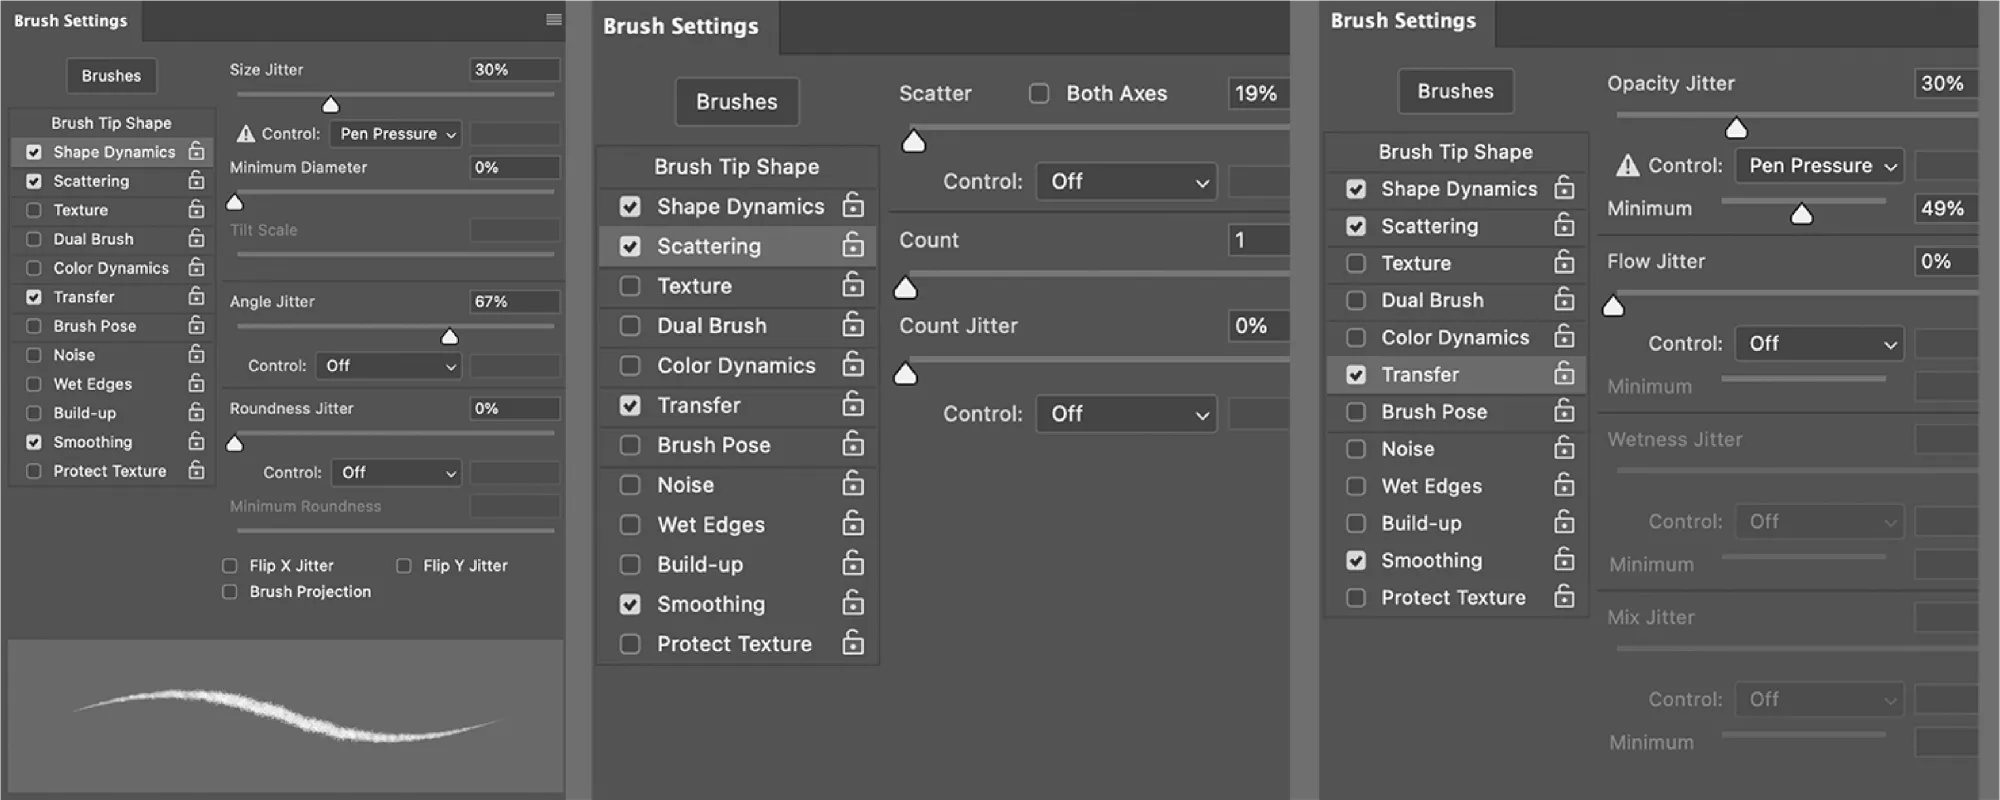
07. Changing 24px Splatter Brush to 30-40% Opacity.
08. Selecting back Terrain and testing the new brush.
09. Lowering the layer Opacity to 50%.
Result:
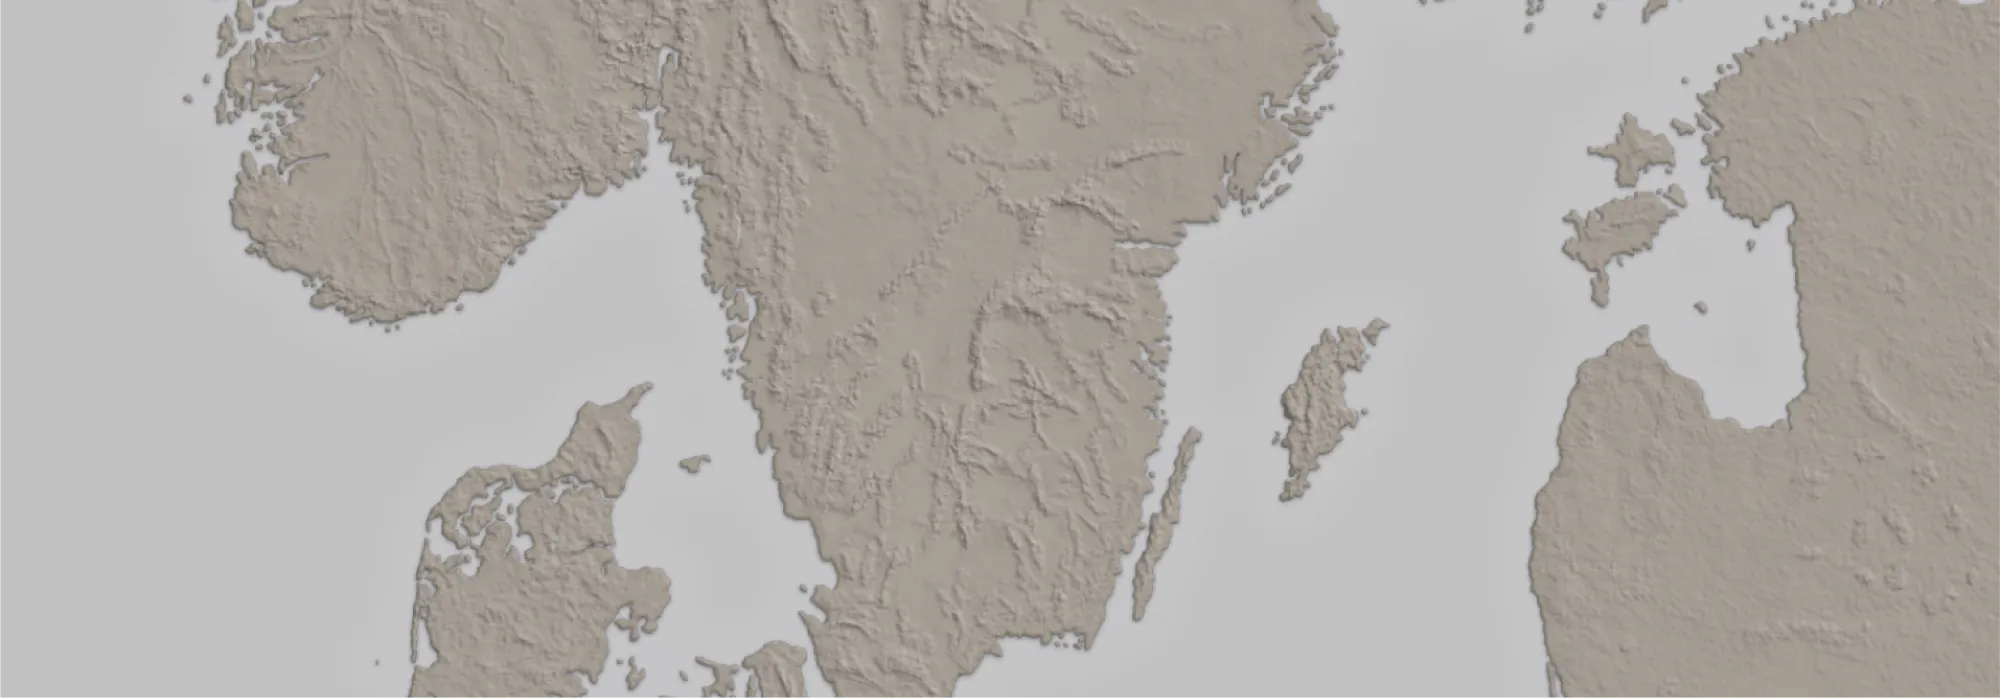
Optional:
To add extra texture to the land, I then created a new layer named Land_texture and went on to:Filter Render Clouds #to get a patterned surfaceFilter Noise Amount 4px #to sharpen Filter Render Different clouds #to randomize the existing pattern Shift + Ctrl + F keeps randomizing clouds.Filter Stylize Emboss Height 4px, Amount 77%
Then changed Blending mode from Normal to Overlay
and clipping Land_texture to Land_base
Looking like this:
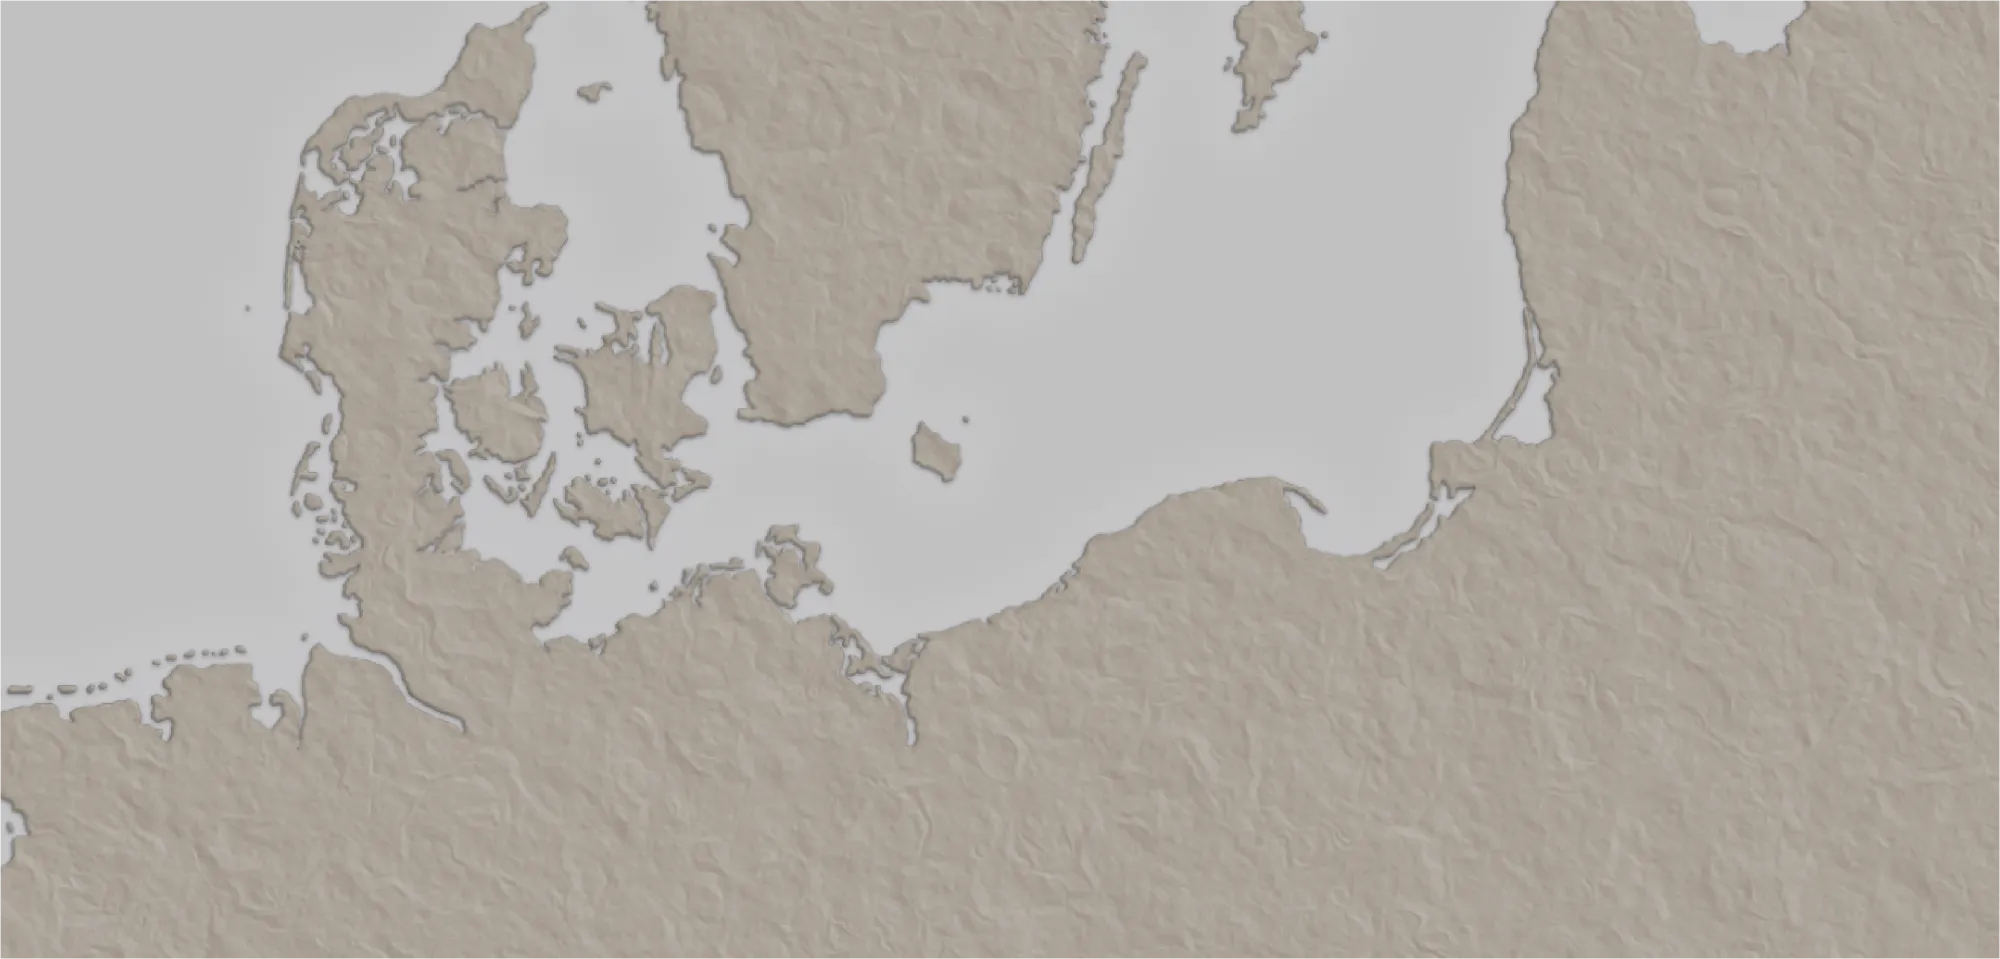
After some testing, and playing around with settings for a while, I ended up with this result:
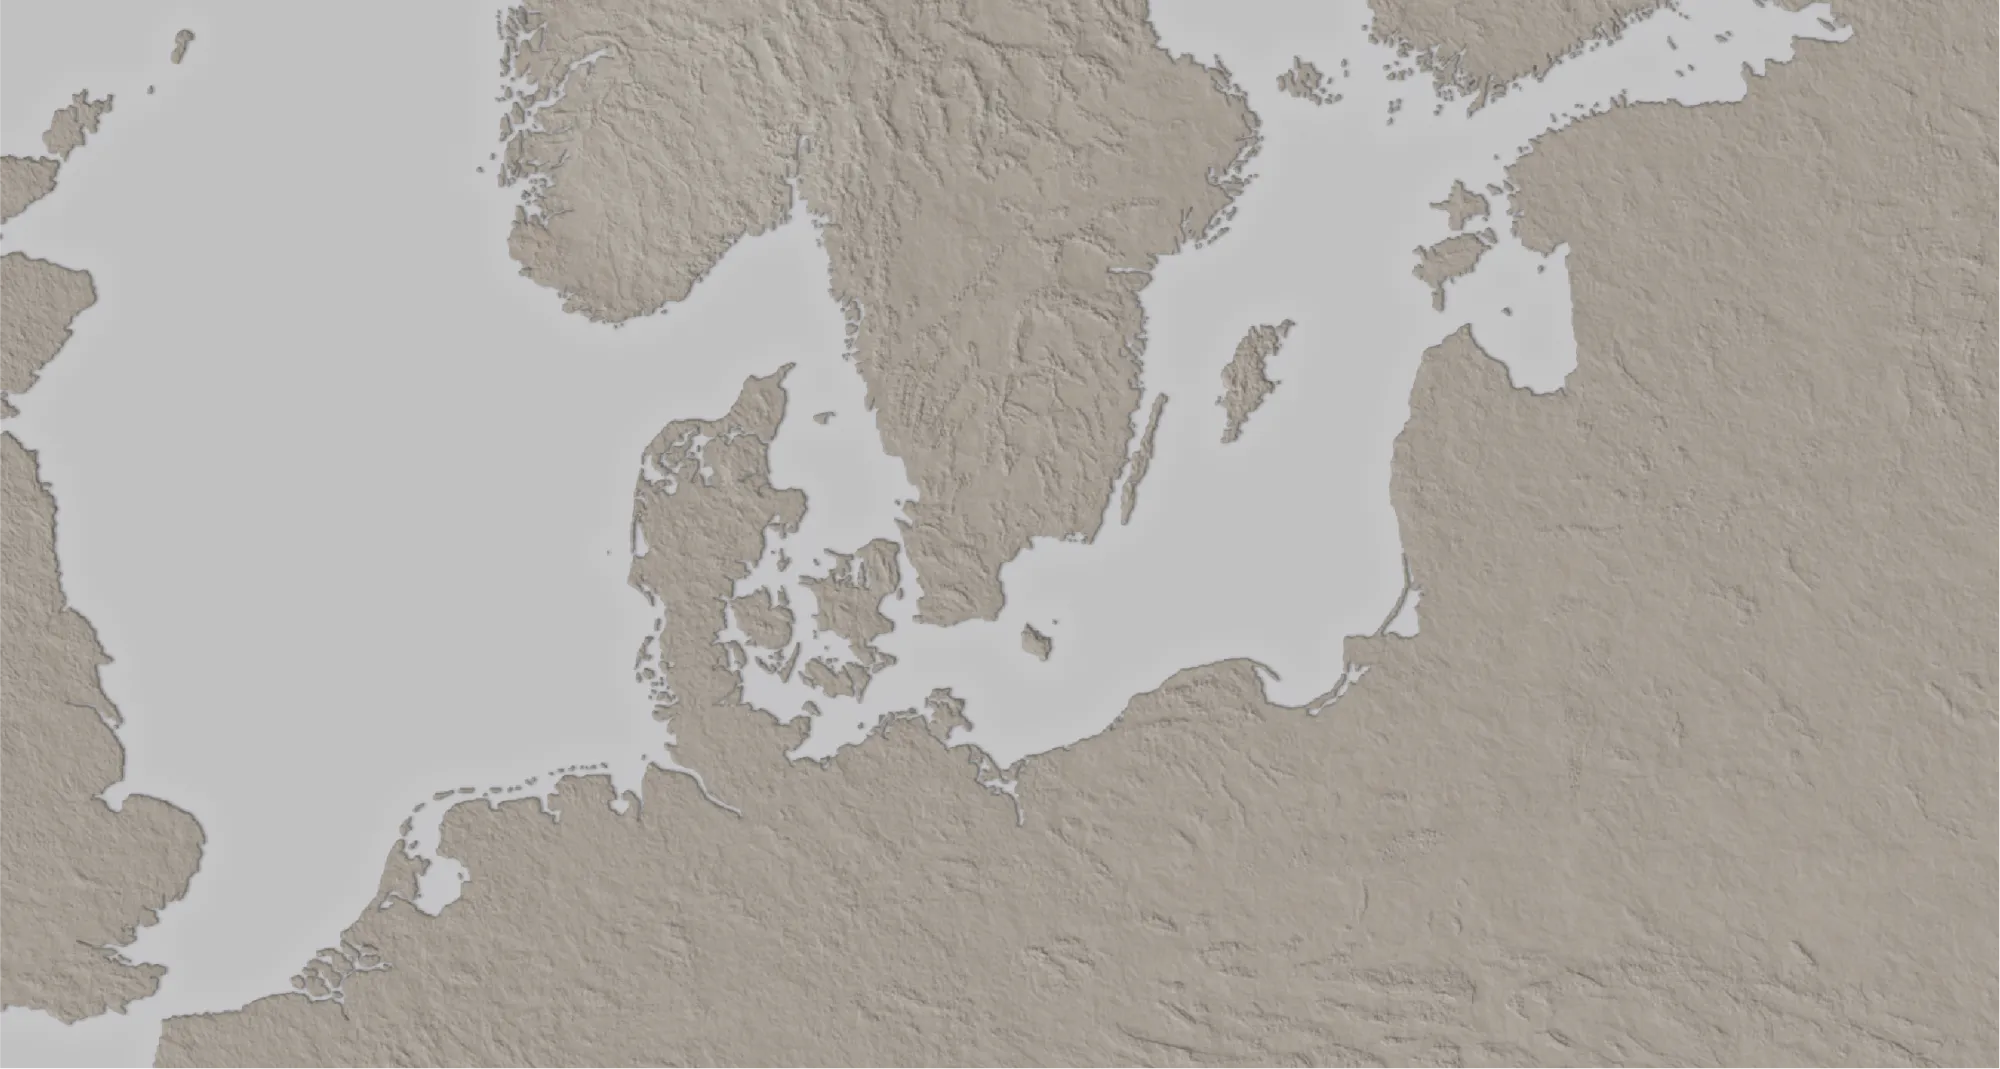
The surface's rough look comes from the position of the light angle. It's the same principle as pointing a torch onto a high-raised relief map—all the objects facing the torch will be highlighted while shadowing all surfaces angled away from it.
To ensure that the light source corresponds across multiple layers, PS has a setting called Global light in Effects Bevel & Emboss or Drop Shadow that by configuring it, it will automatically match the same light angle in all layers, creating the illusion of realism.
Few examples:
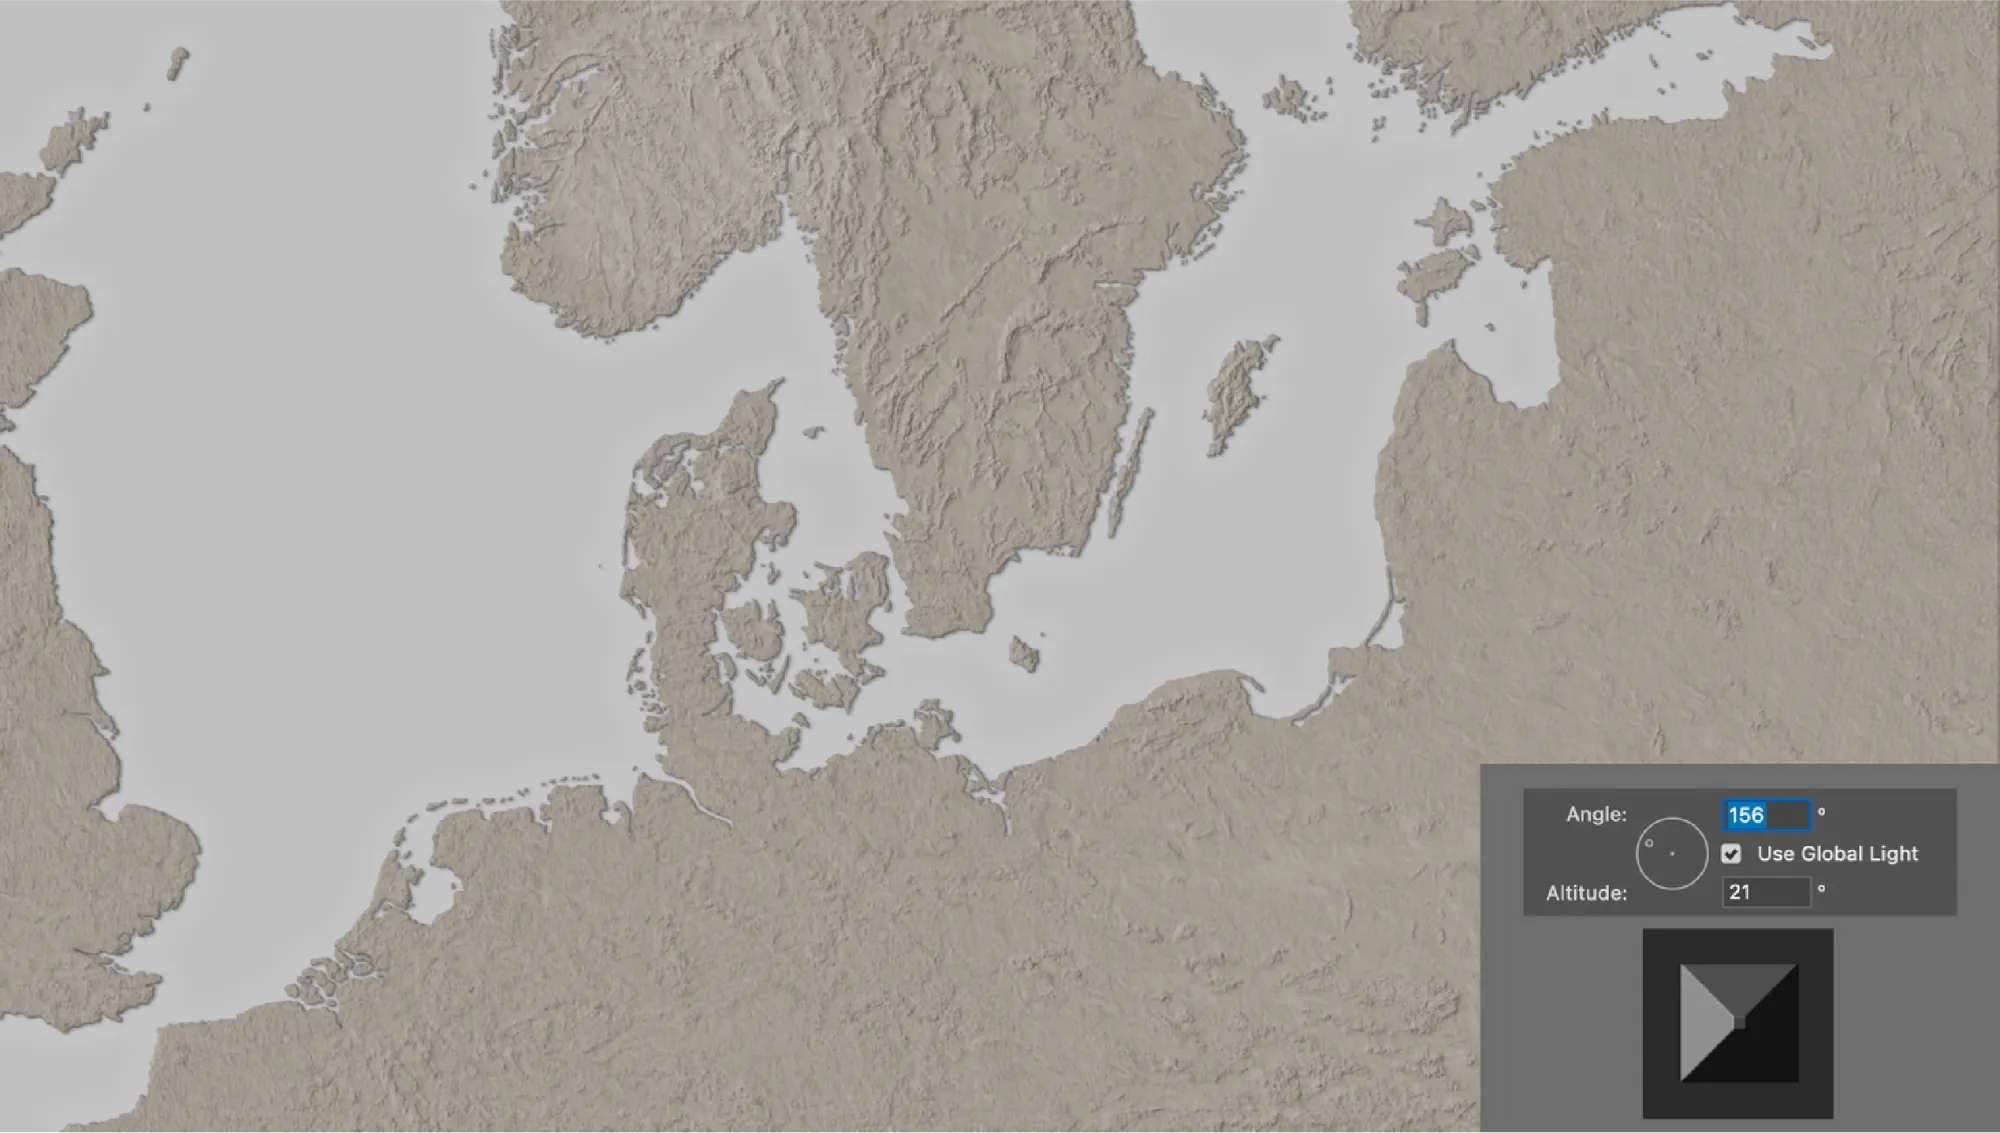
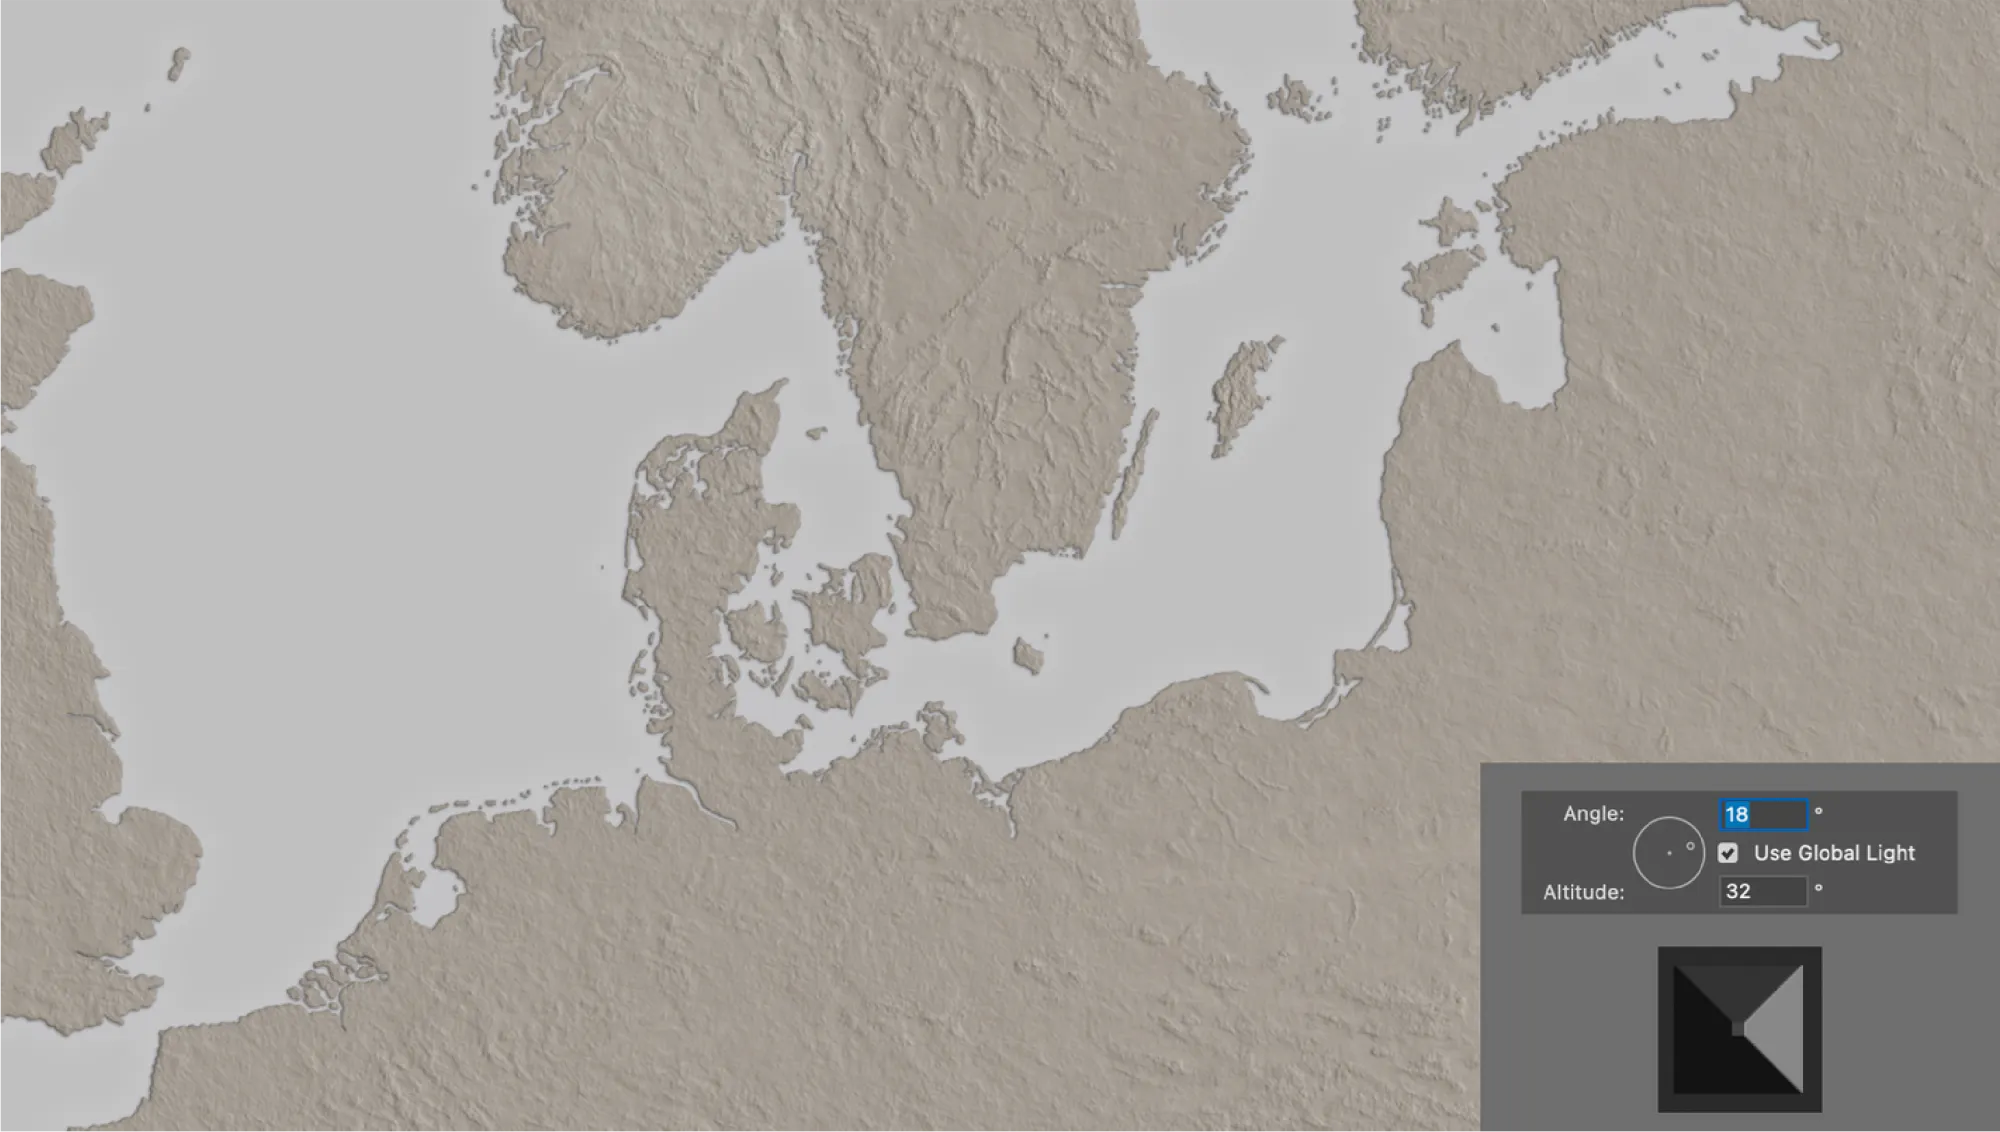
The Global Light setting was never meant to be fixed - I kept changing it throughout the project until the very end.
The next step was to add some colour, so I searched online for a colour palette generator such as color.adobe, and looked for different maps I had collected for reference that matched what the client had asked for:
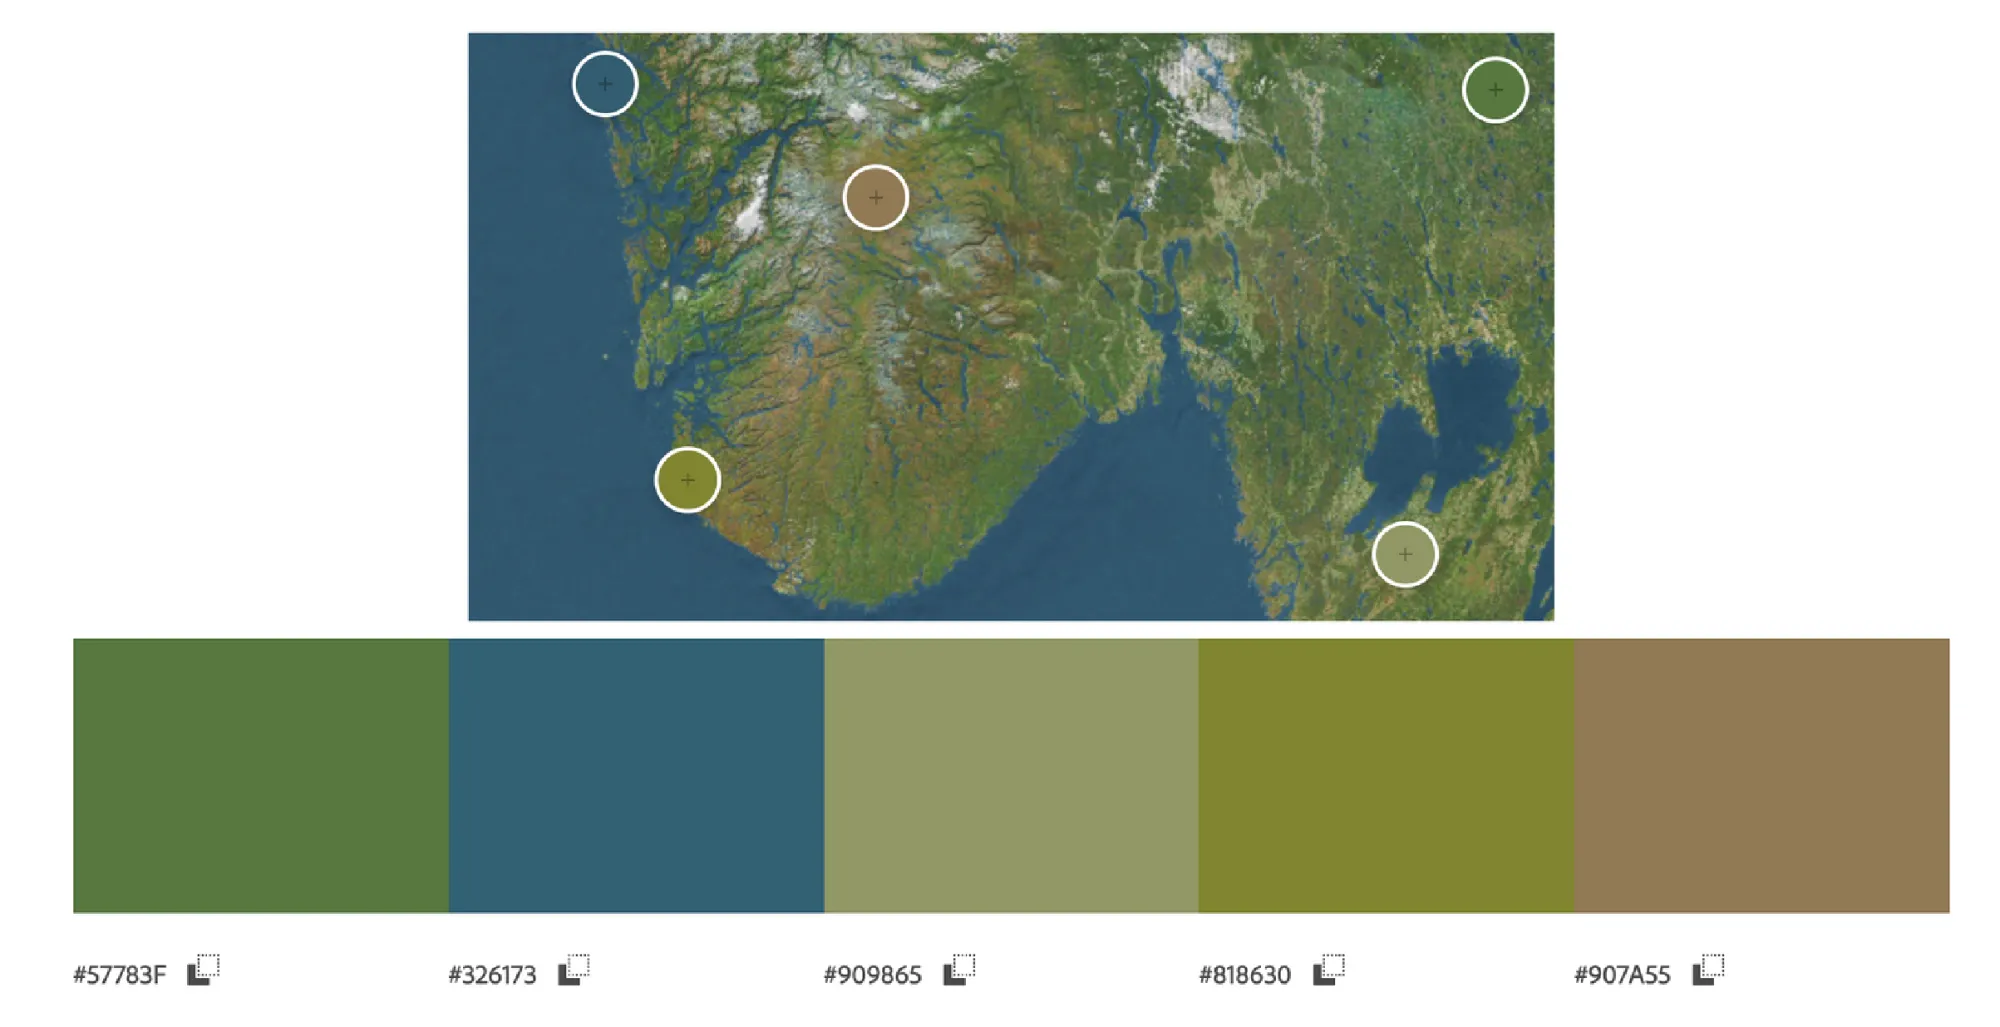
I played around some more, and created a colour palette that would serve as a reference for the entire project:

Then I created a new layer named Land_color.
I simply used a General Brush and started mixing colours around with a Blender Brush. The point was to have a base color to begin with, so I didn't spend much time with it as I knew it would eventually be covered by multiple layers:
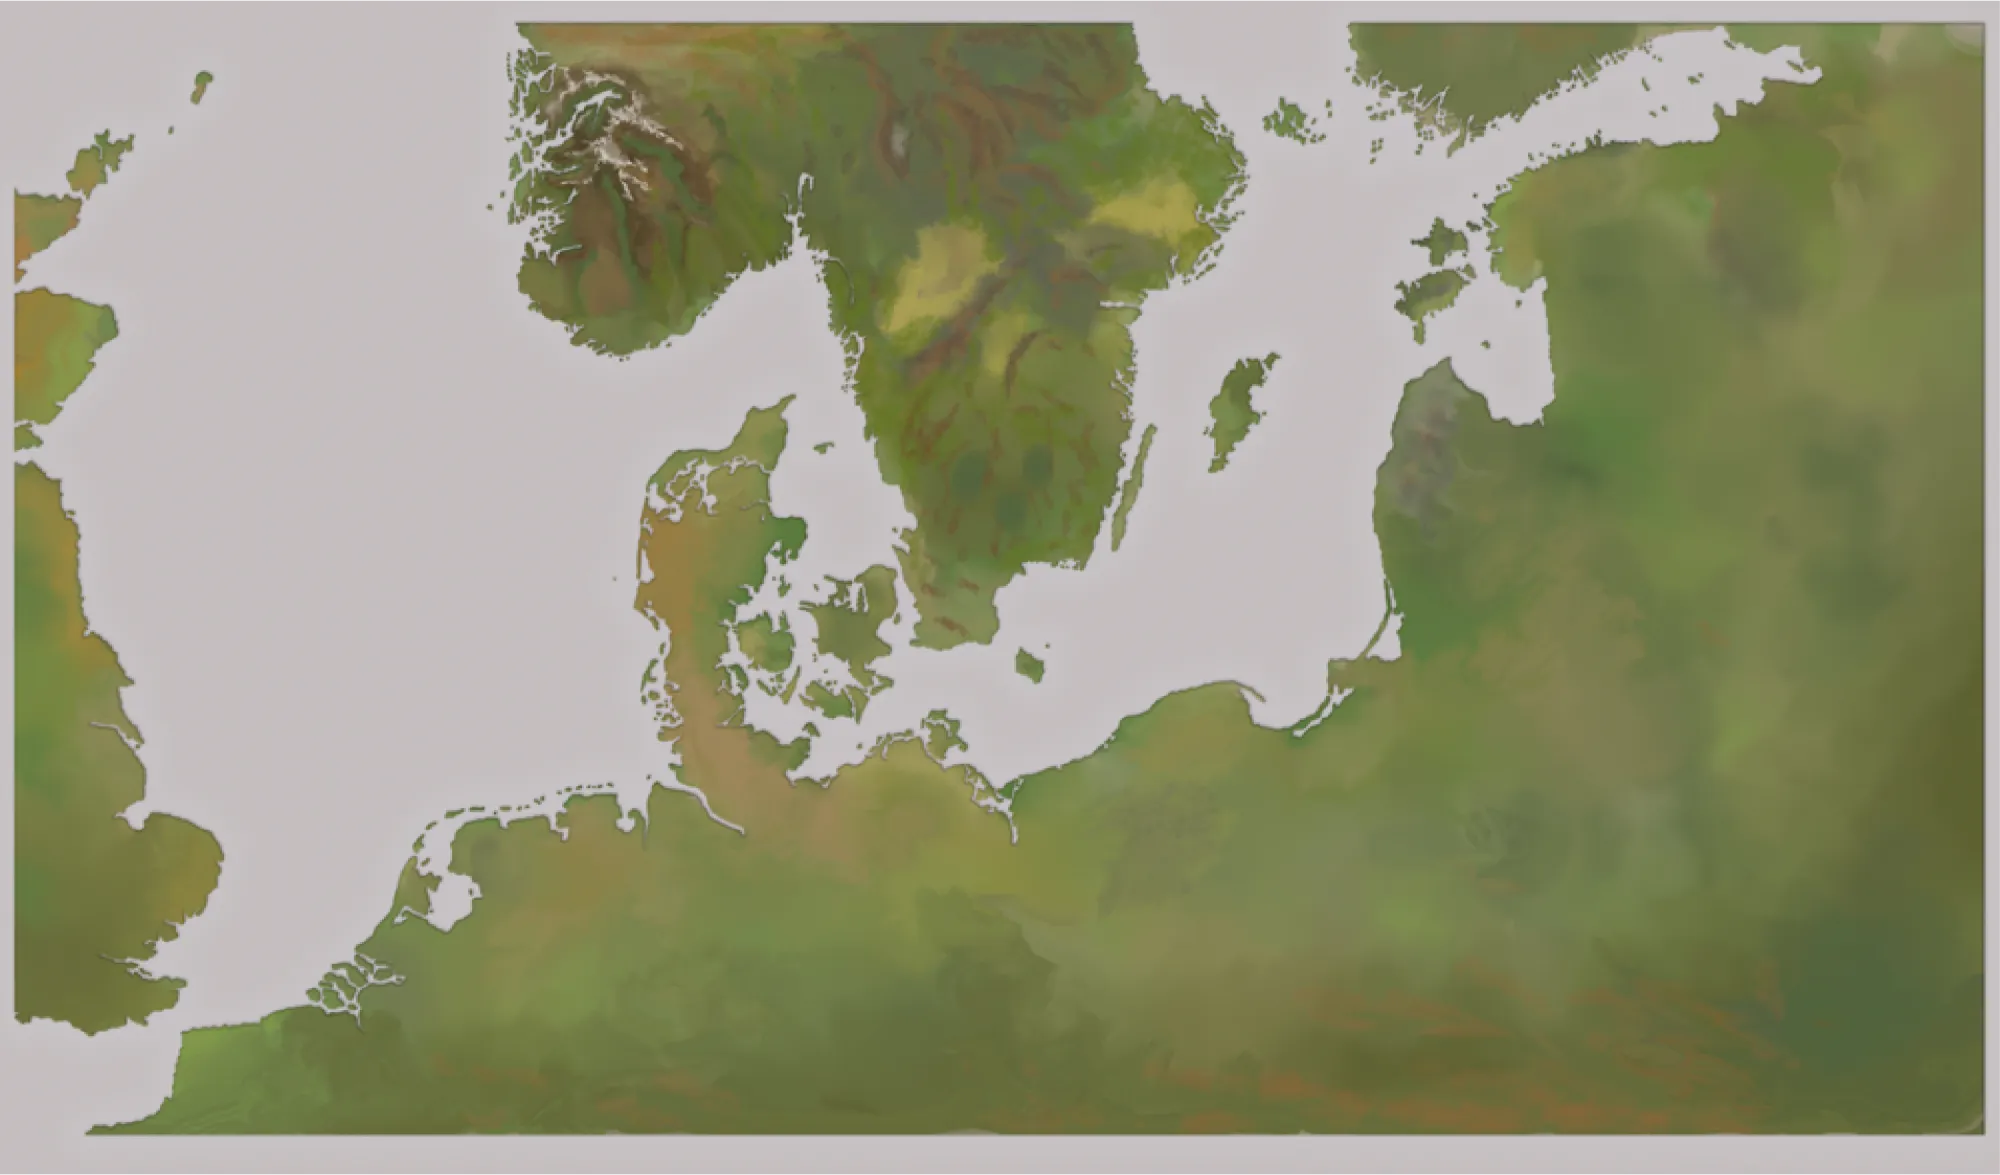
For Land_color to 'fit' Land_base I had to place it above Land_base and clip it by using the Clipping Mask:
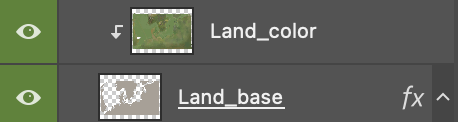
Looking like this:
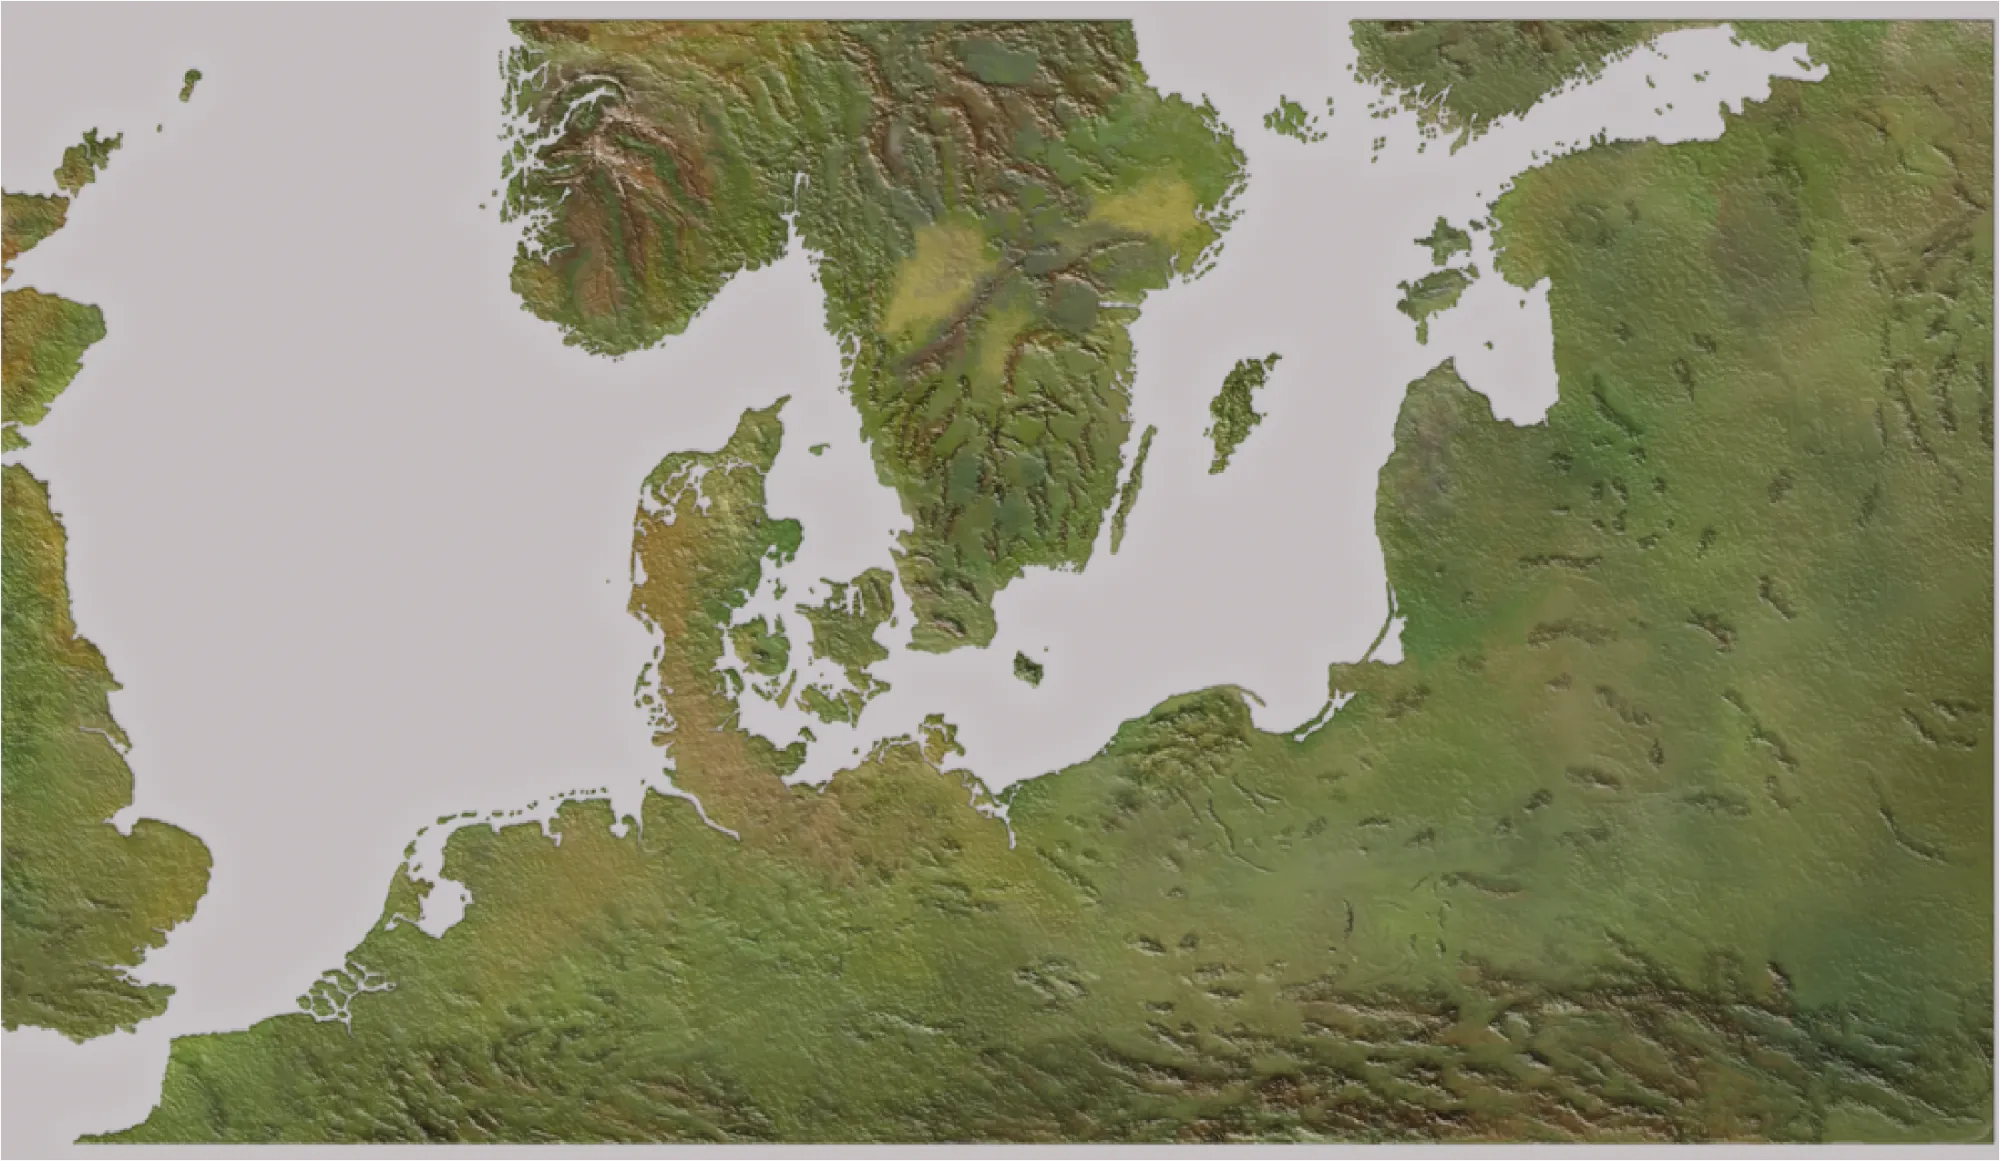
In Part 2 I'll show you how I continued making forests, lakes and rivers.