Map-Making: Terrain and Land
(Photoshop CC 2022)
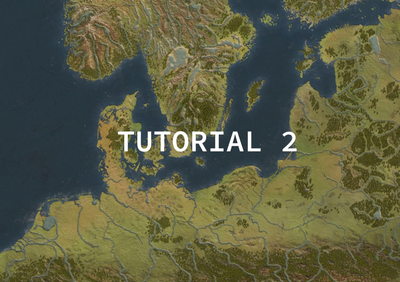
In 2020, I was tasked to recreate a map for a medieval trading game based on the Hanseatic League in Central and Northern Europe.
I decided to give it a try and use the digital technique - what a quest!
I thought it'd be worth sharing the process and hope it will be of some use to someone struggling out there - as well as a self-reminder of my learning process.
Getting started
I began by creating a new file in PS of 50 x 35 cm dimensions and 600 resolution.
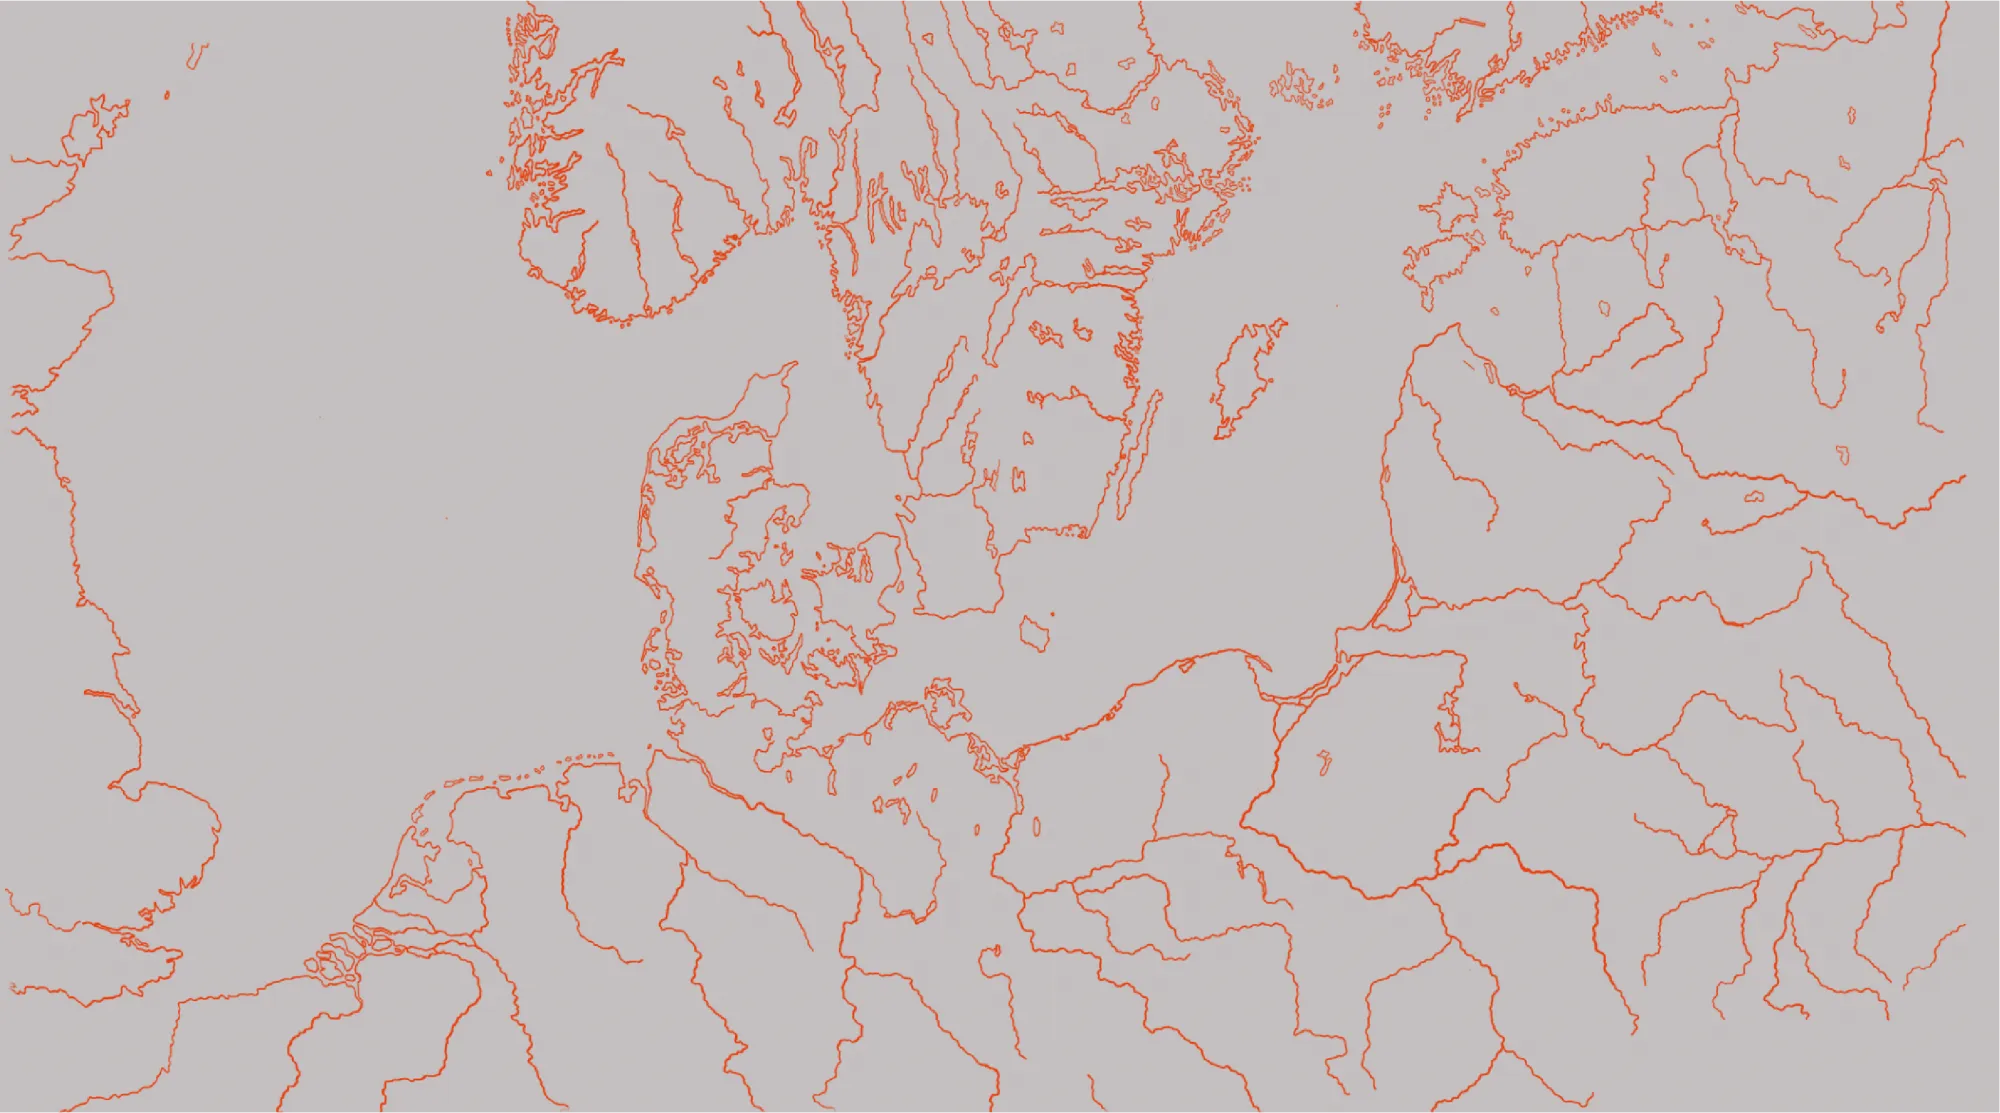
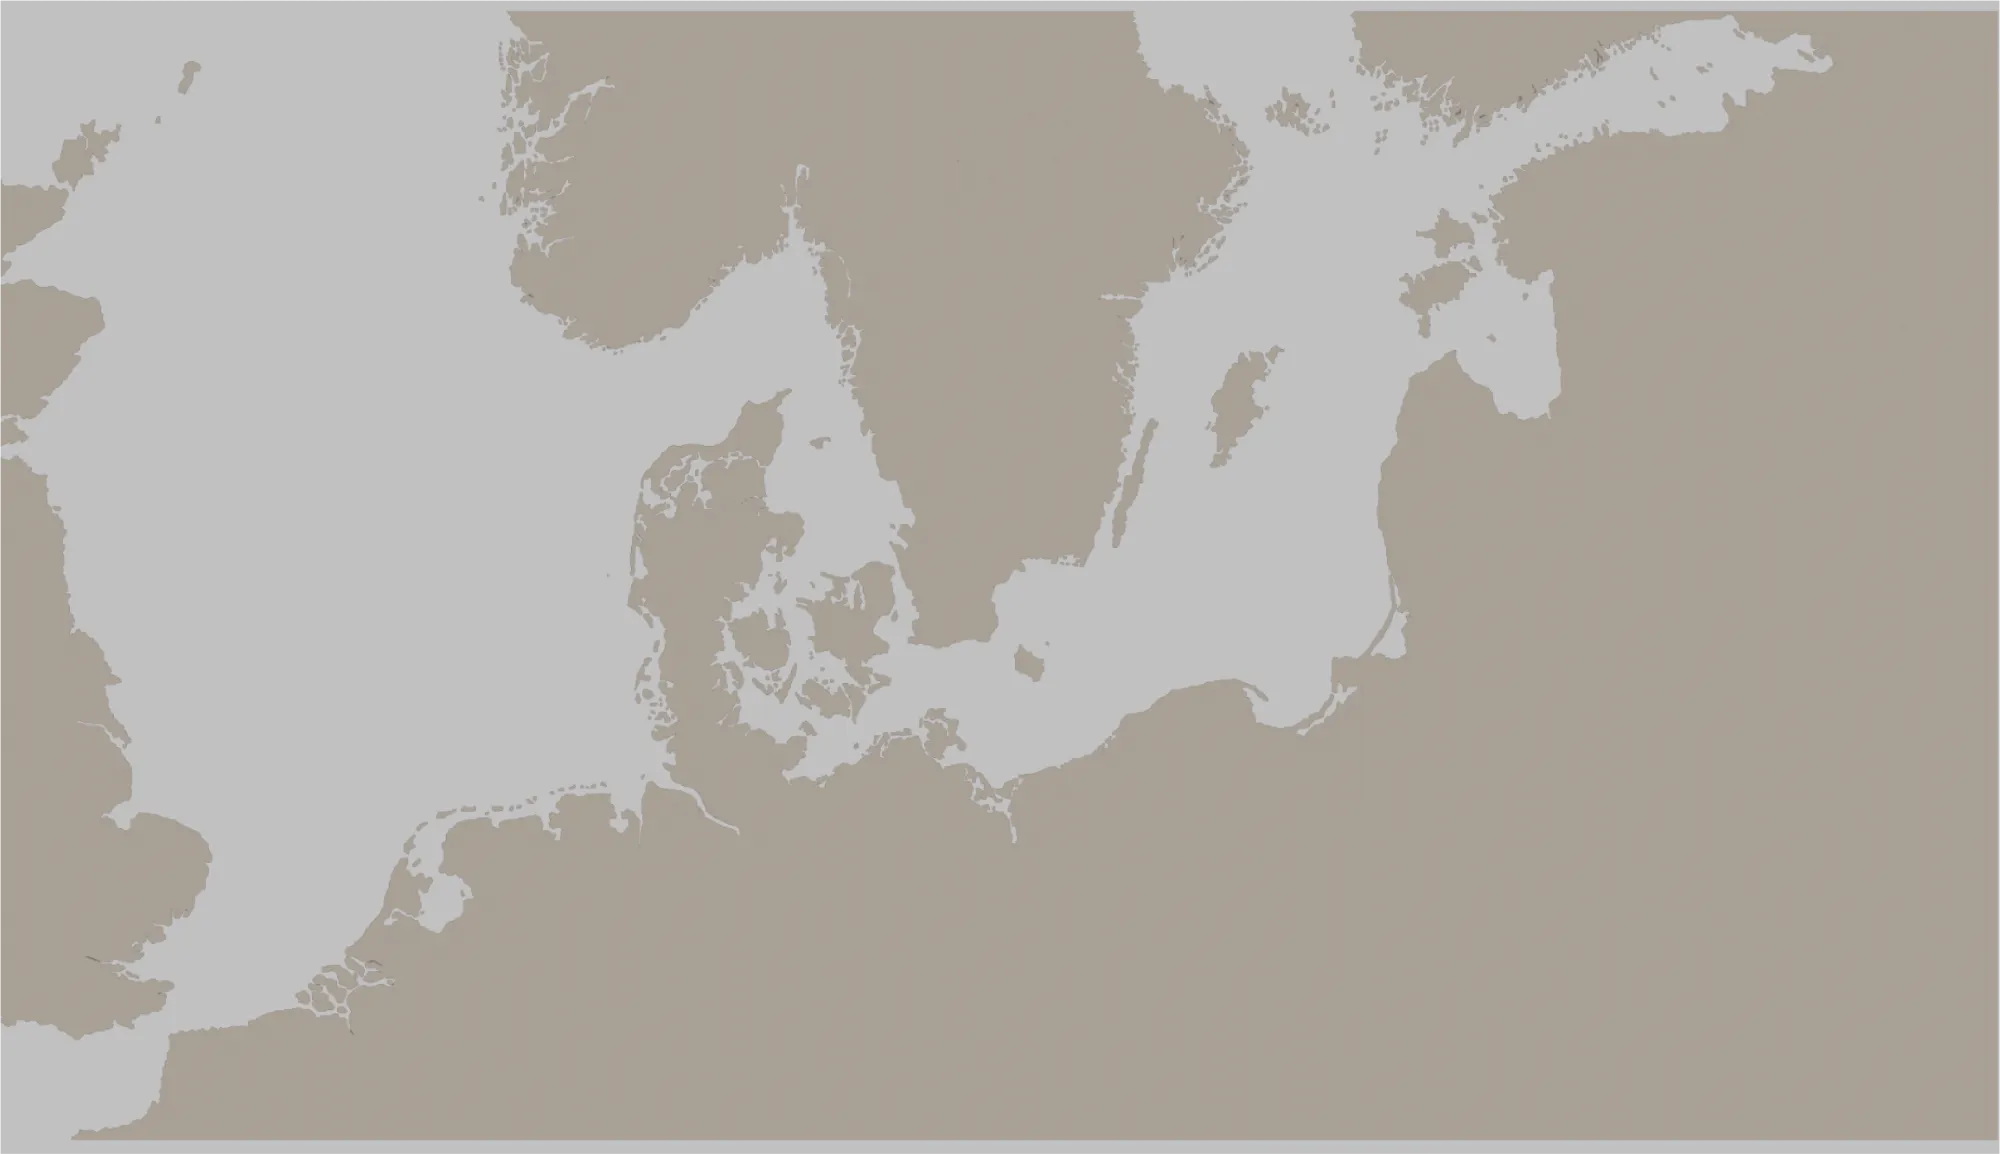
Next, I looked online for a Northern European map and found a reference that served my purpose. I then uploaded the image to Photoshop and created a new layer named Outline to outline all land, rivers and lakes of interest.
Next, I created a new layer and named it Land_base then placed it below the Outline layer. I then coloured in Land_base with the Paint Bucket Tool after making sure there were no gaps between the lines. Looking like this:
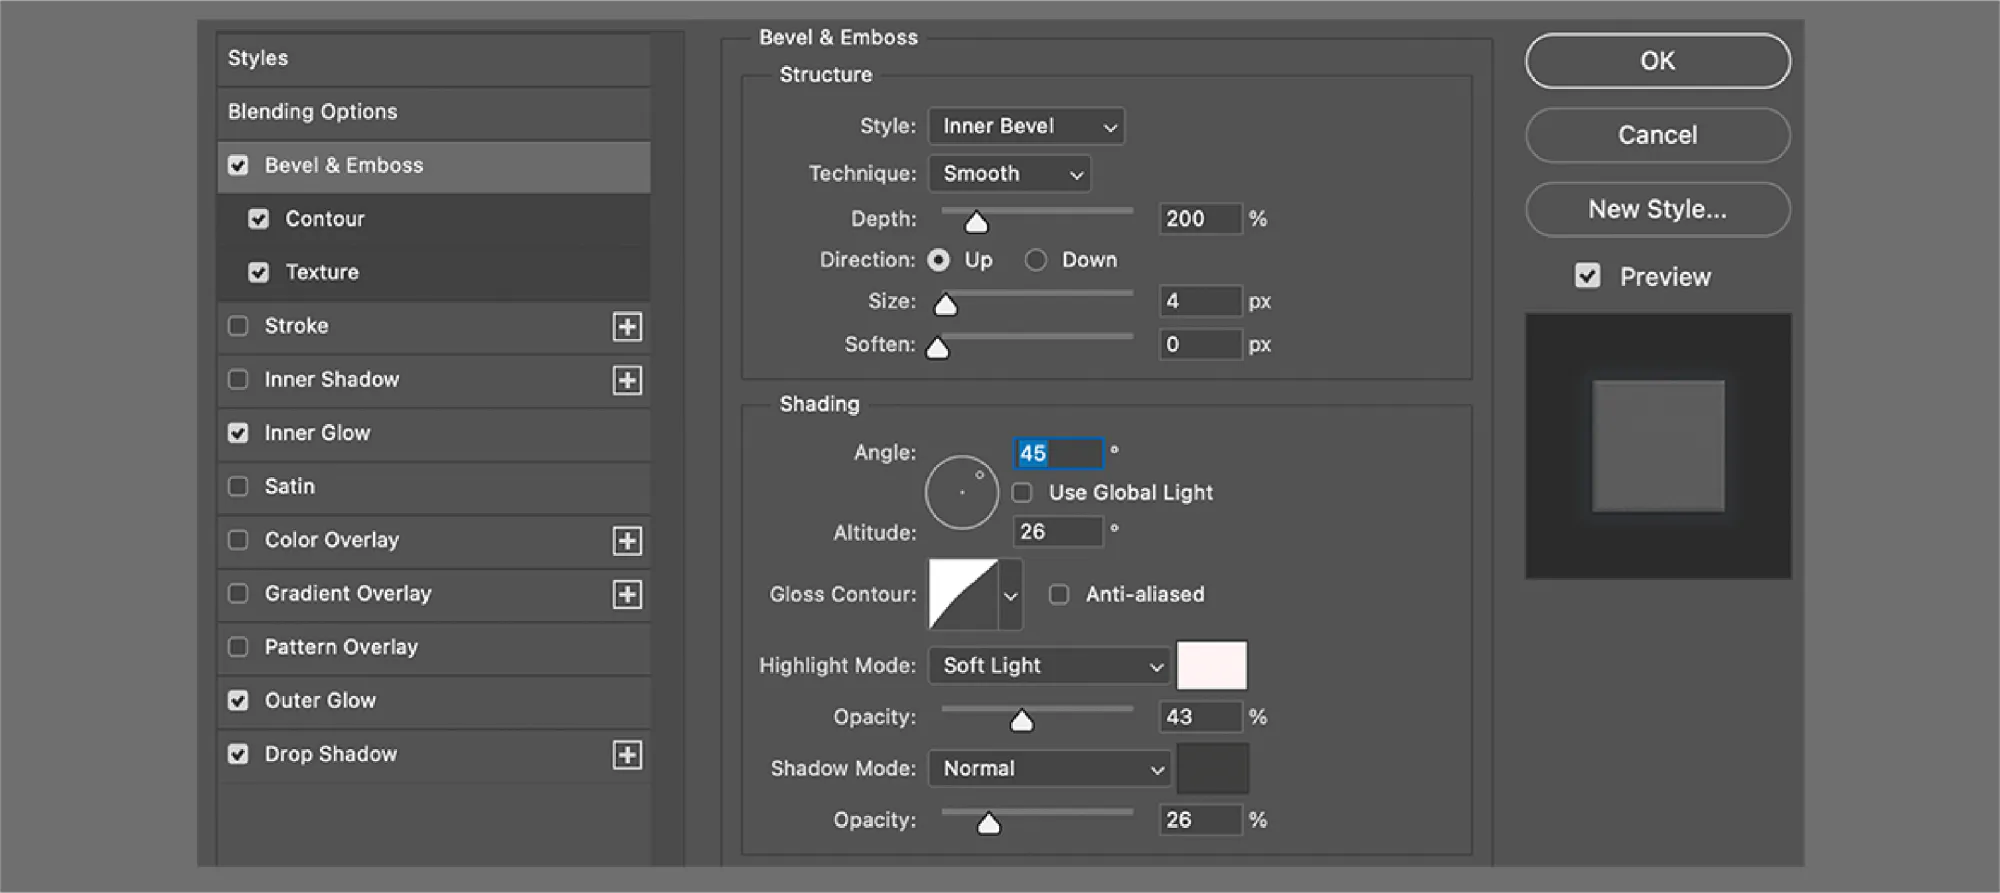
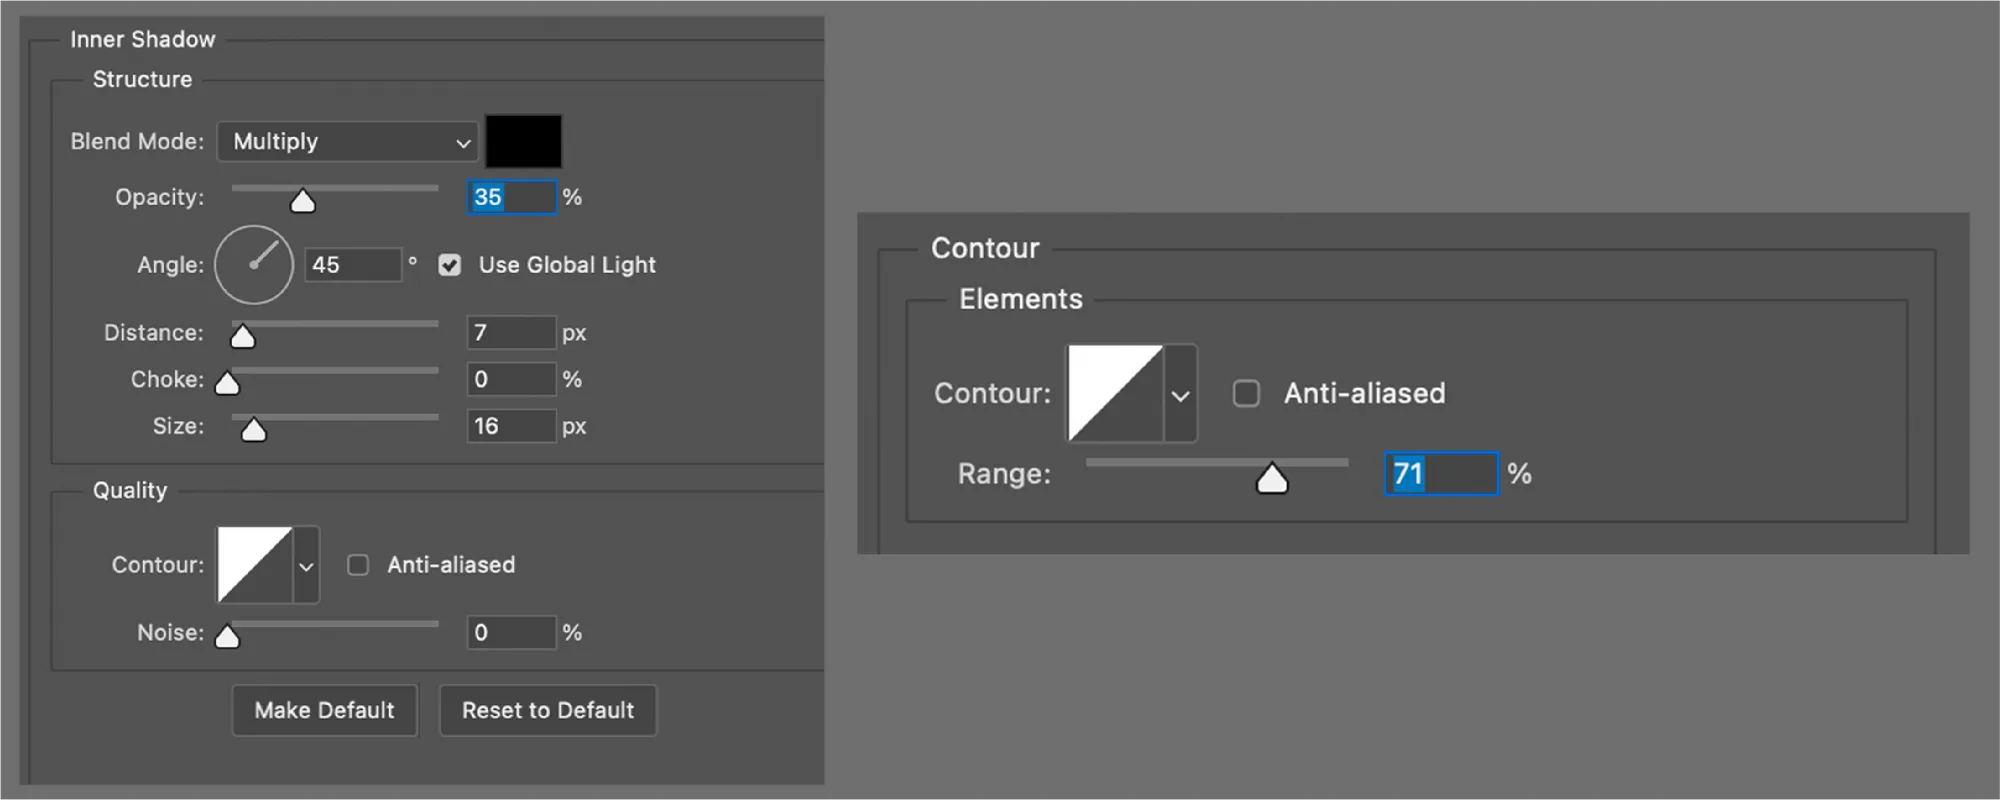
To create the illusion of depth (or relief) I selected Land_base and went to Add a layer style -> Blending options and started tweaking around with Bevel & Emboss first:
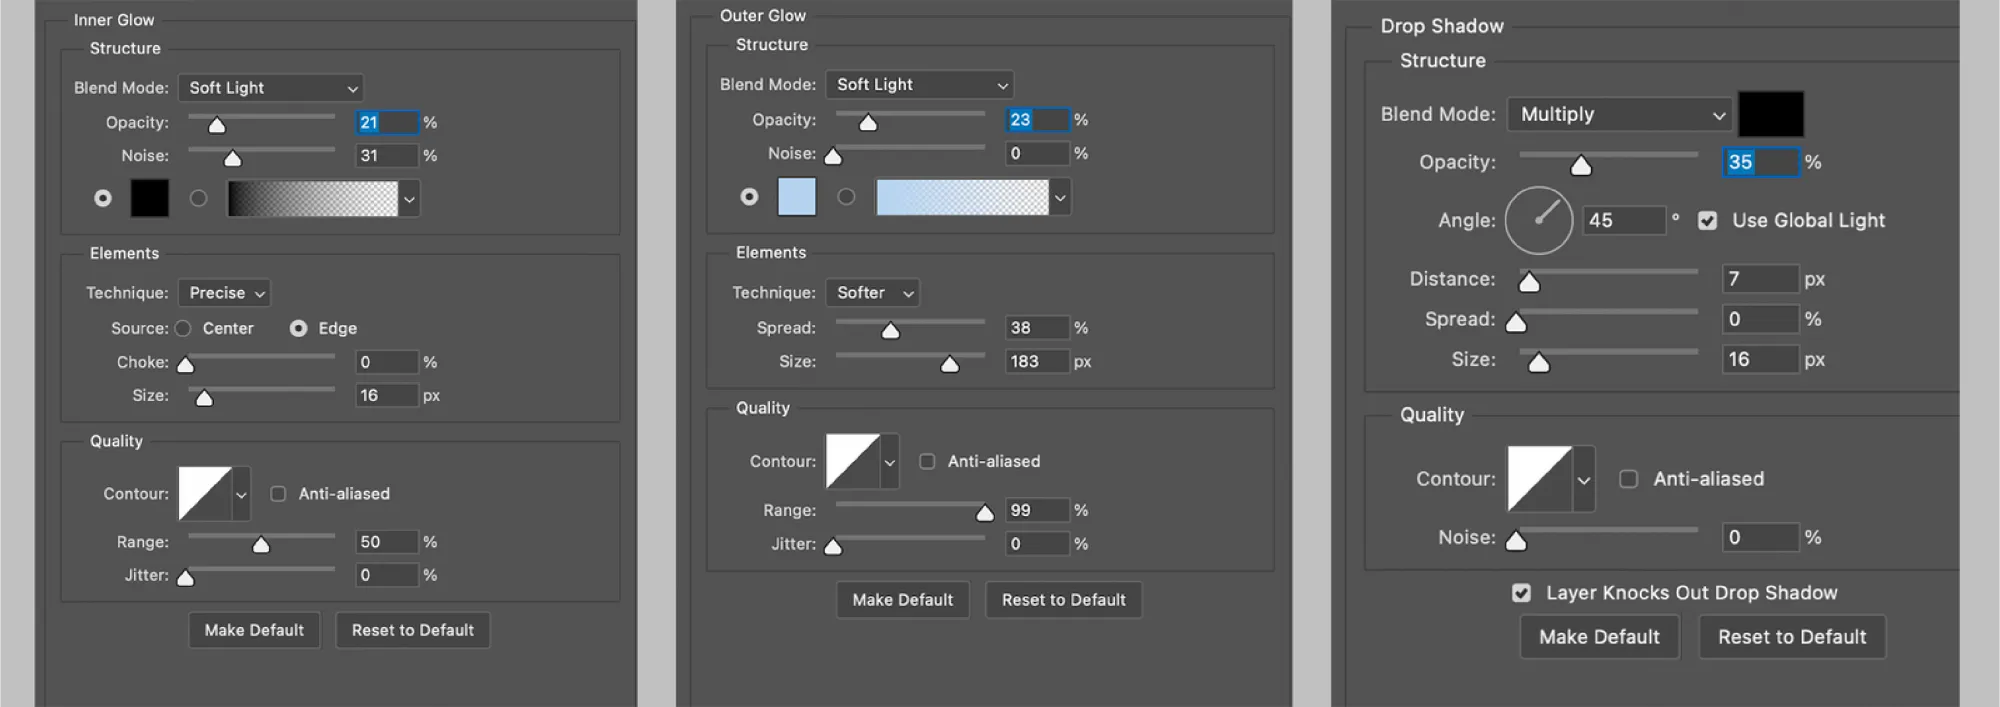
I moved on to adjust Inner Glow , Outer Glow and Drop Shadow :
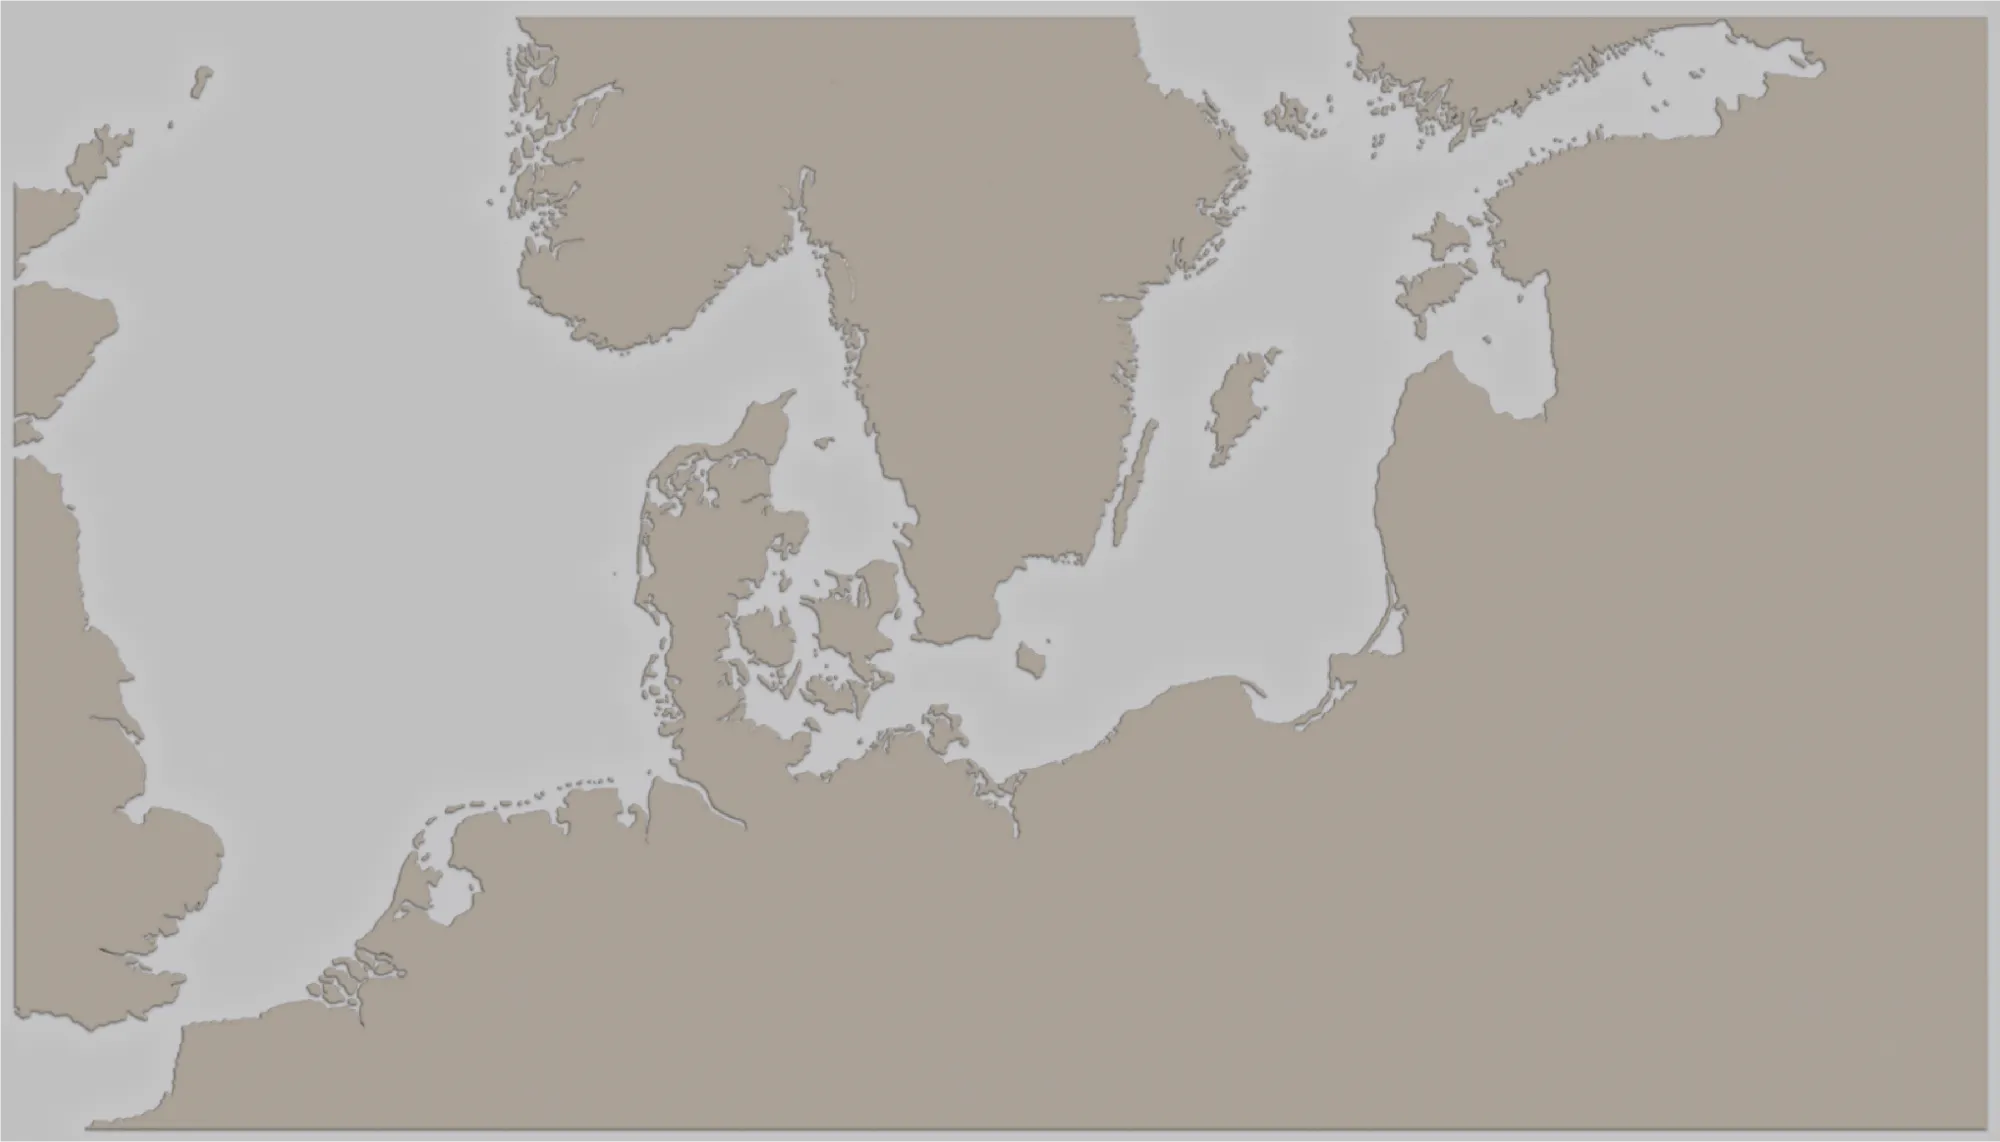
I ended up with this result:
Terrain Texture
This was the tricky part—to create a terrain texture (or topographic look), I had to dig online until I found someone with the alias Online-Tabletop who had tested some adjustments that matched what I was looking for.
So in this order:
01. Creating a new layer above Land_base named Terrain.
02. Applying Land_base -> Clipping mask -> Terrain.
03. Going to Add a layer style -> Blending options.
04. Setting these adjustments:
05. Next, go to Brush Preset and find 24px Splatter Brush.
If the brush isn't visible, going to Brush preset picker -> tool icon (upper right corner) -> Legacy brushes -> Default brushes will fix it.
06. Then applying new Brush Settings:
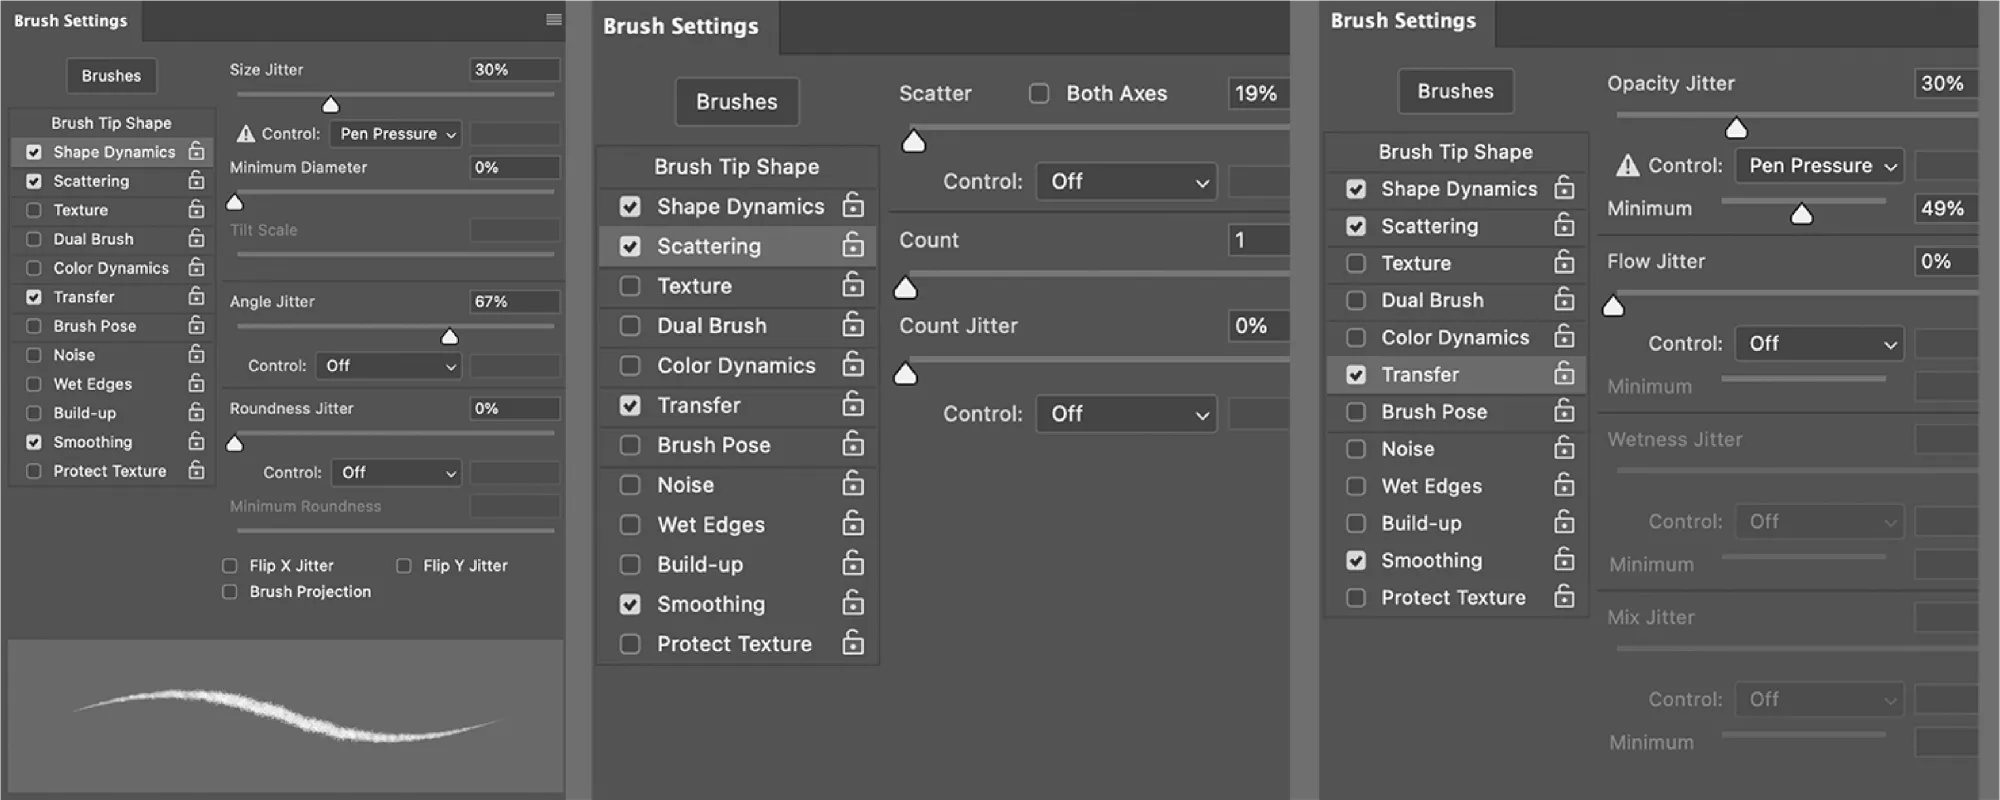
07. Changing 24px Splatter Brush to 30-40% Opacity.
08. Selecting back Terrain and testing the new brush.
09. Lowering the layer Opacity to 50%.
Result:
Optional:
To add extra texture to the land, I then created a new layer named Land_texture and went on to:Filter Render Clouds #to get a patterned surfaceFilter Noise Amount 4px #to sharpen Filter Render Different clouds #to randomize the existing pattern Shift + Ctrl + F keeps randomizing clouds.Filter Stylize Emboss Height 4px, Amount 77%
Then changed Blending mode from Normal to Overlay
and clipping Land_texture to Land_base
Looking like this:
After some testing, and playing around with settings for a while, I ended up with this result:
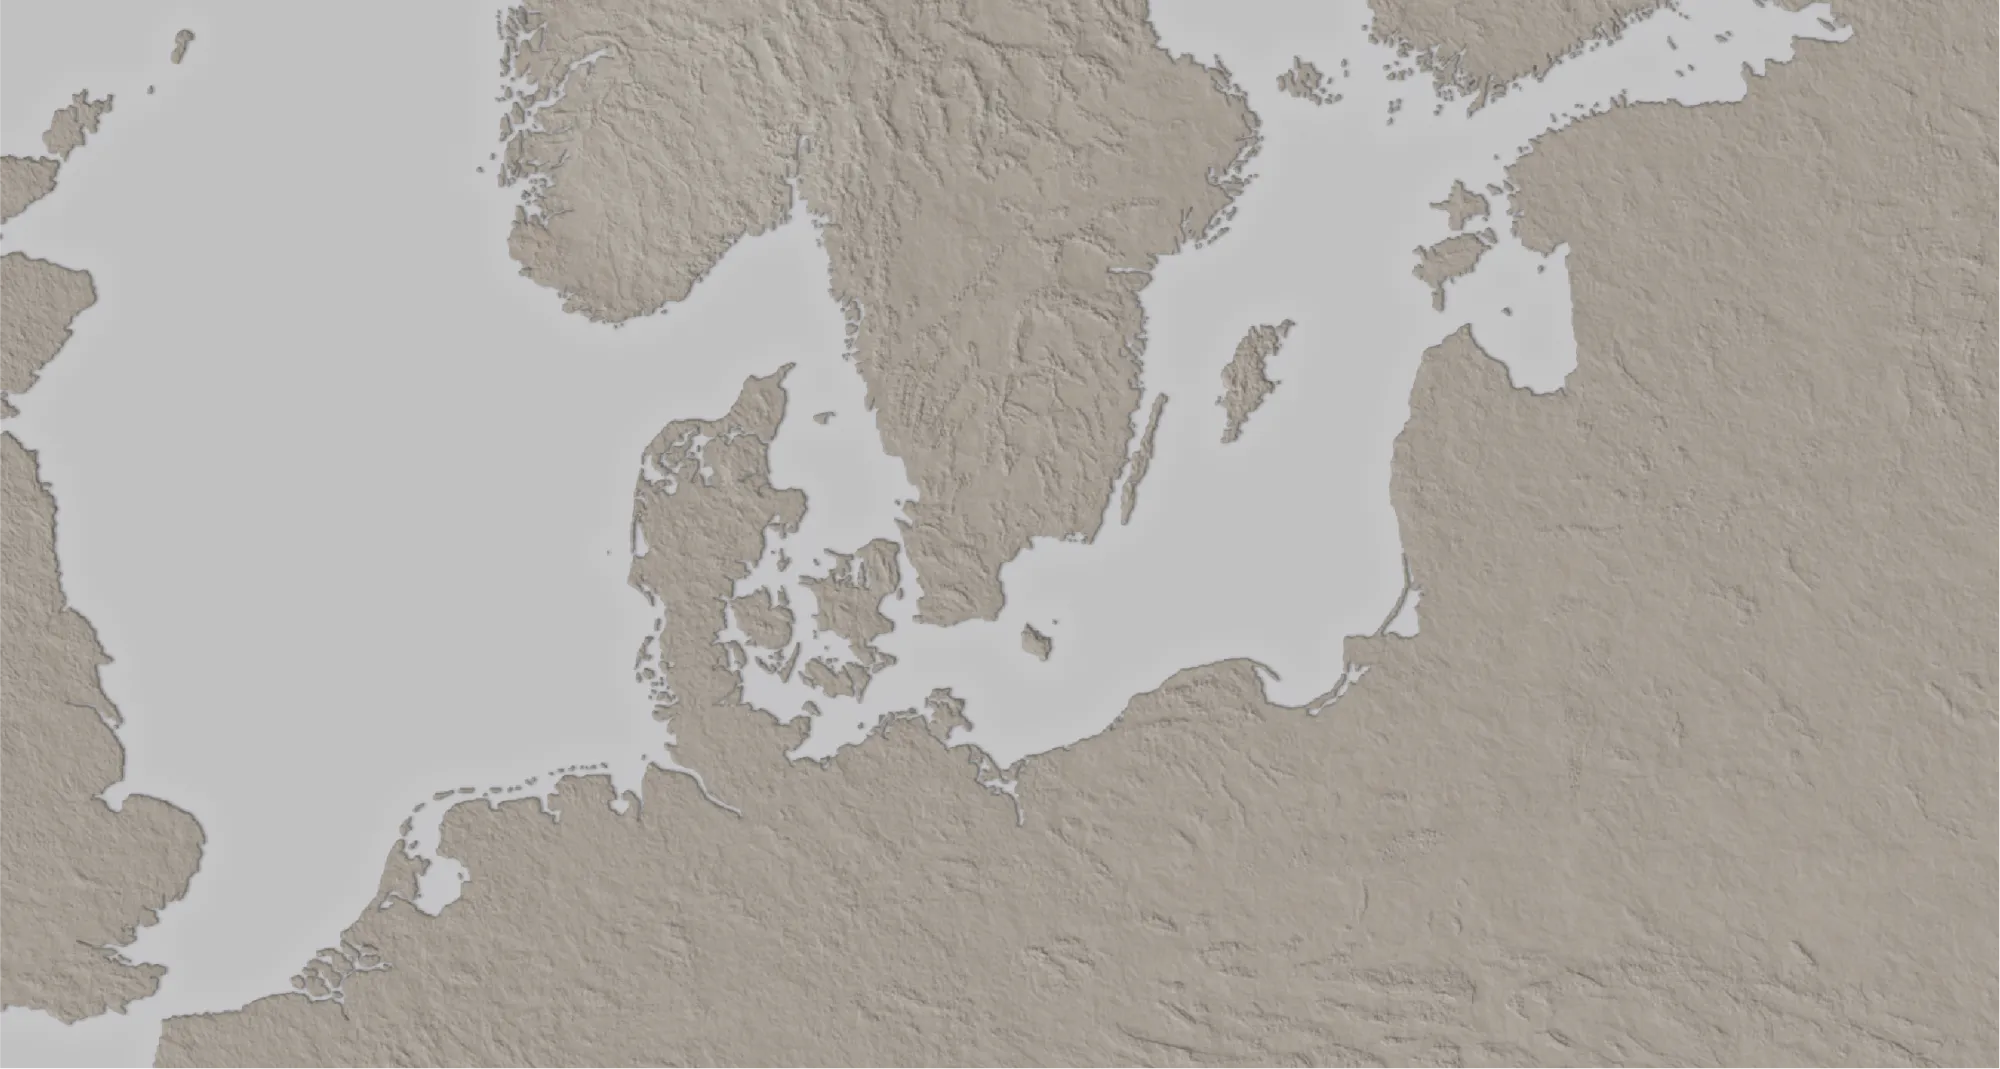
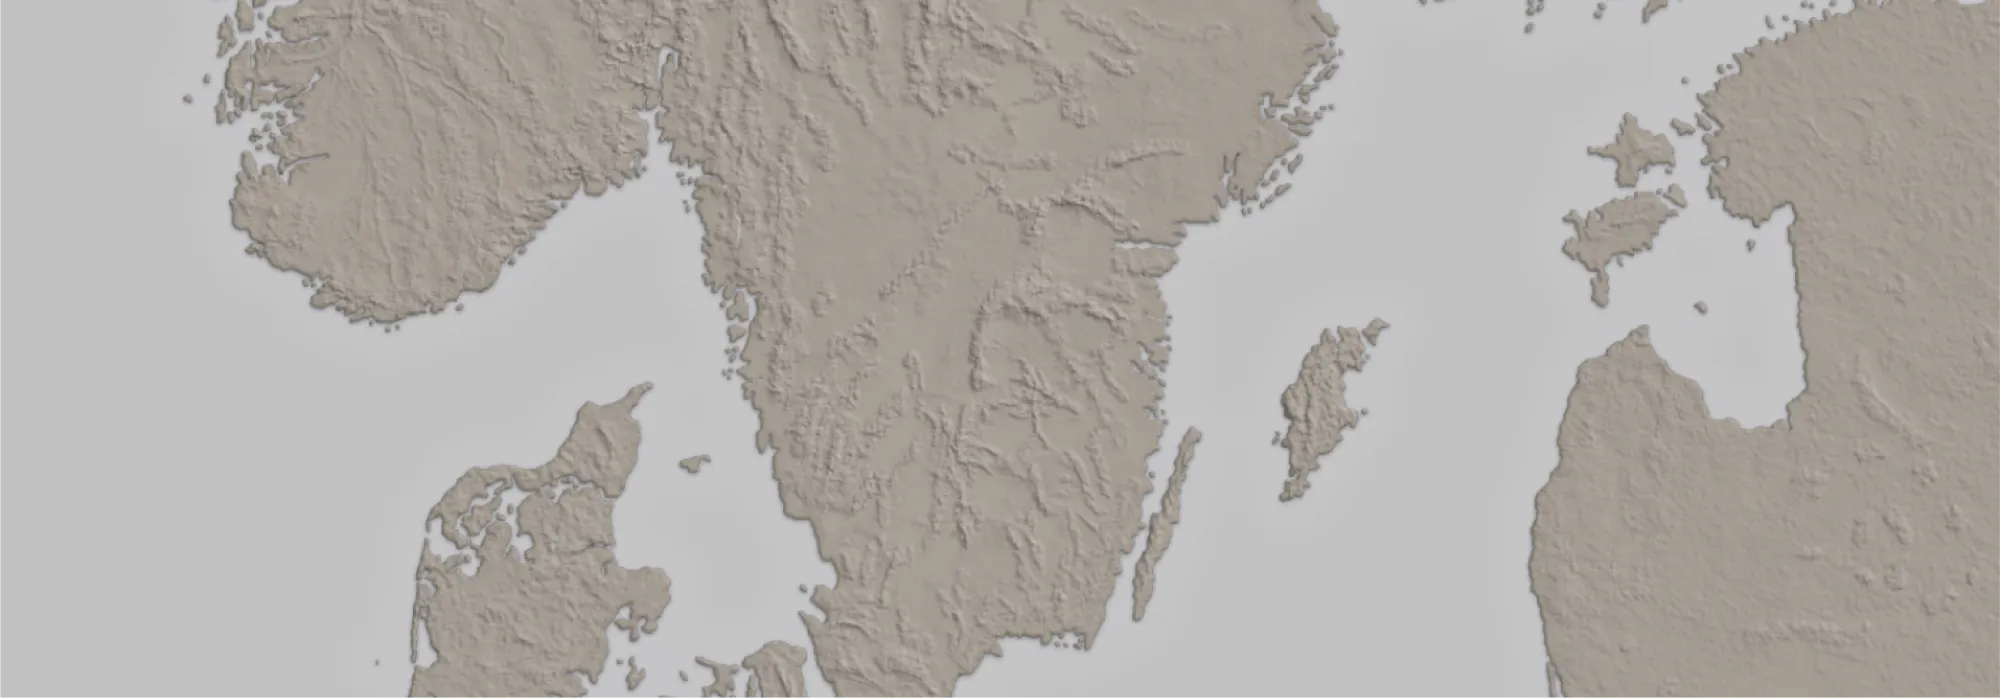
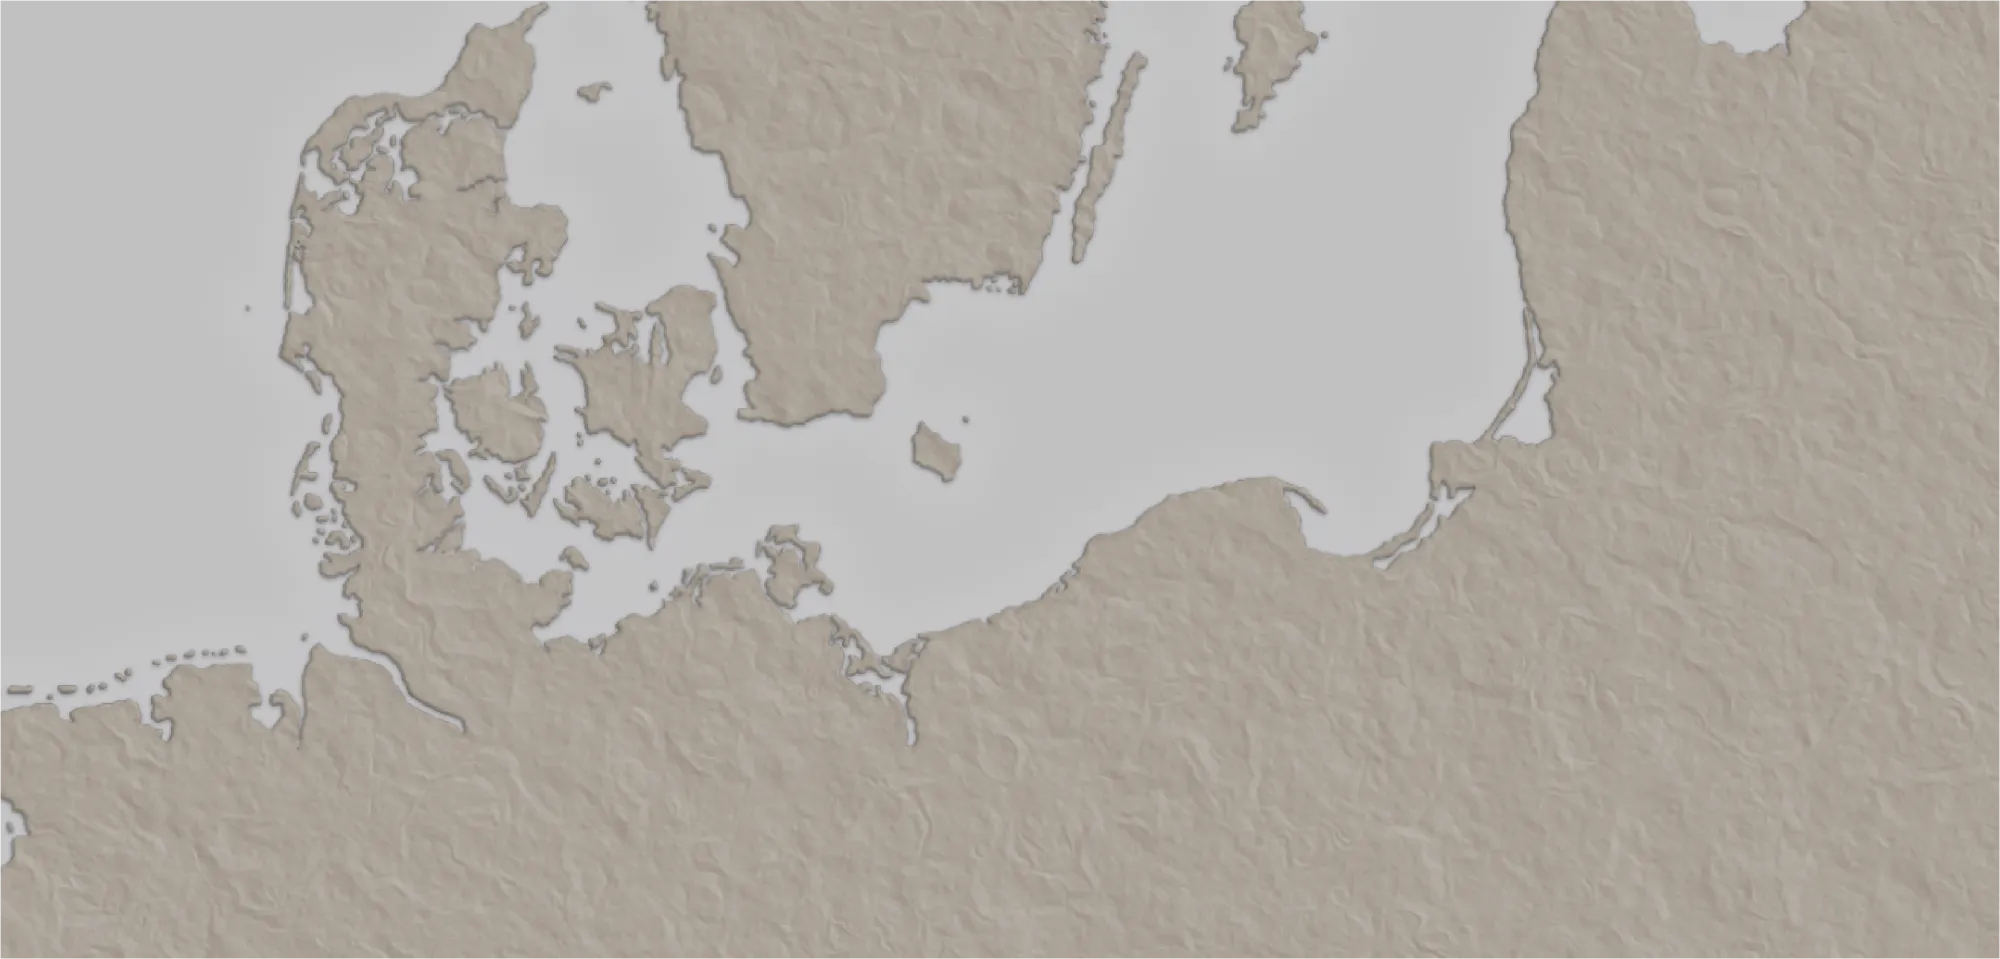
The surface's rough look comes from the position of the light angle. It's the same principle as pointing a torch onto a high-raised relief map—all the objects facing the torch will be highlighted while shadowing all surfaces angled away from it.
To ensure that the light source corresponds across multiple layers, PS has a setting called Global light in Effects Bevel & Emboss or Drop Shadow that by configuring it, it will automatically match the same light angle in all layers, creating the illusion of realism.
Few examples:
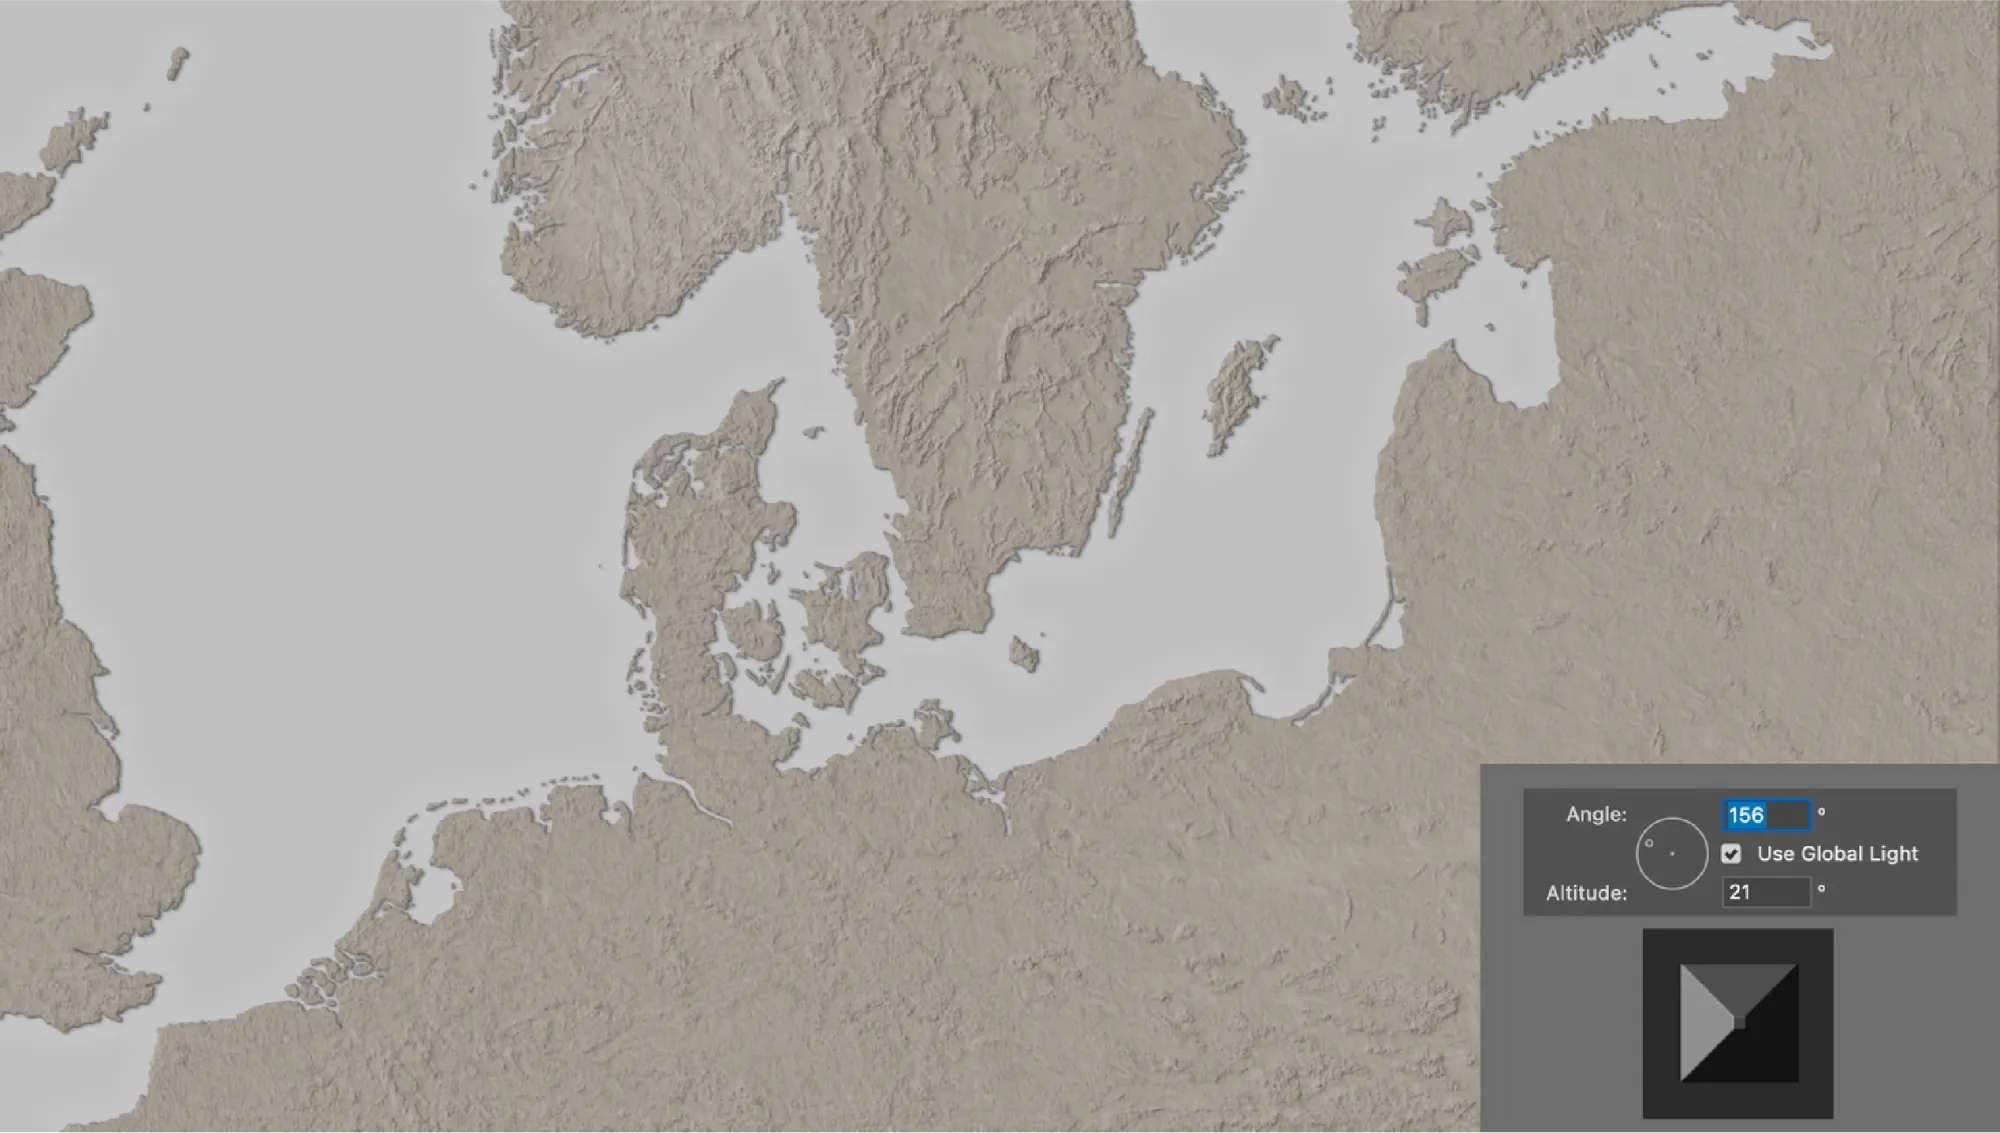
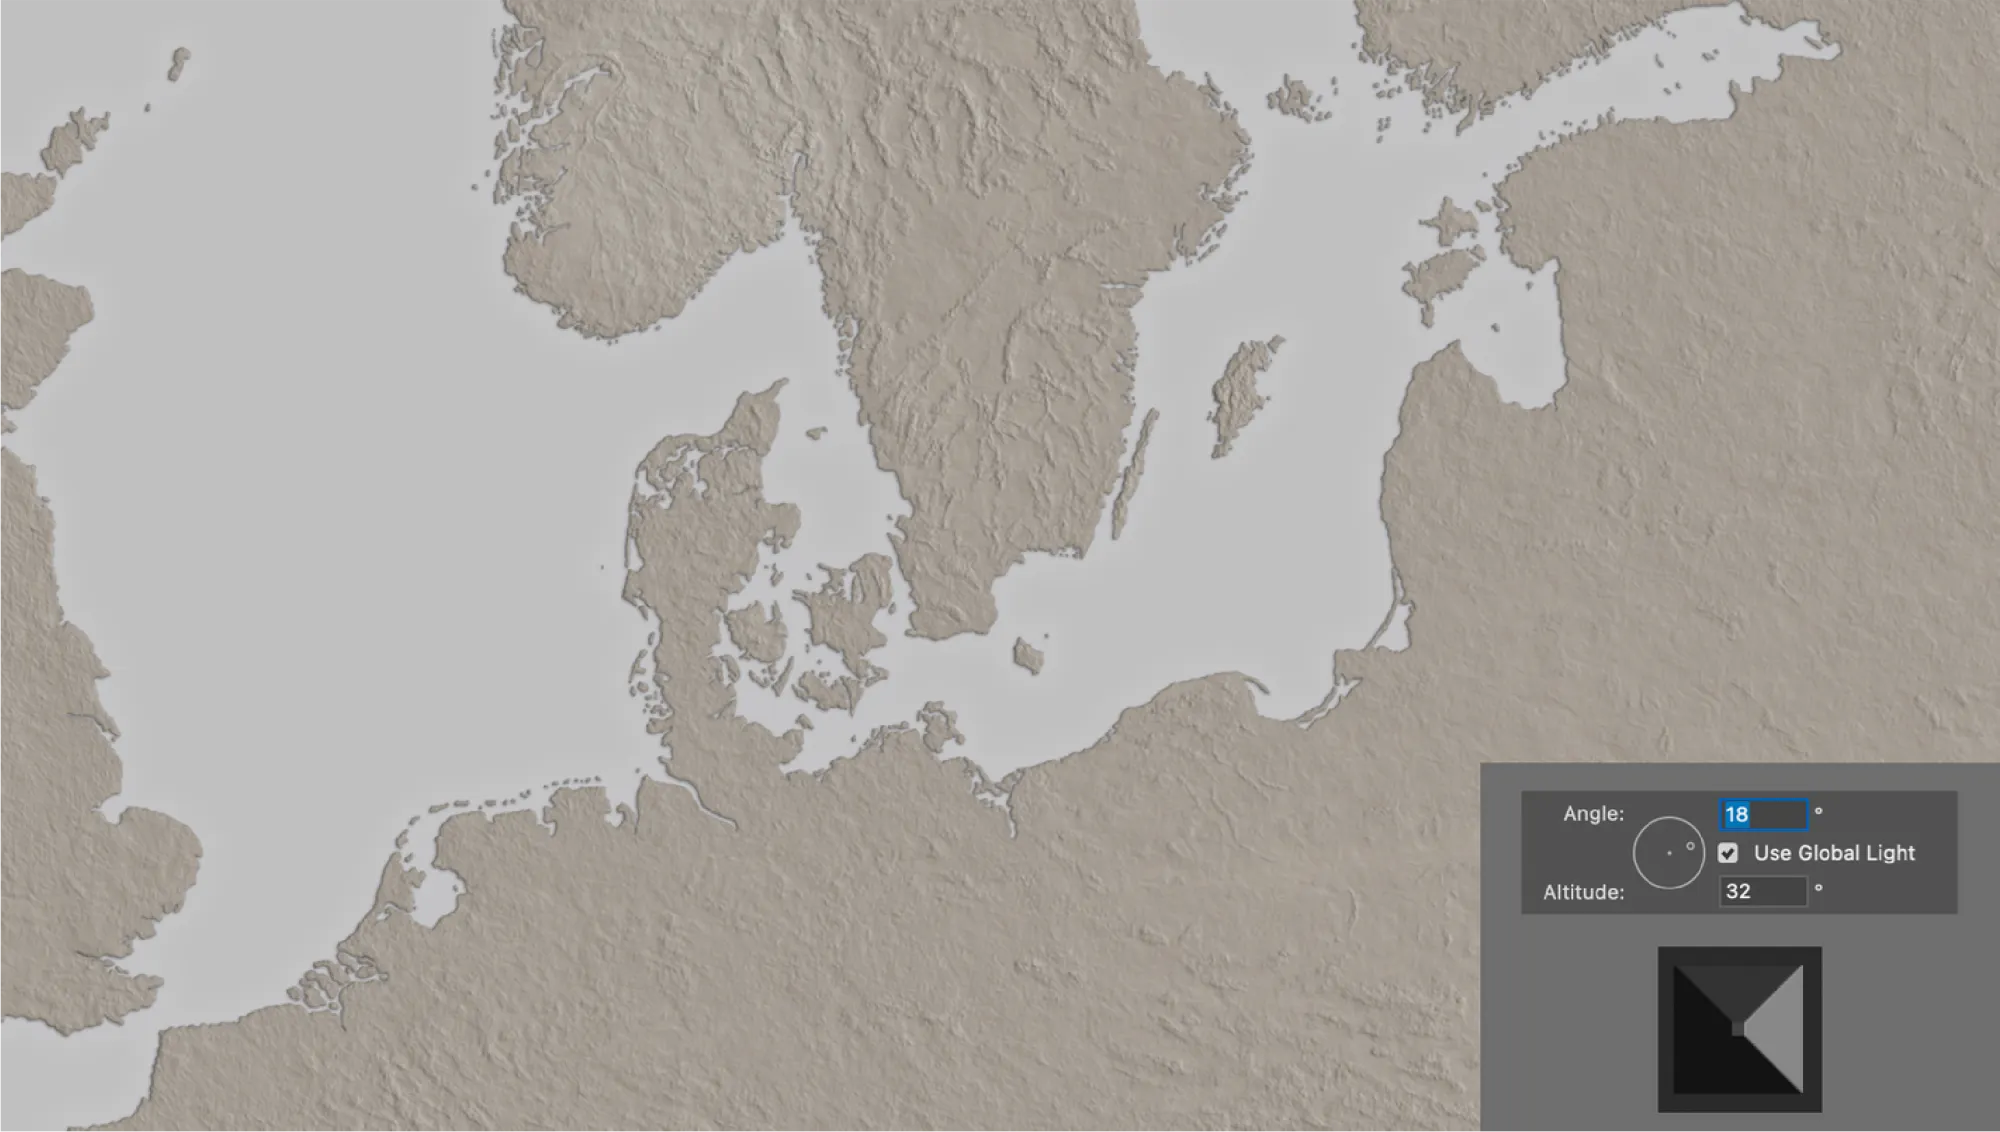
The Global Light setting was never meant to be fixed - I kept changing it throughout the project until the very end.
Adding Color
The next step was to add some colour, so I searched online for a colour palette generator such as color.adobe, and looked for different maps I had collected for reference that matched what the client had asked for:
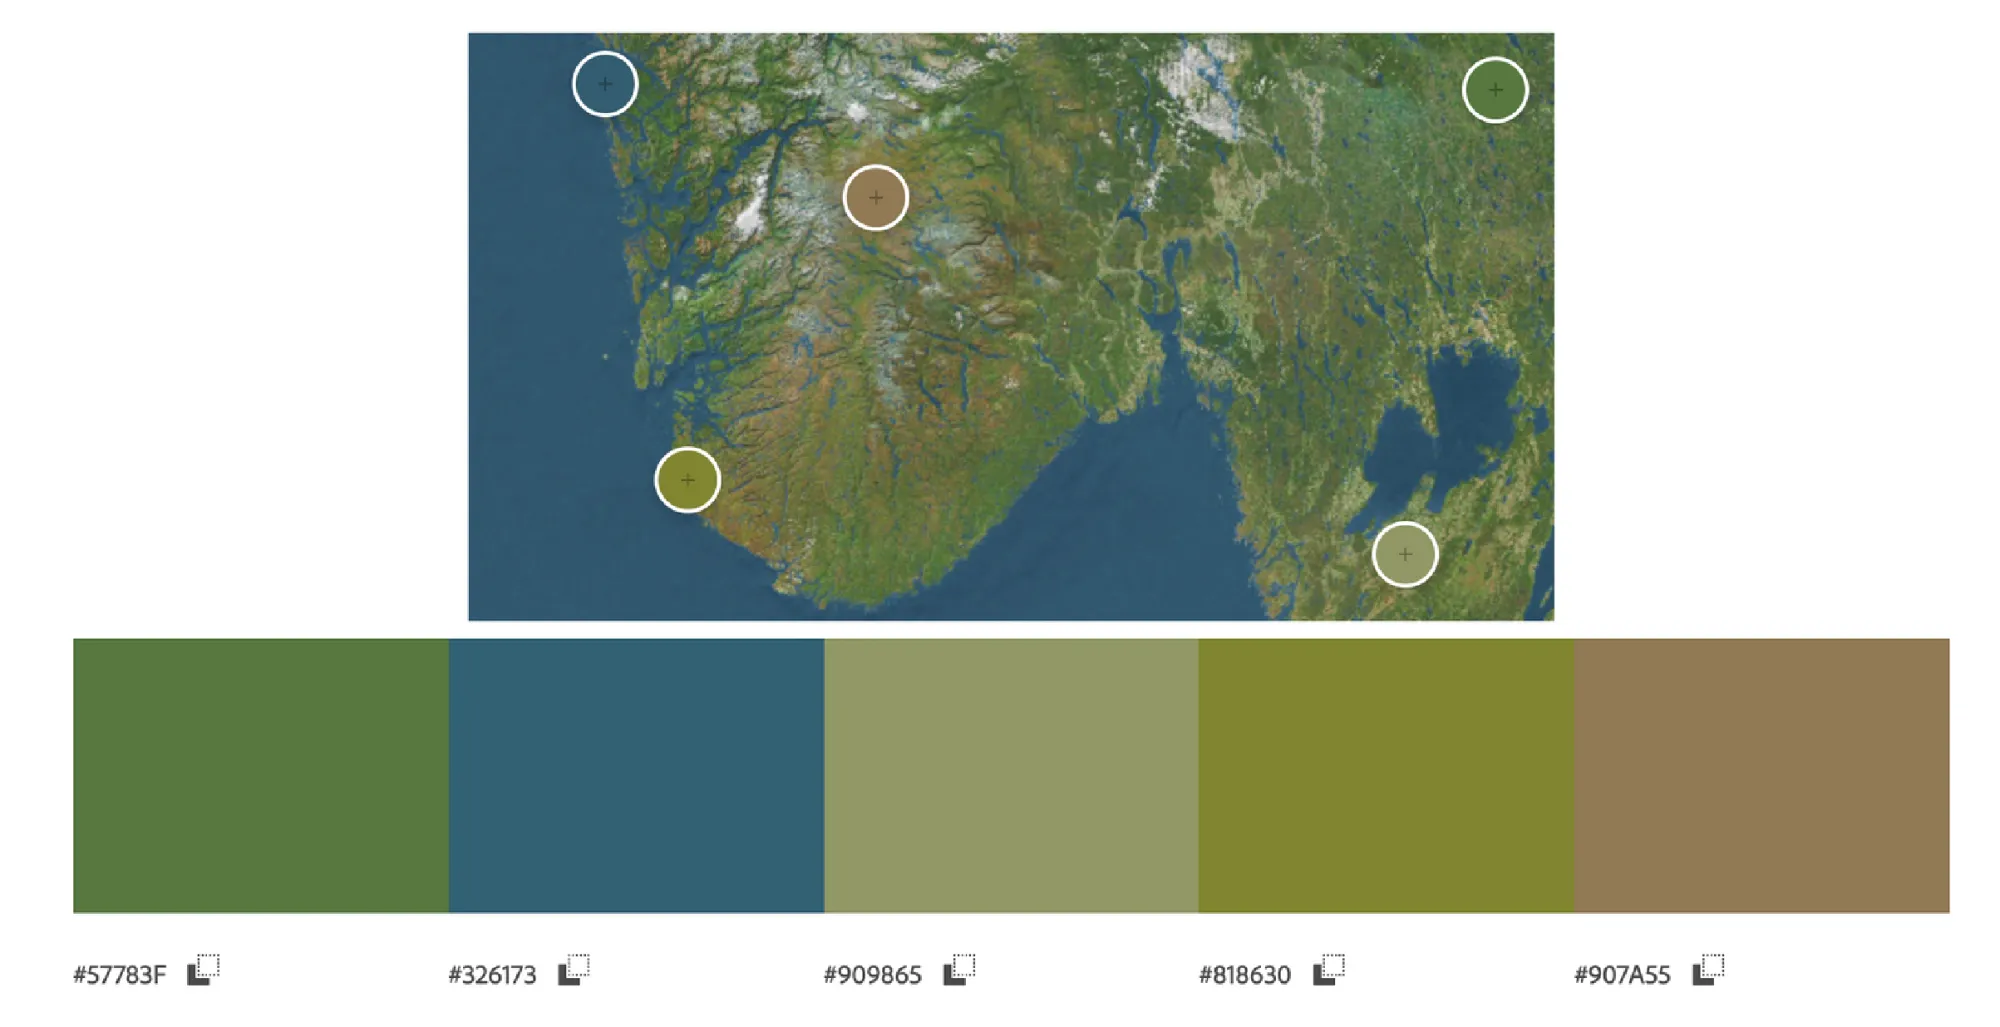
I played around some more, and created a colour palette that would serve as a reference for the entire project:

Then I created a new layer named Land_color.
I simply used a General Brush and started mixing colours around with a Blender Brush. The point was to have a base color to begin with, so I didn't spend much time with it as I knew it would eventually be covered by multiple layers:
For Land_color to 'fit' Land_base I had to place it above Land_base and clip it by using the Clipping Mask:
Looking like this:

In Part 2 I'll show you how I continued making forests, lakes and rivers.
No spam, no sharing to third party. Only you and me.

Member discussion